

Before you start
- A Photon project with an eligible SMS number, WhatsApp number, or dedicated iMessage line. Shared iMessage assignments do not support Voice.
- Permission to manage the project’s Voice profiles.
- A Retell account with a voice agent ready to use.
1. Prepare your Photon Voice profile
Choose a profile
A Voice profile stores the call settings for one or more numbers in your project.
Create the default before creating an additional profile. Creating an additional
profile does not move any numbers; assign the intended numbers to it afterward.
The screenshots below show default-profile setup. If your number uses an
additional profile, apply the connection settings to that profile instead.
Changes affect new calls on every number using the edited profile. Check its
Lines count to see how many numbers share the settings.
Open Voice
If your number already uses a SIP Voice profile, open that profile and continue to Understand your profile below. Otherwise, create the default profile: Select your Photon project and open Voice in the sidebar. Under Lines, find the number you want to use. The example below already has an SMS number. In the Default profile section, select Set up default.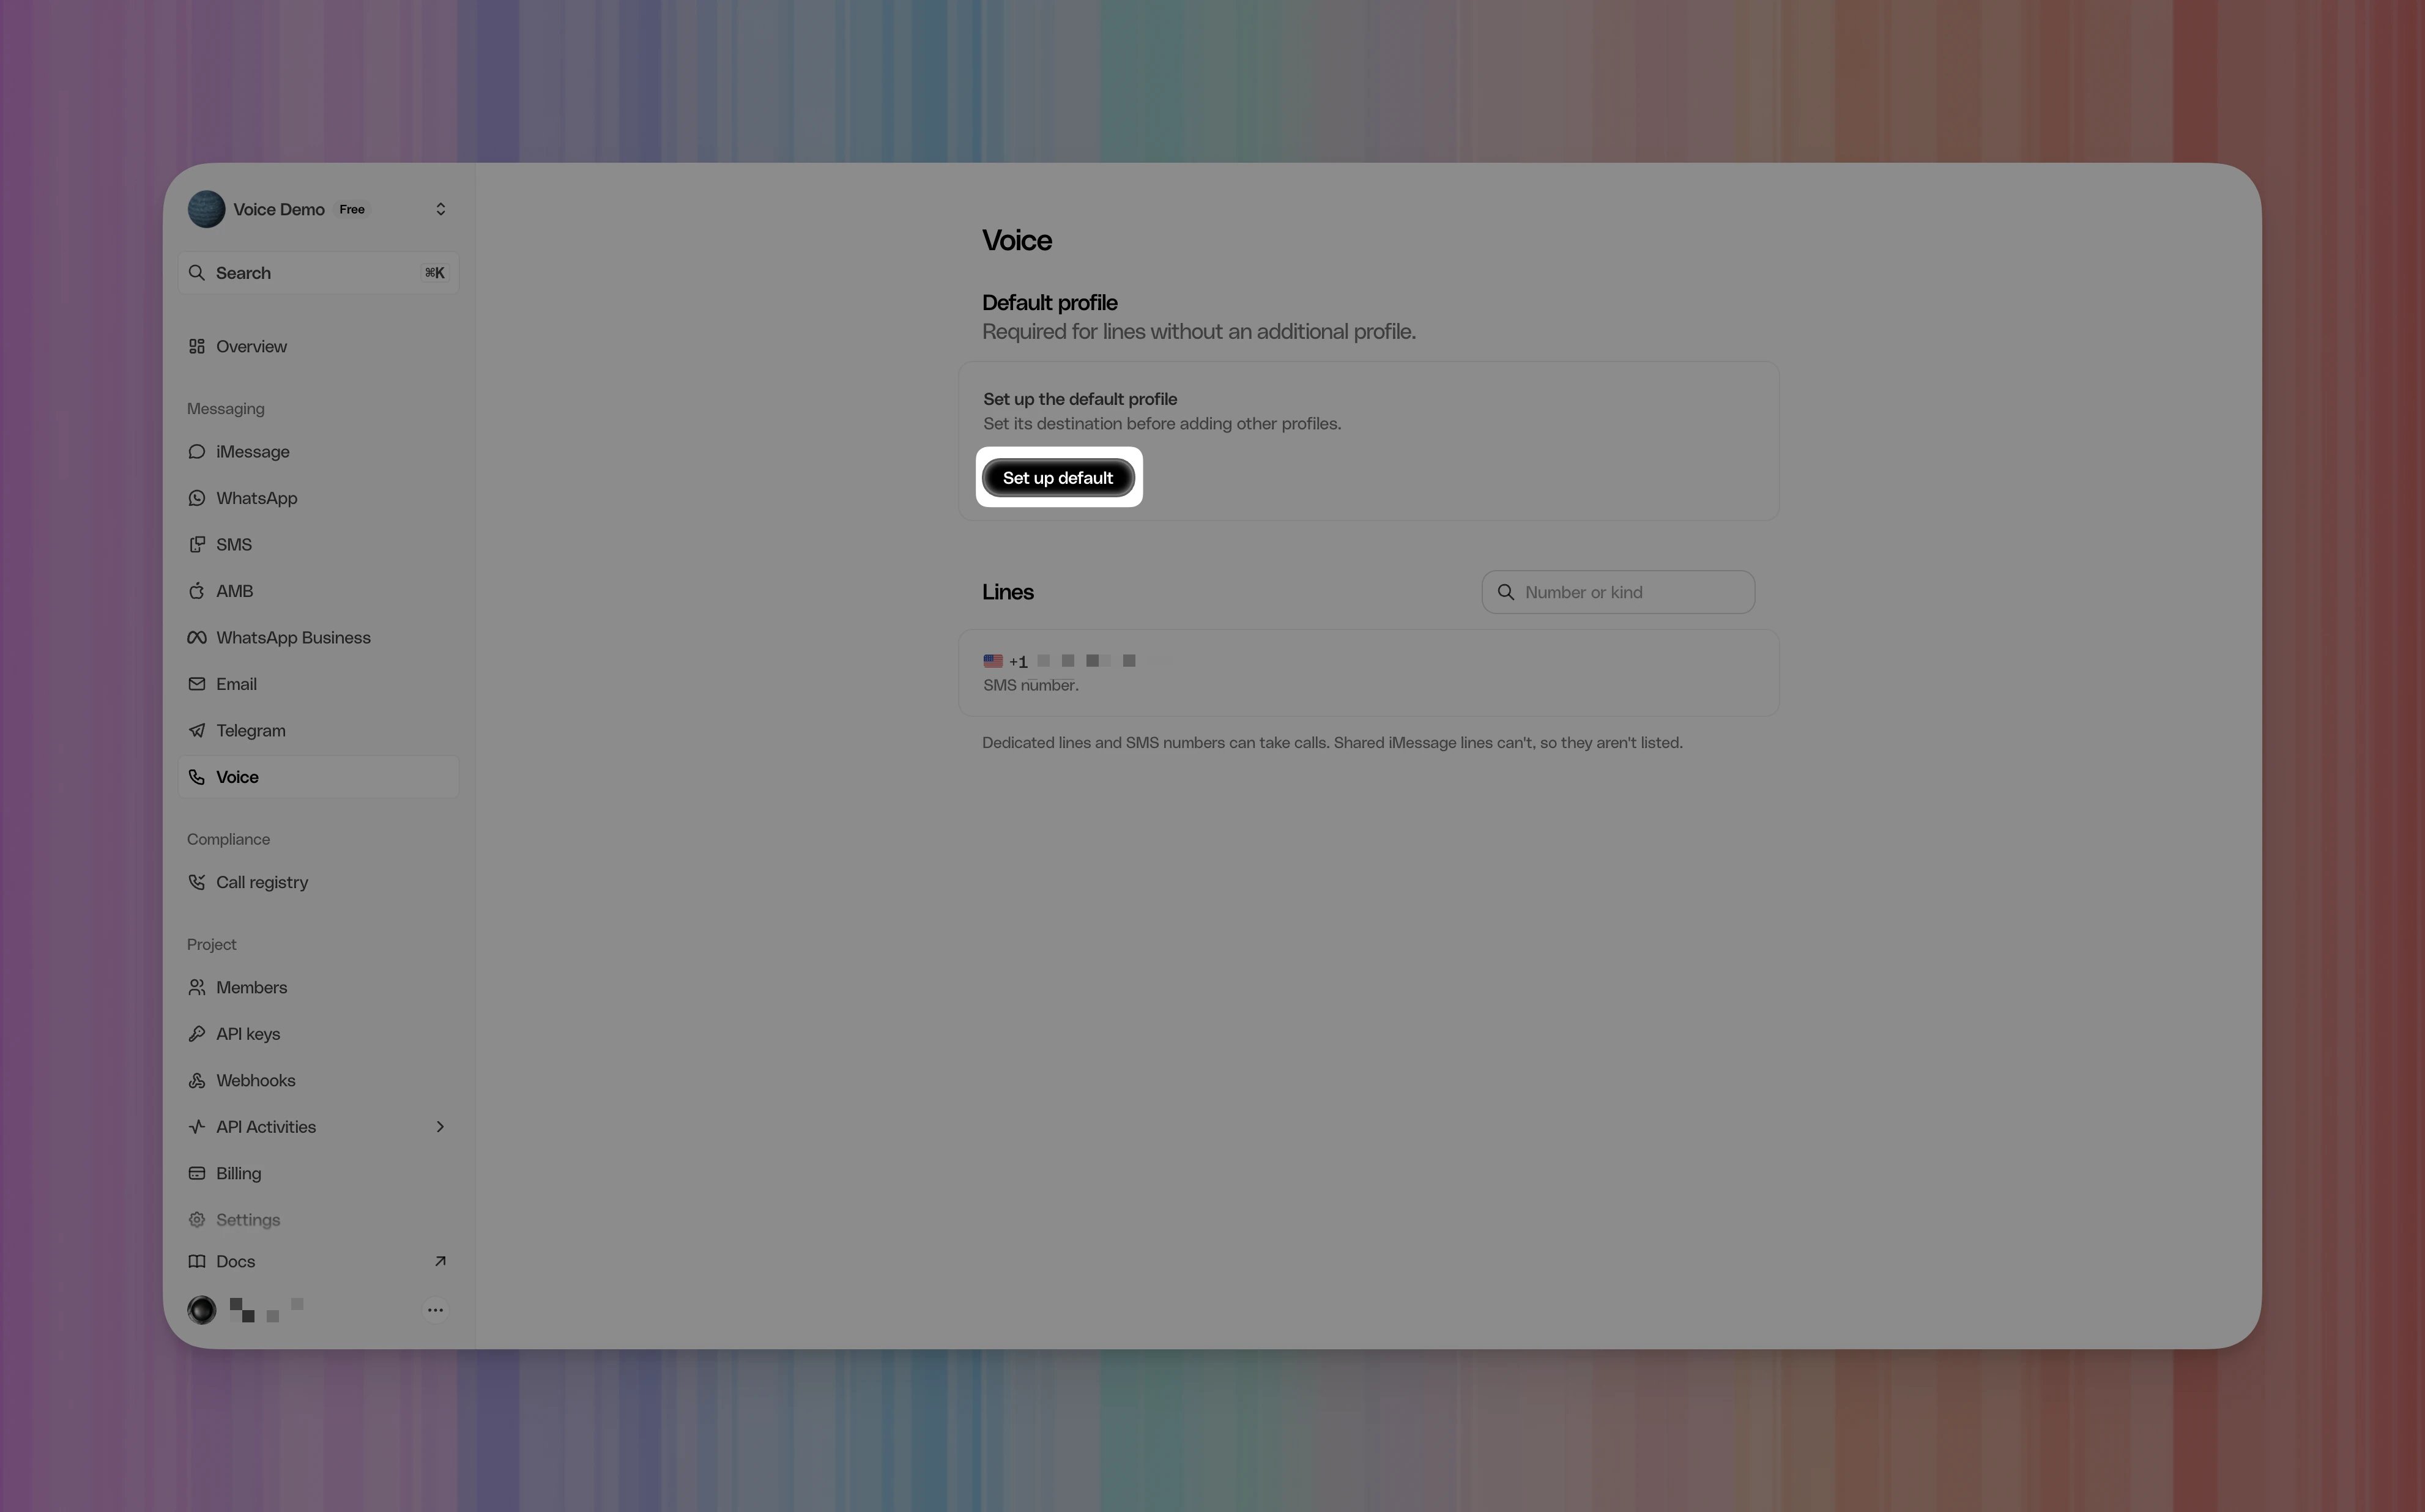
Create the default profile
On Create the default profile, select SIP, then select Create profile.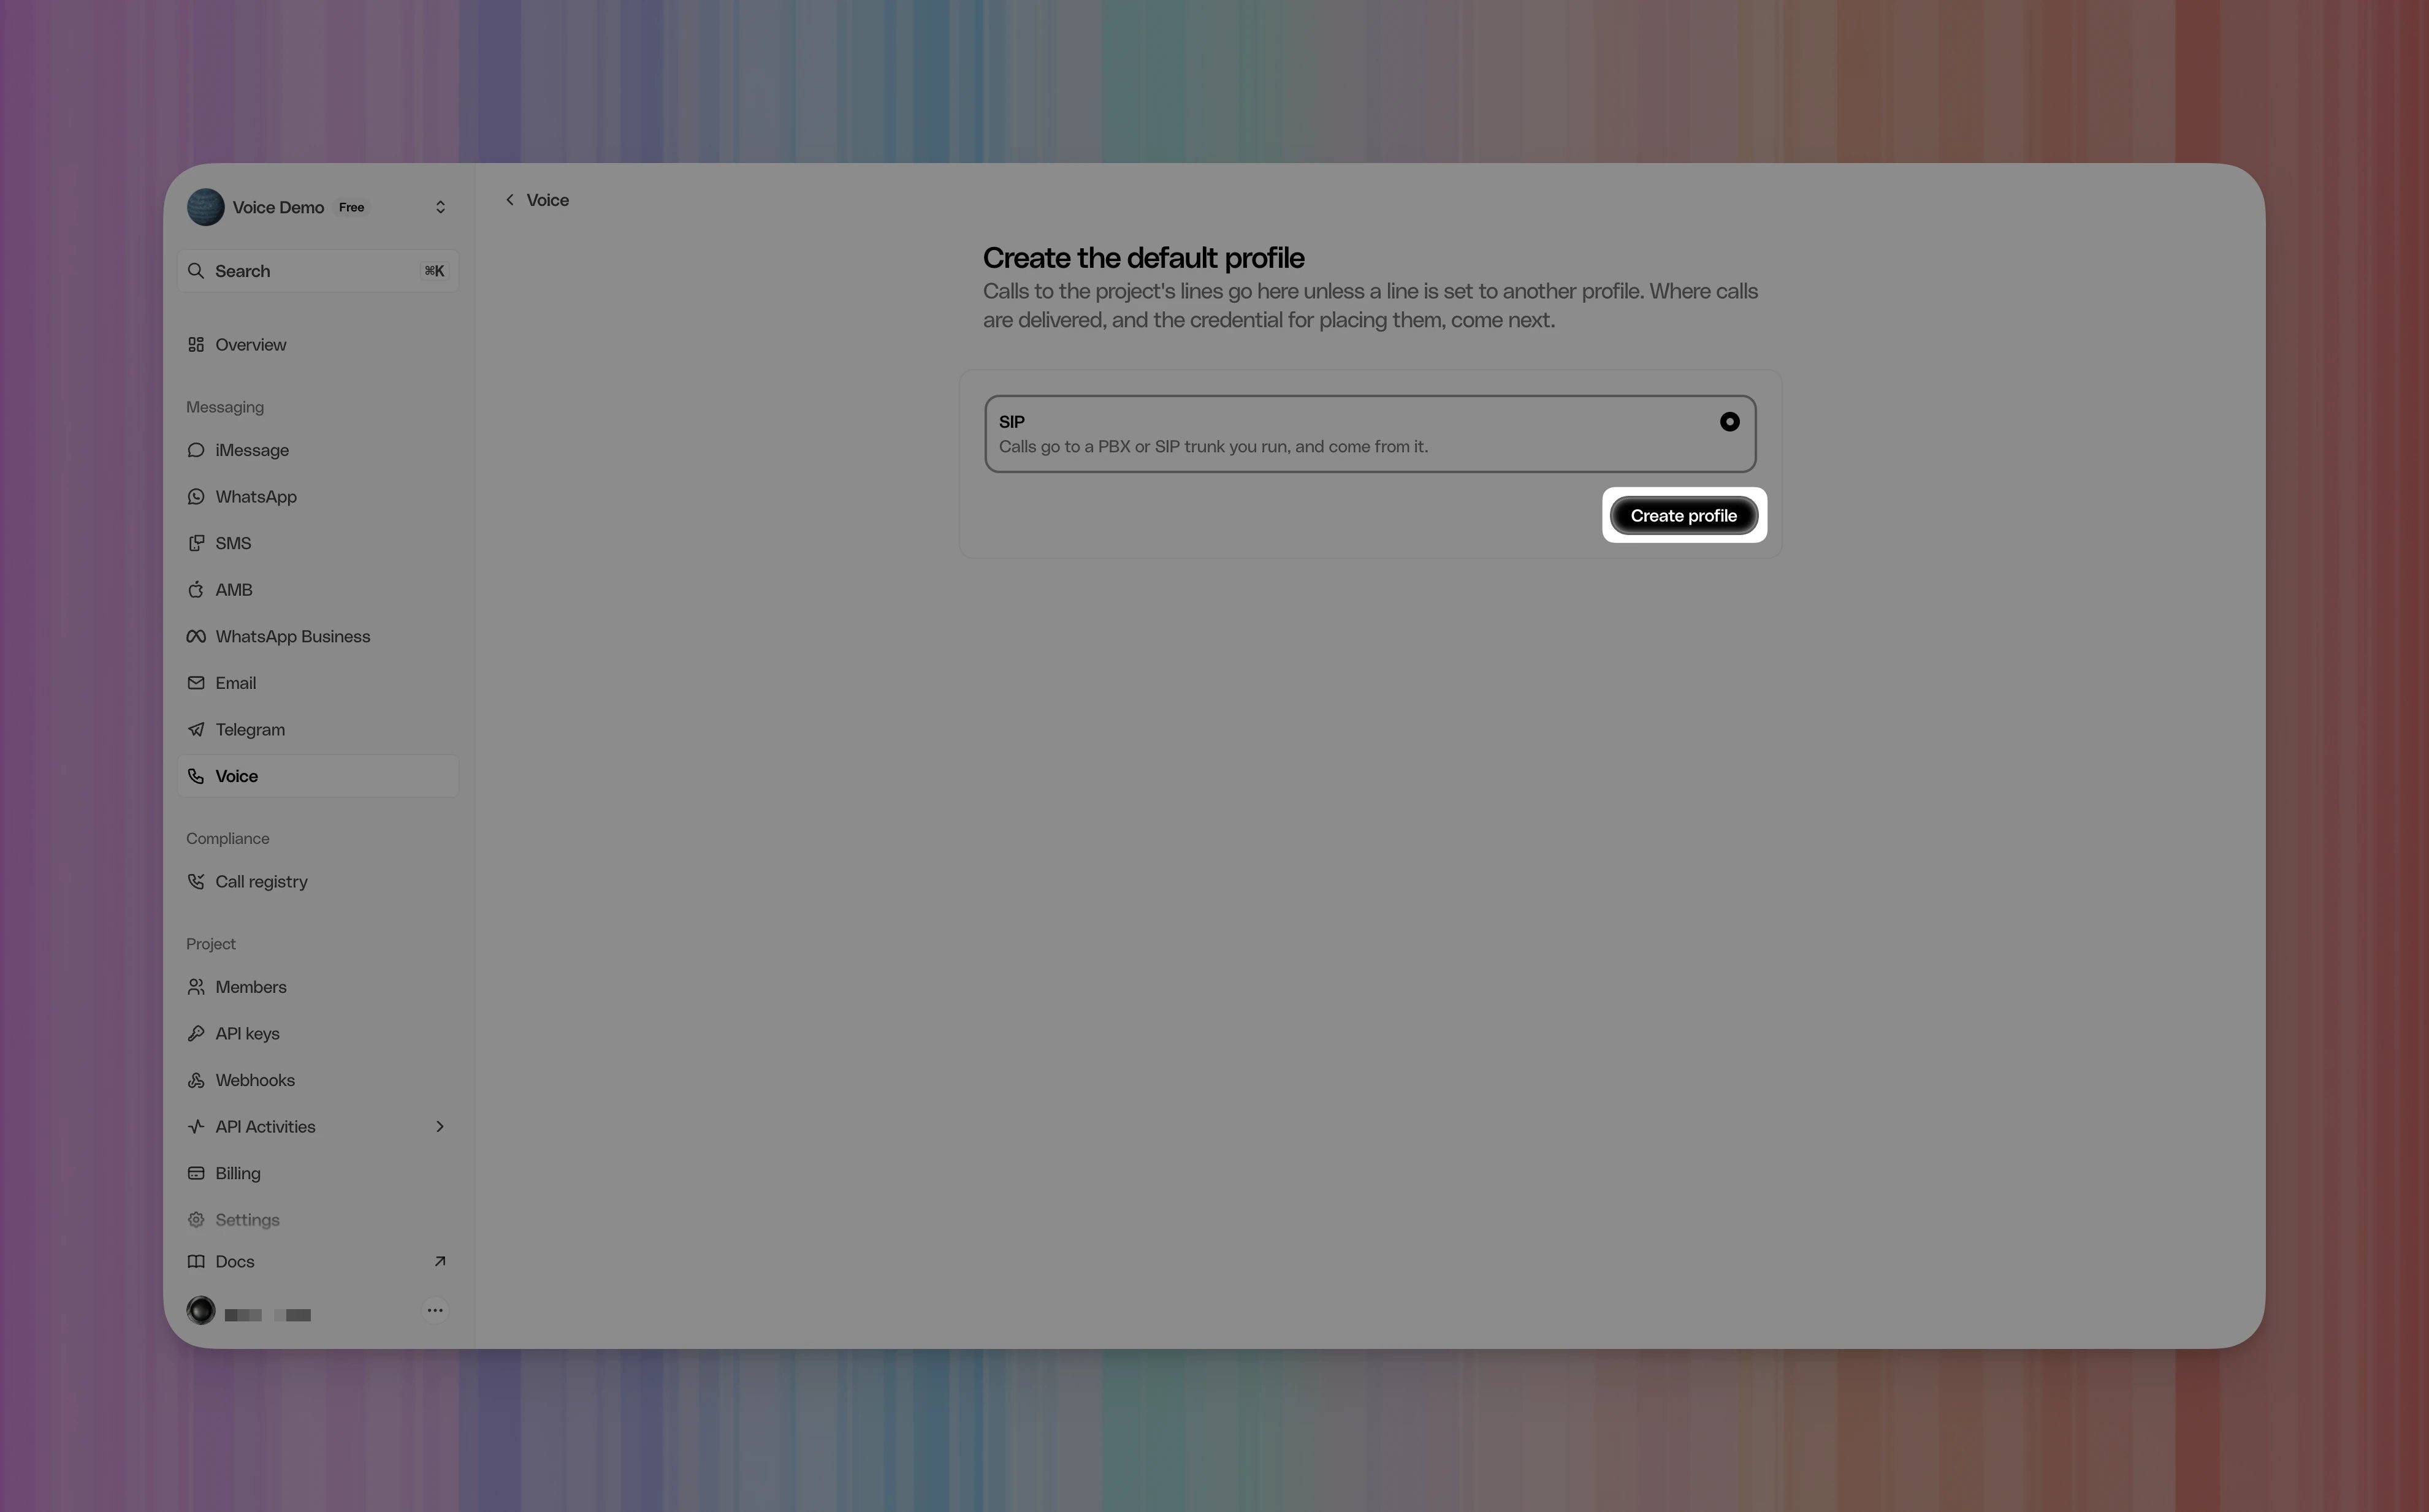
Understand your profile
After creation, Photon opens Default profile. The example shows SIP as the protocol and 1 line using the profile.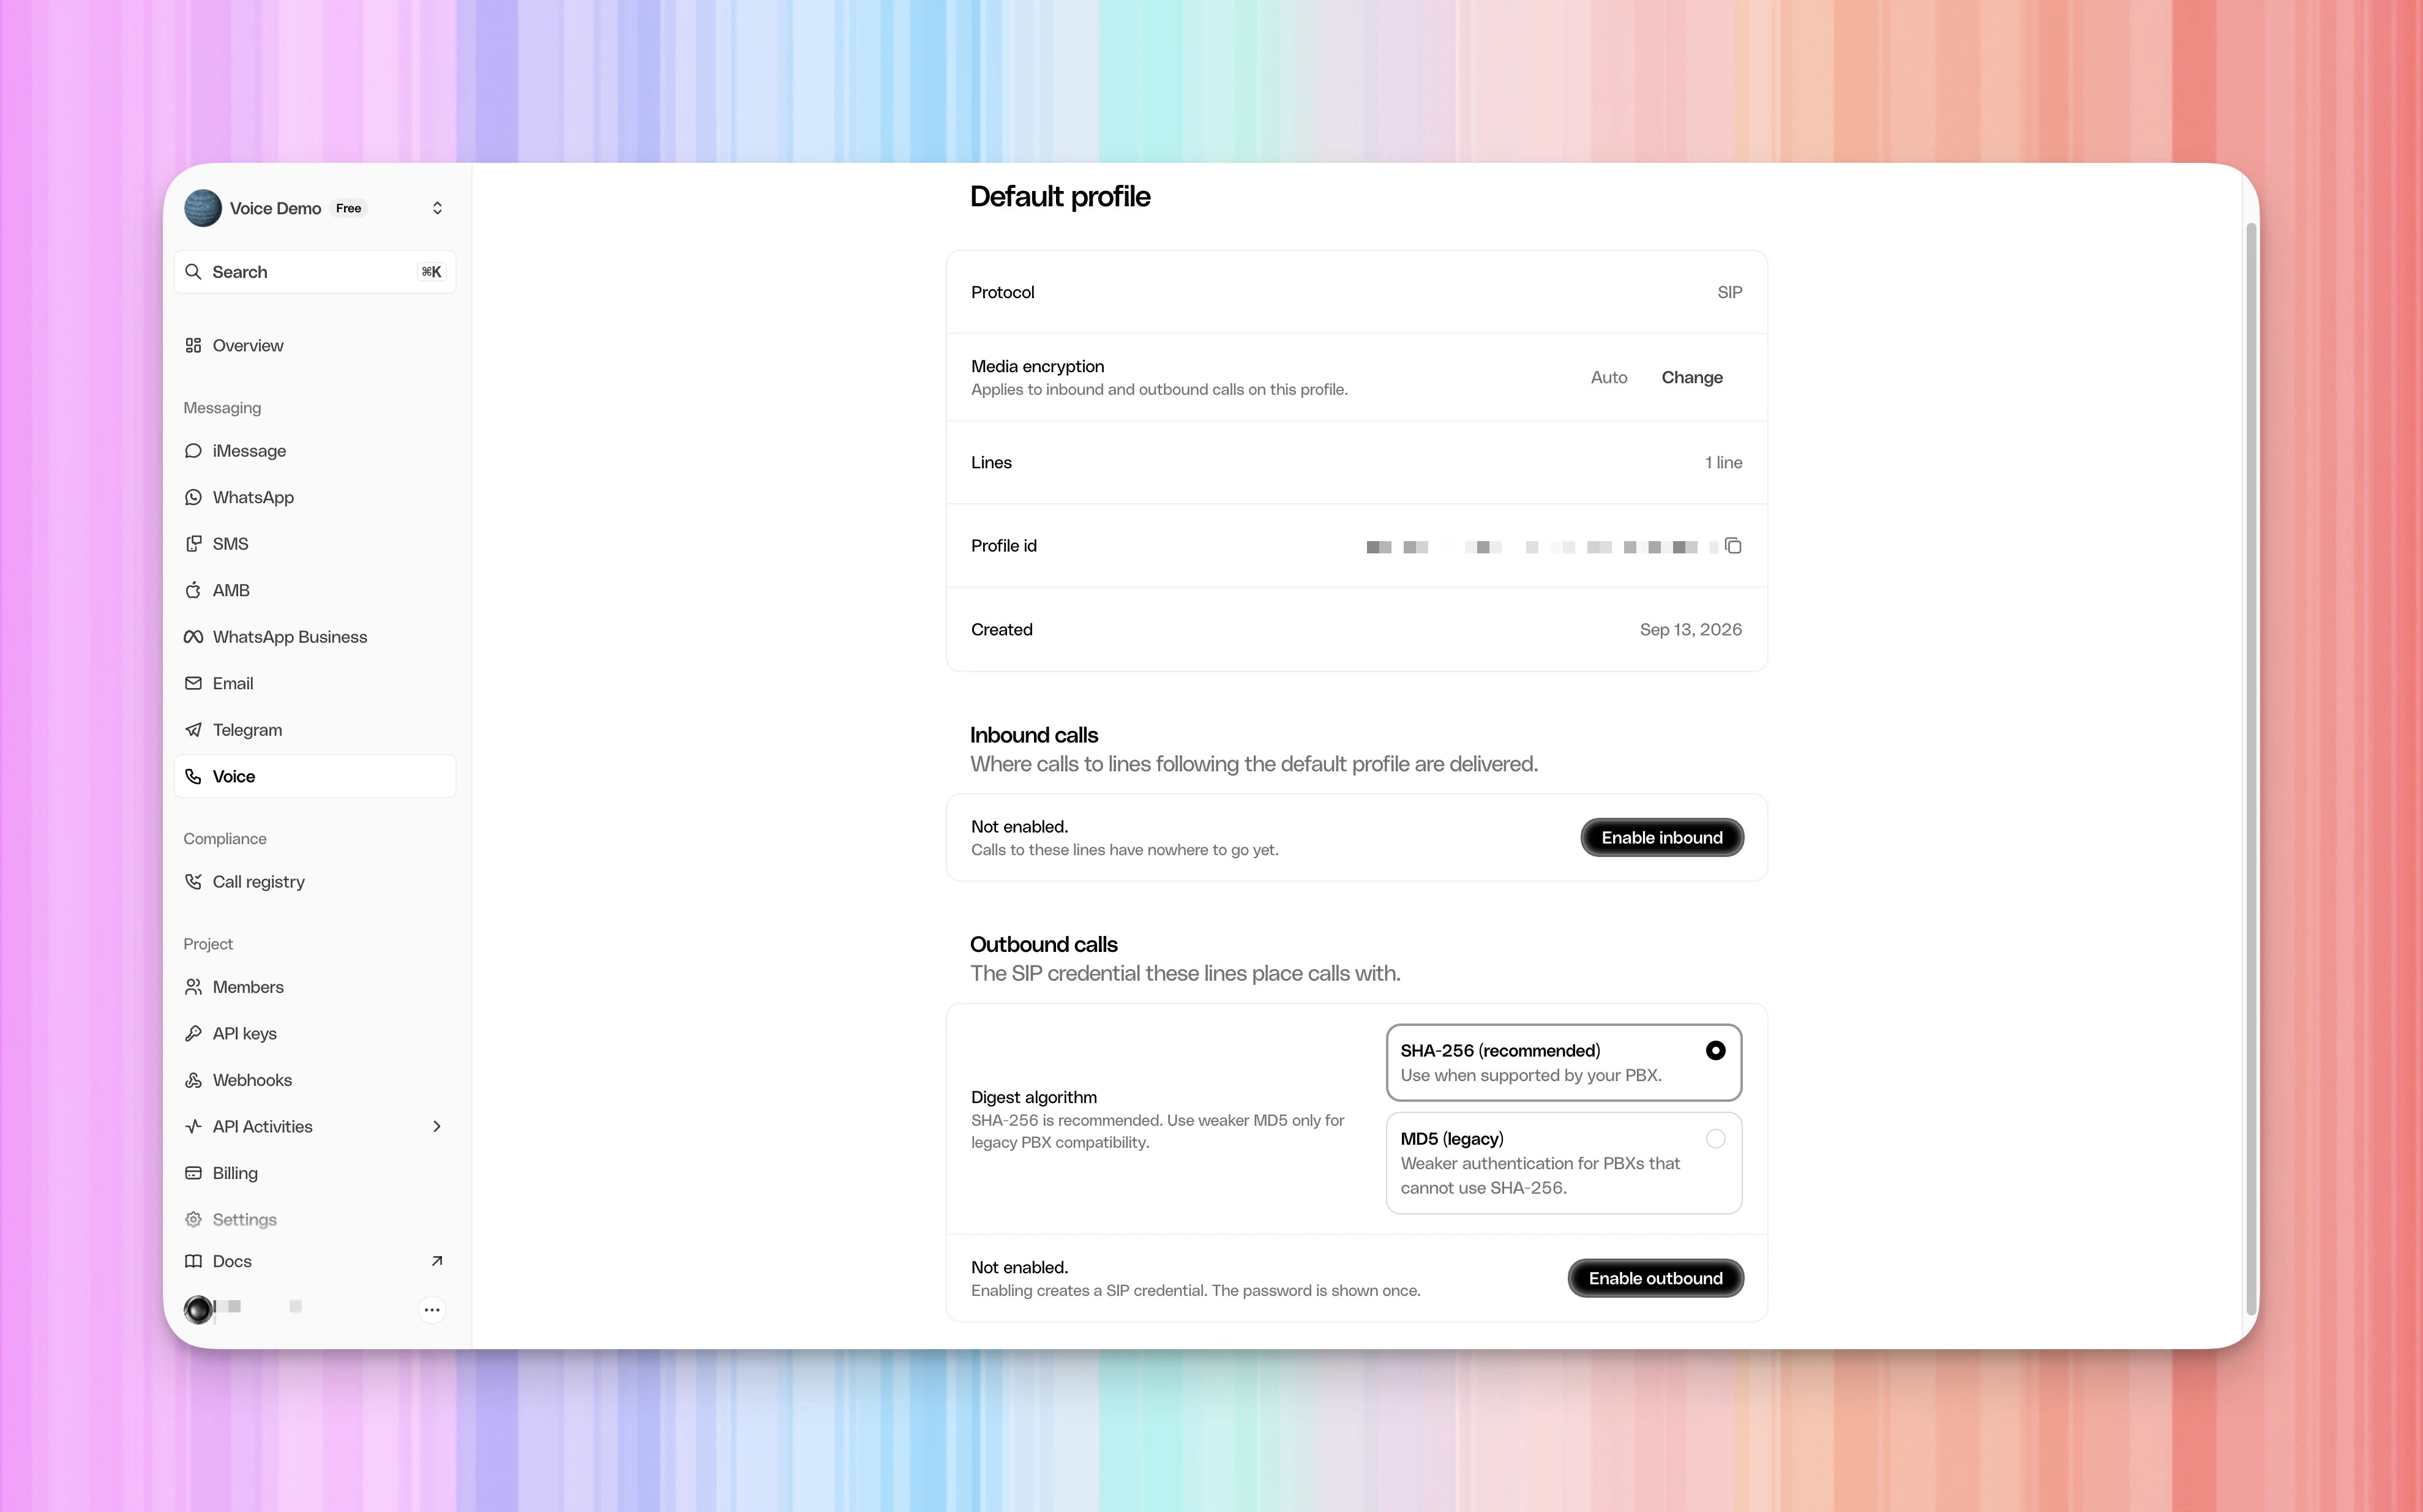
Both sections show Not enabled in a newly created profile. The steps below
connect this profile to Retell. Configure incoming calls, outgoing calls, or
both; each direction is independent.
Check media encryption
Leave Media encryption at Auto for this walkthrough. Photon negotiates encrypted audio over TLS when supported and can fall back to unencrypted audio. TLS encrypts SIP signaling; SRTP encrypts the audio. To require encrypted audio, select Change beside Media encryption, enable Require encrypted calls, and select Save. Photon displays Required. This policy applies to both incoming and outgoing calls. Every configured direction must then use TLS and support SRTP. Retell supports SRTP over TLS. Retell media encryption.2. Prepare outbound credentials, if needed
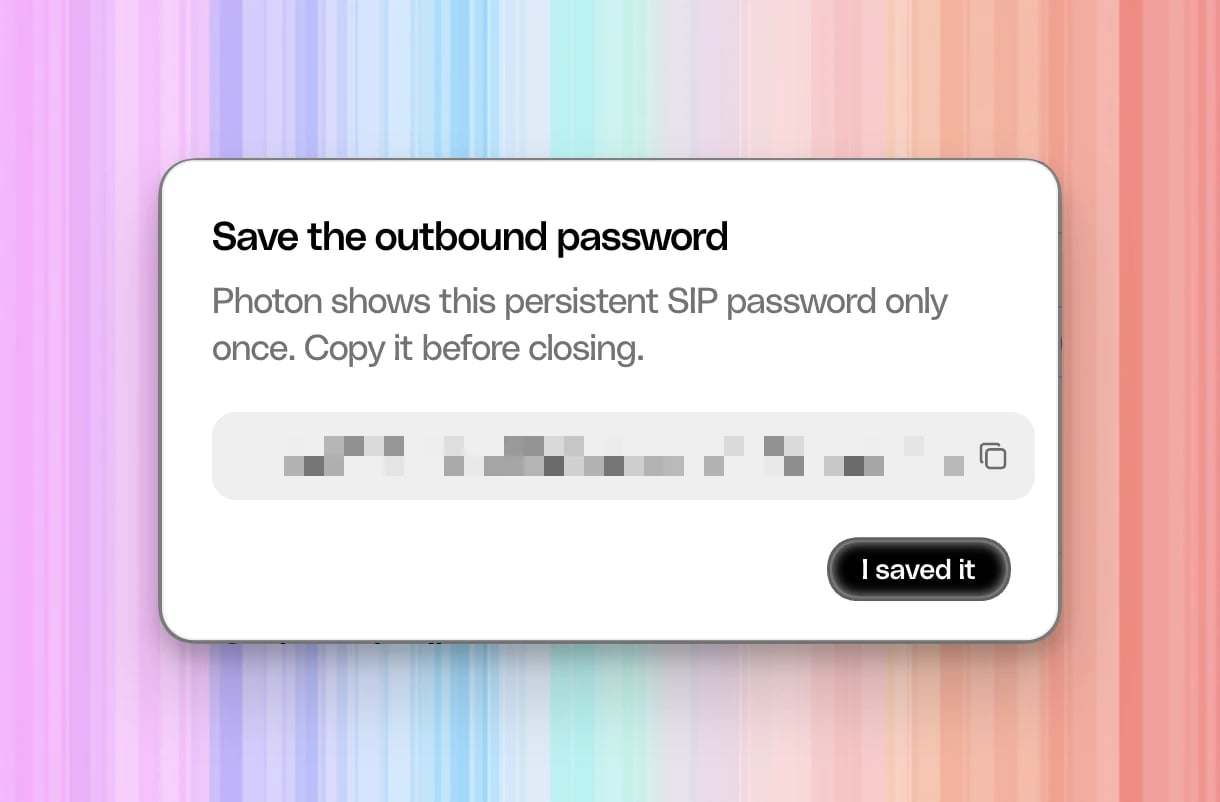
For incoming calls only, skip to Import your Photon number into Retell. Complete this section if you want Retell to place outgoing calls through Photon. In the Photon profile’s Outbound calls section, select SHA-256 (recommended) under Digest algorithm, then select Enable outbound. Photon opens Save the outbound password. Copy it to a secure location, then select I saved it. Photon displays this password only once. If outbound is already enabled, use the existing details and saved password.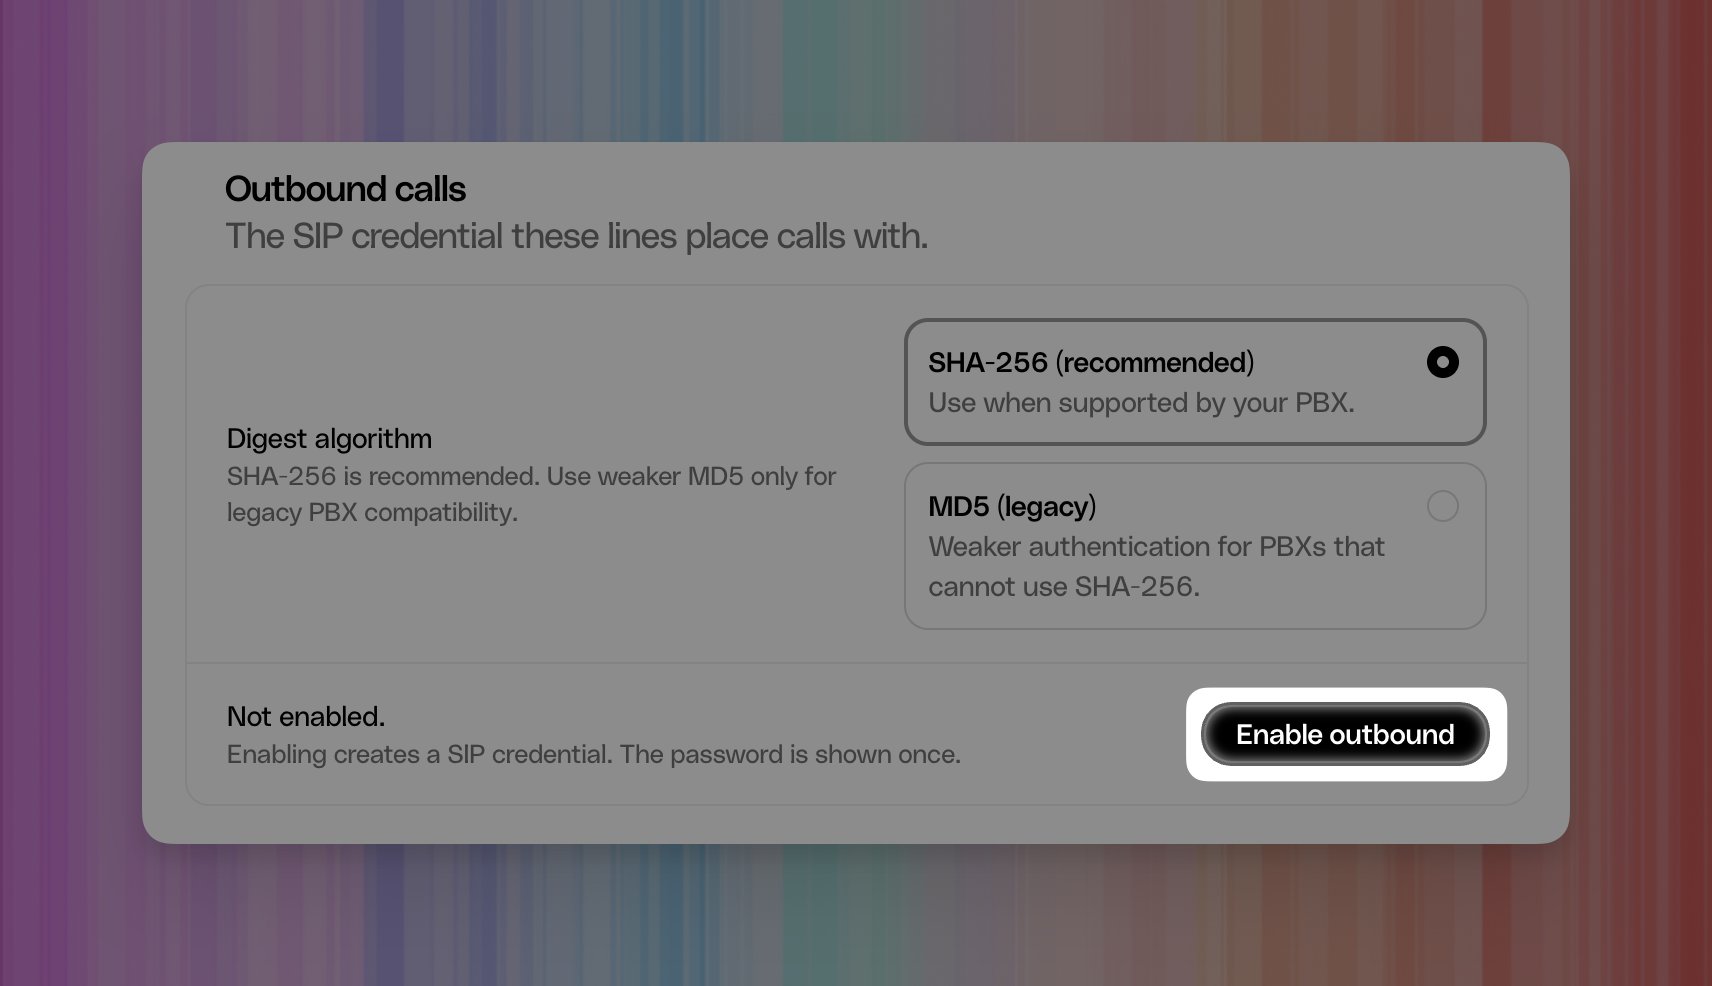
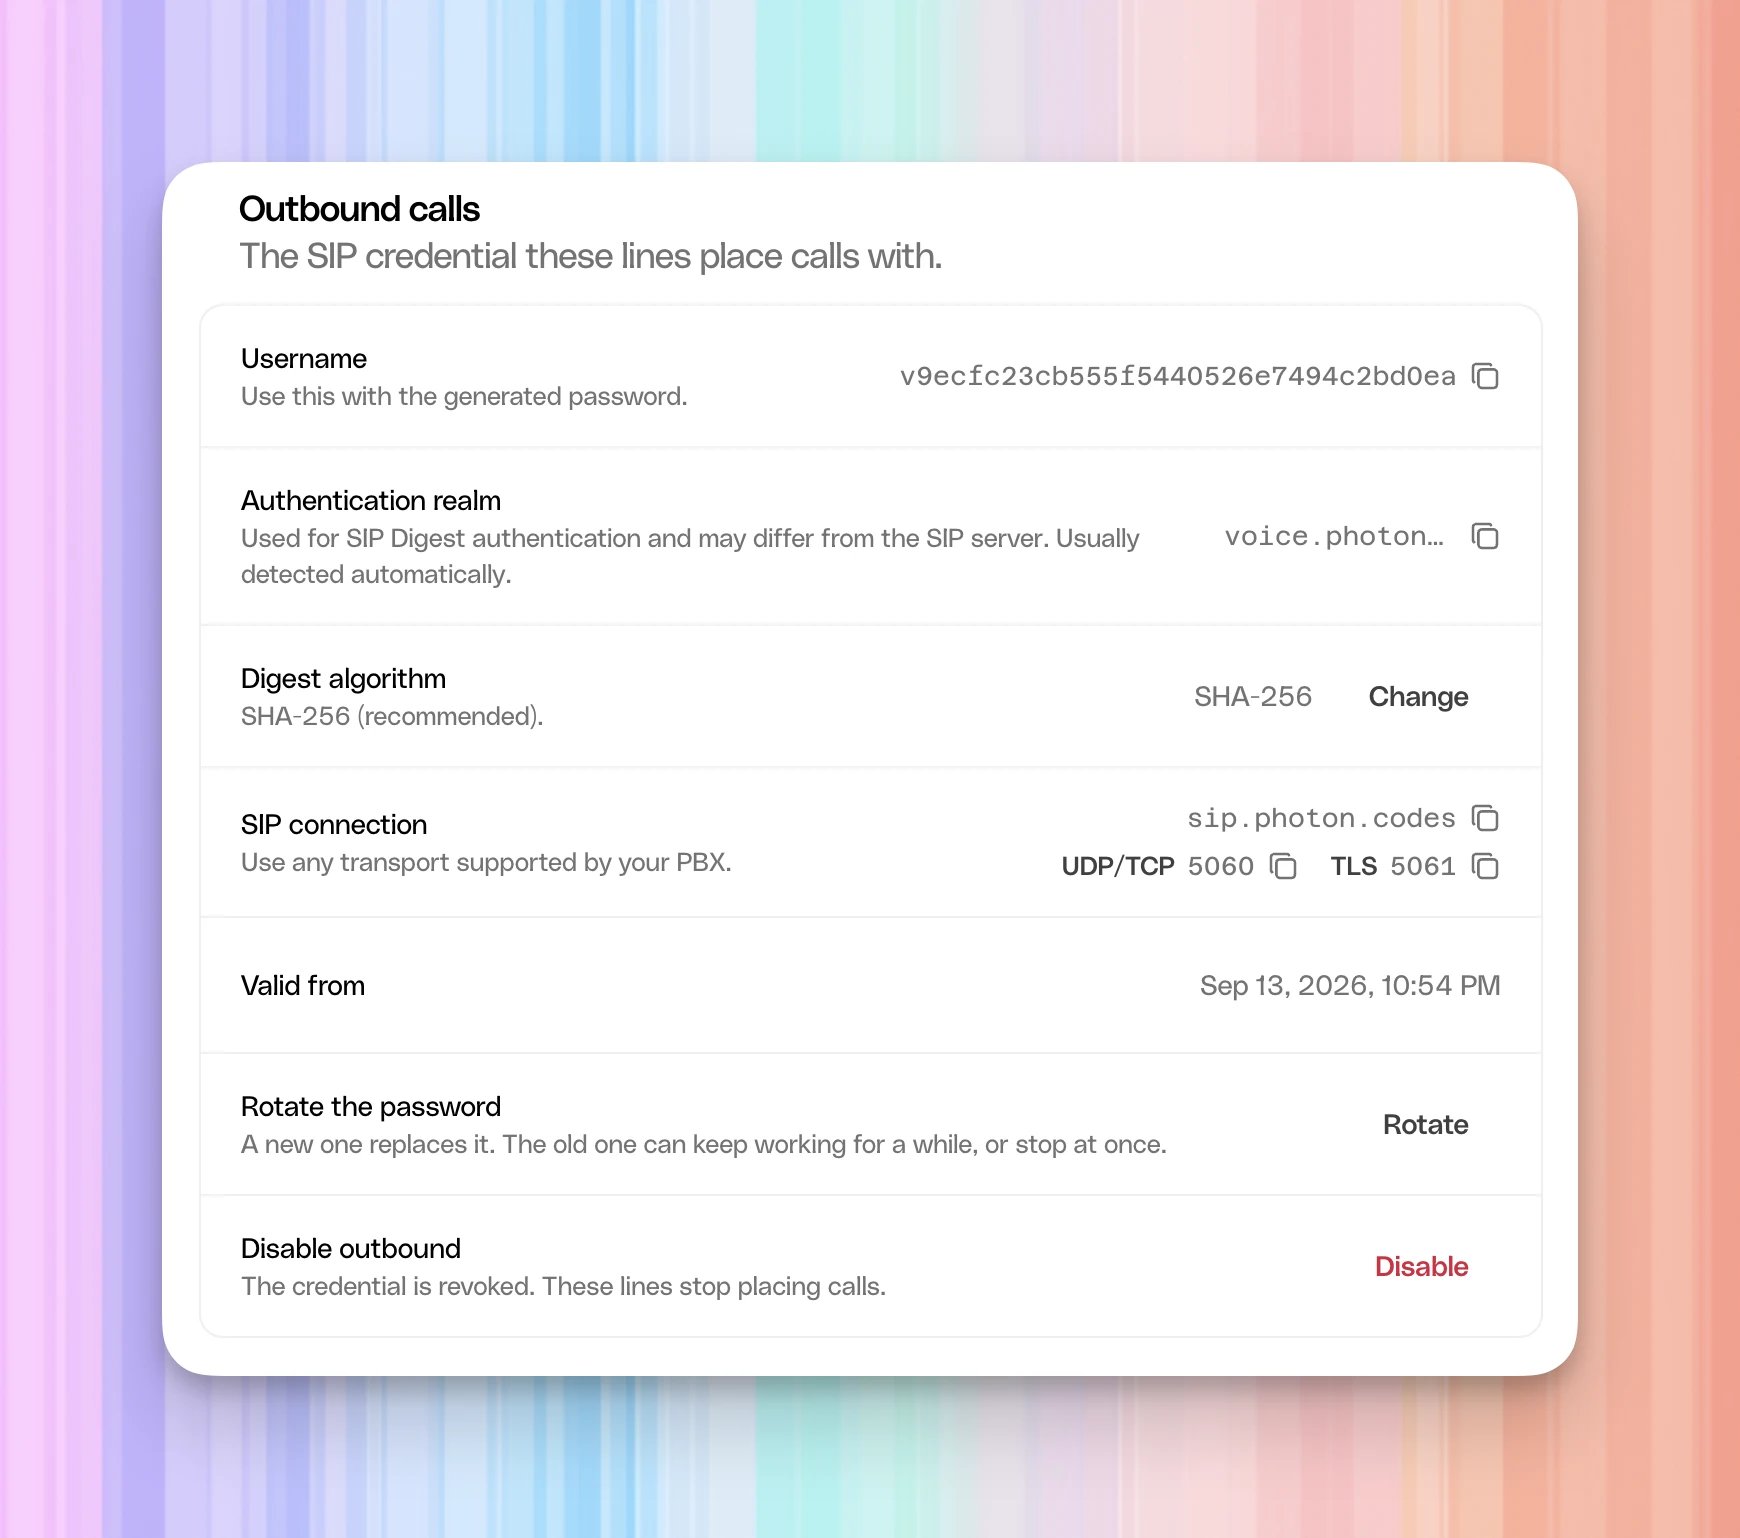
sip.photon.codes, with
UDP/TCP on port 5060 and TLS on port 5061. Use the TLS connection
for this walkthrough. Copy the server and matching port displayed in your own
profile.
Authentication realm identifies the authentication domain. It can differ
from the SIP server; use SIP connection for Retell’s termination address.
The Retell form shown below has no separate realm field.
Keep these values available for the next step. If you have lost the password,
use Rotate in Photon to obtain a replacement and update every connected
service using that credential. Rotating changes credentials used by the profile.
3. Import your Photon number into Retell
Have your Photon number and SIP server address available. For outgoing calls, also have the username and password from the previous step ready. In your Retell workspace, open Phone Numbers under DEPLOY. Select the + button beside the Phone Numbers heading.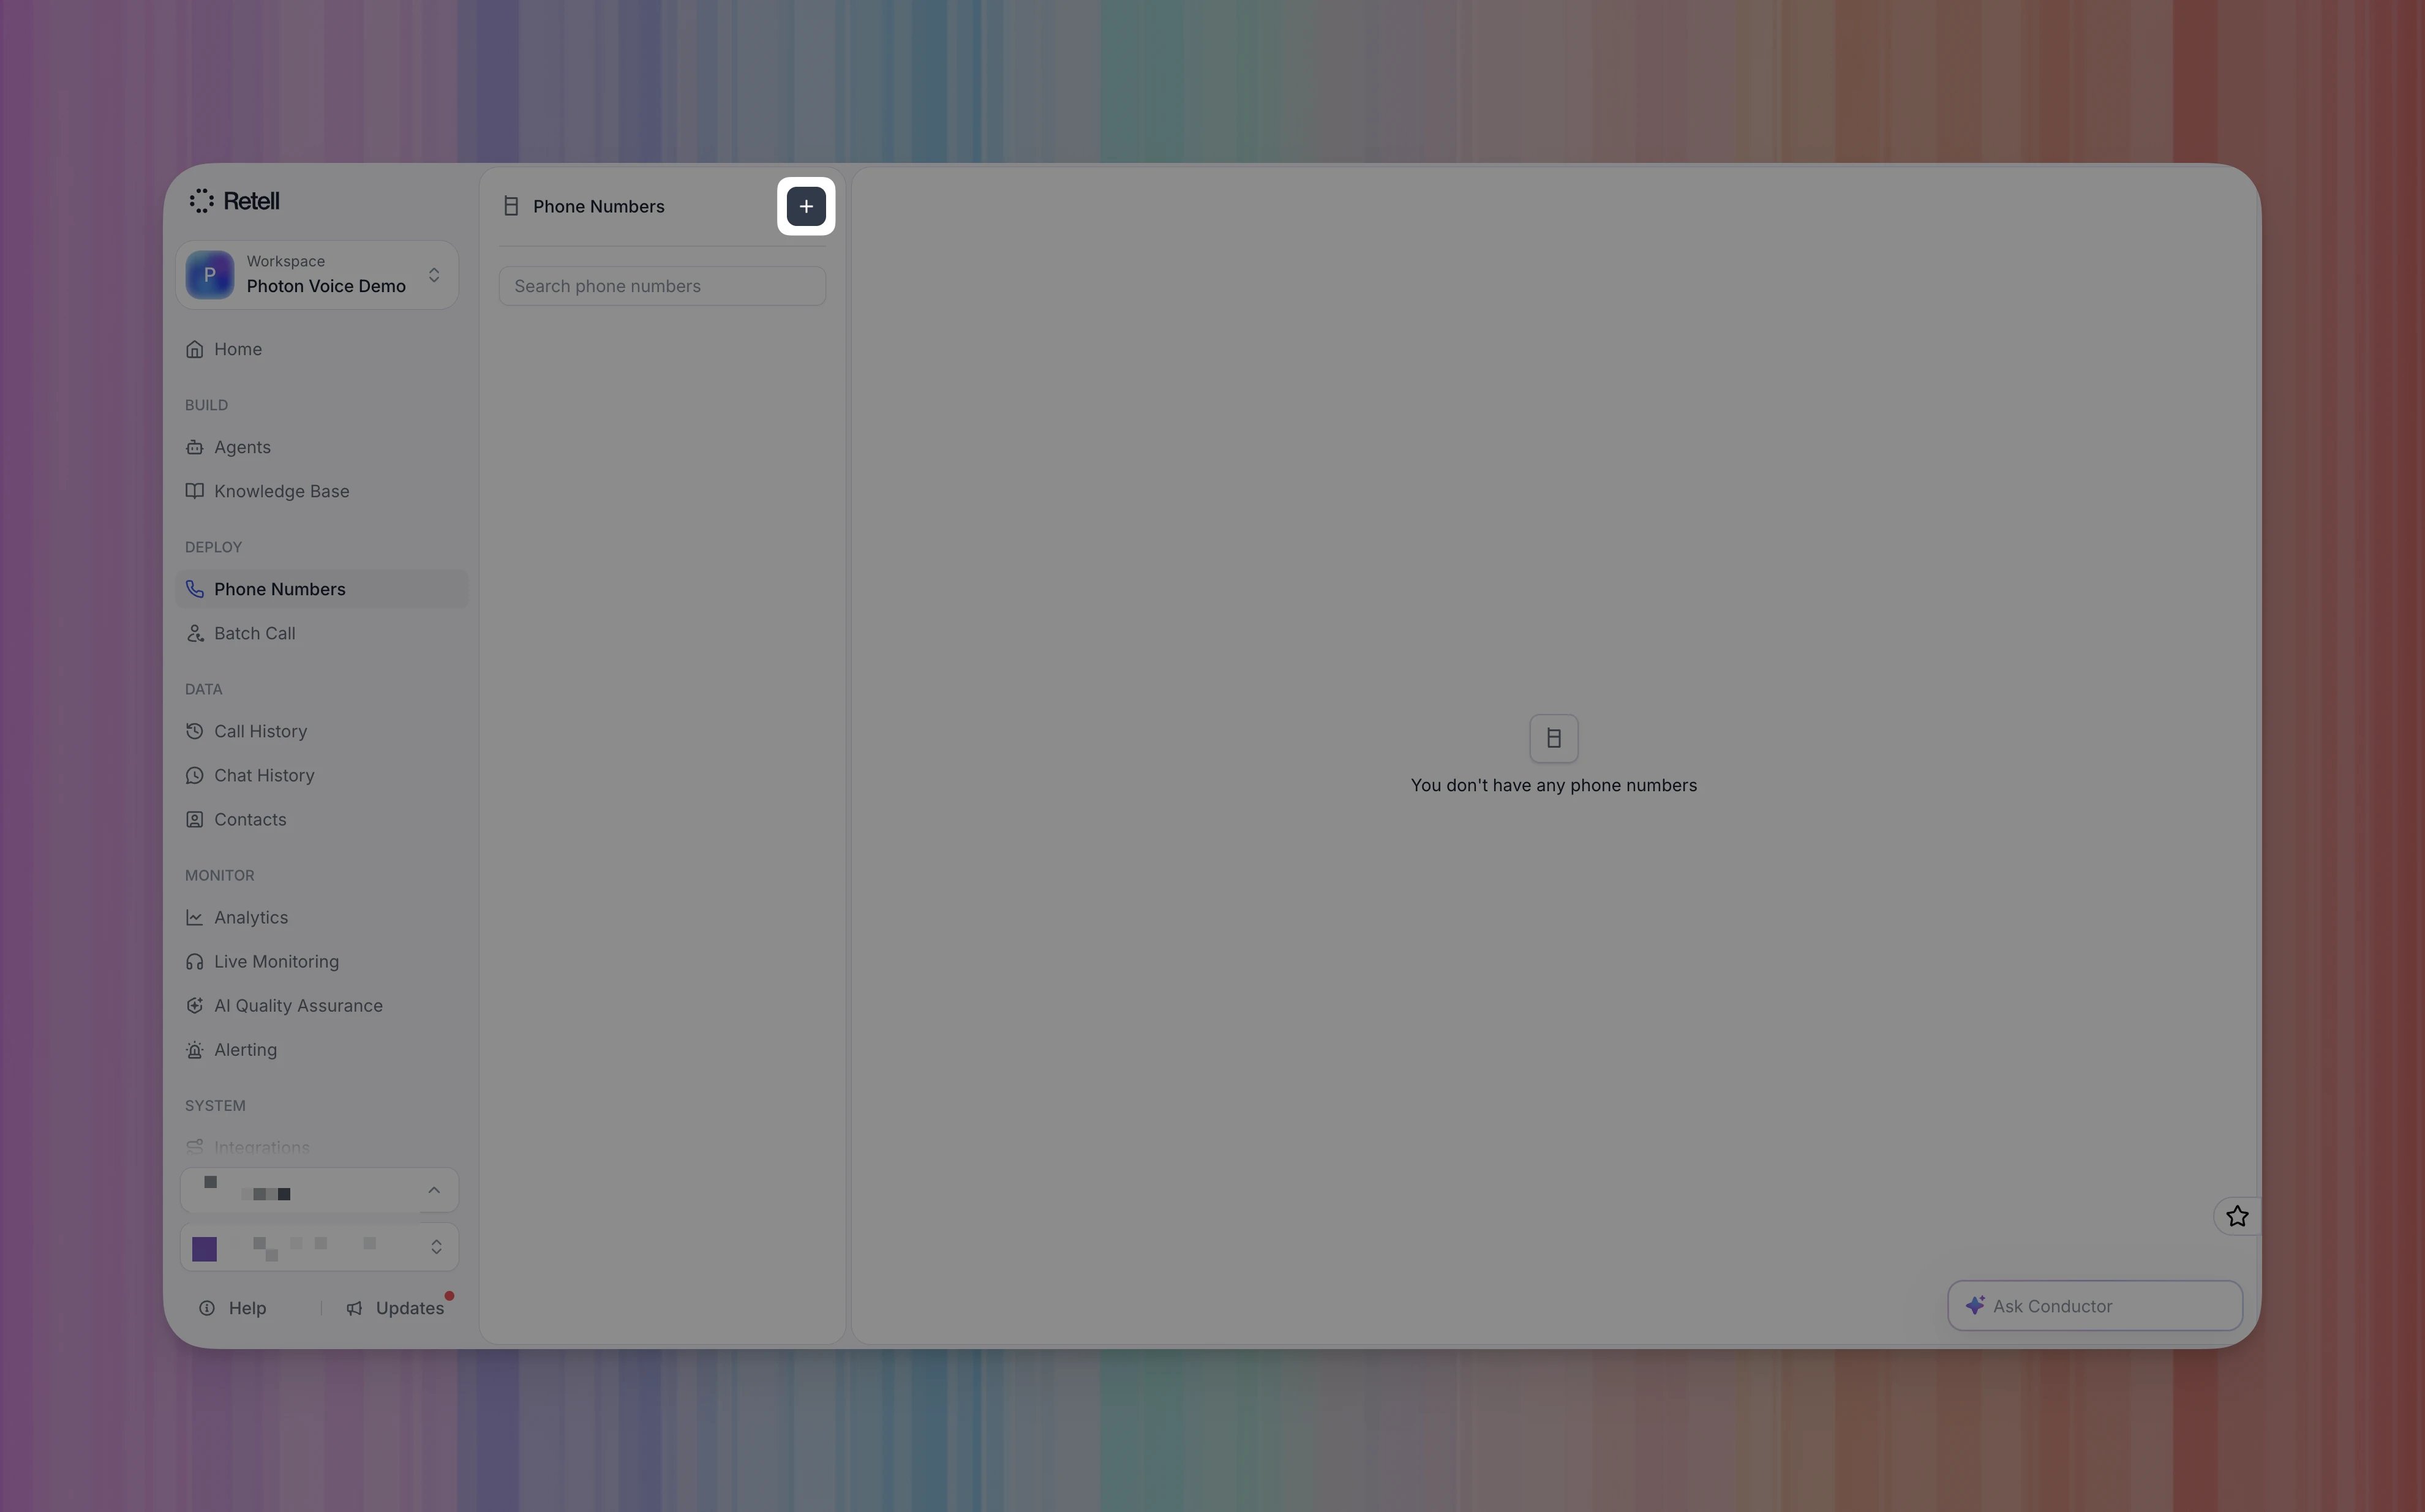
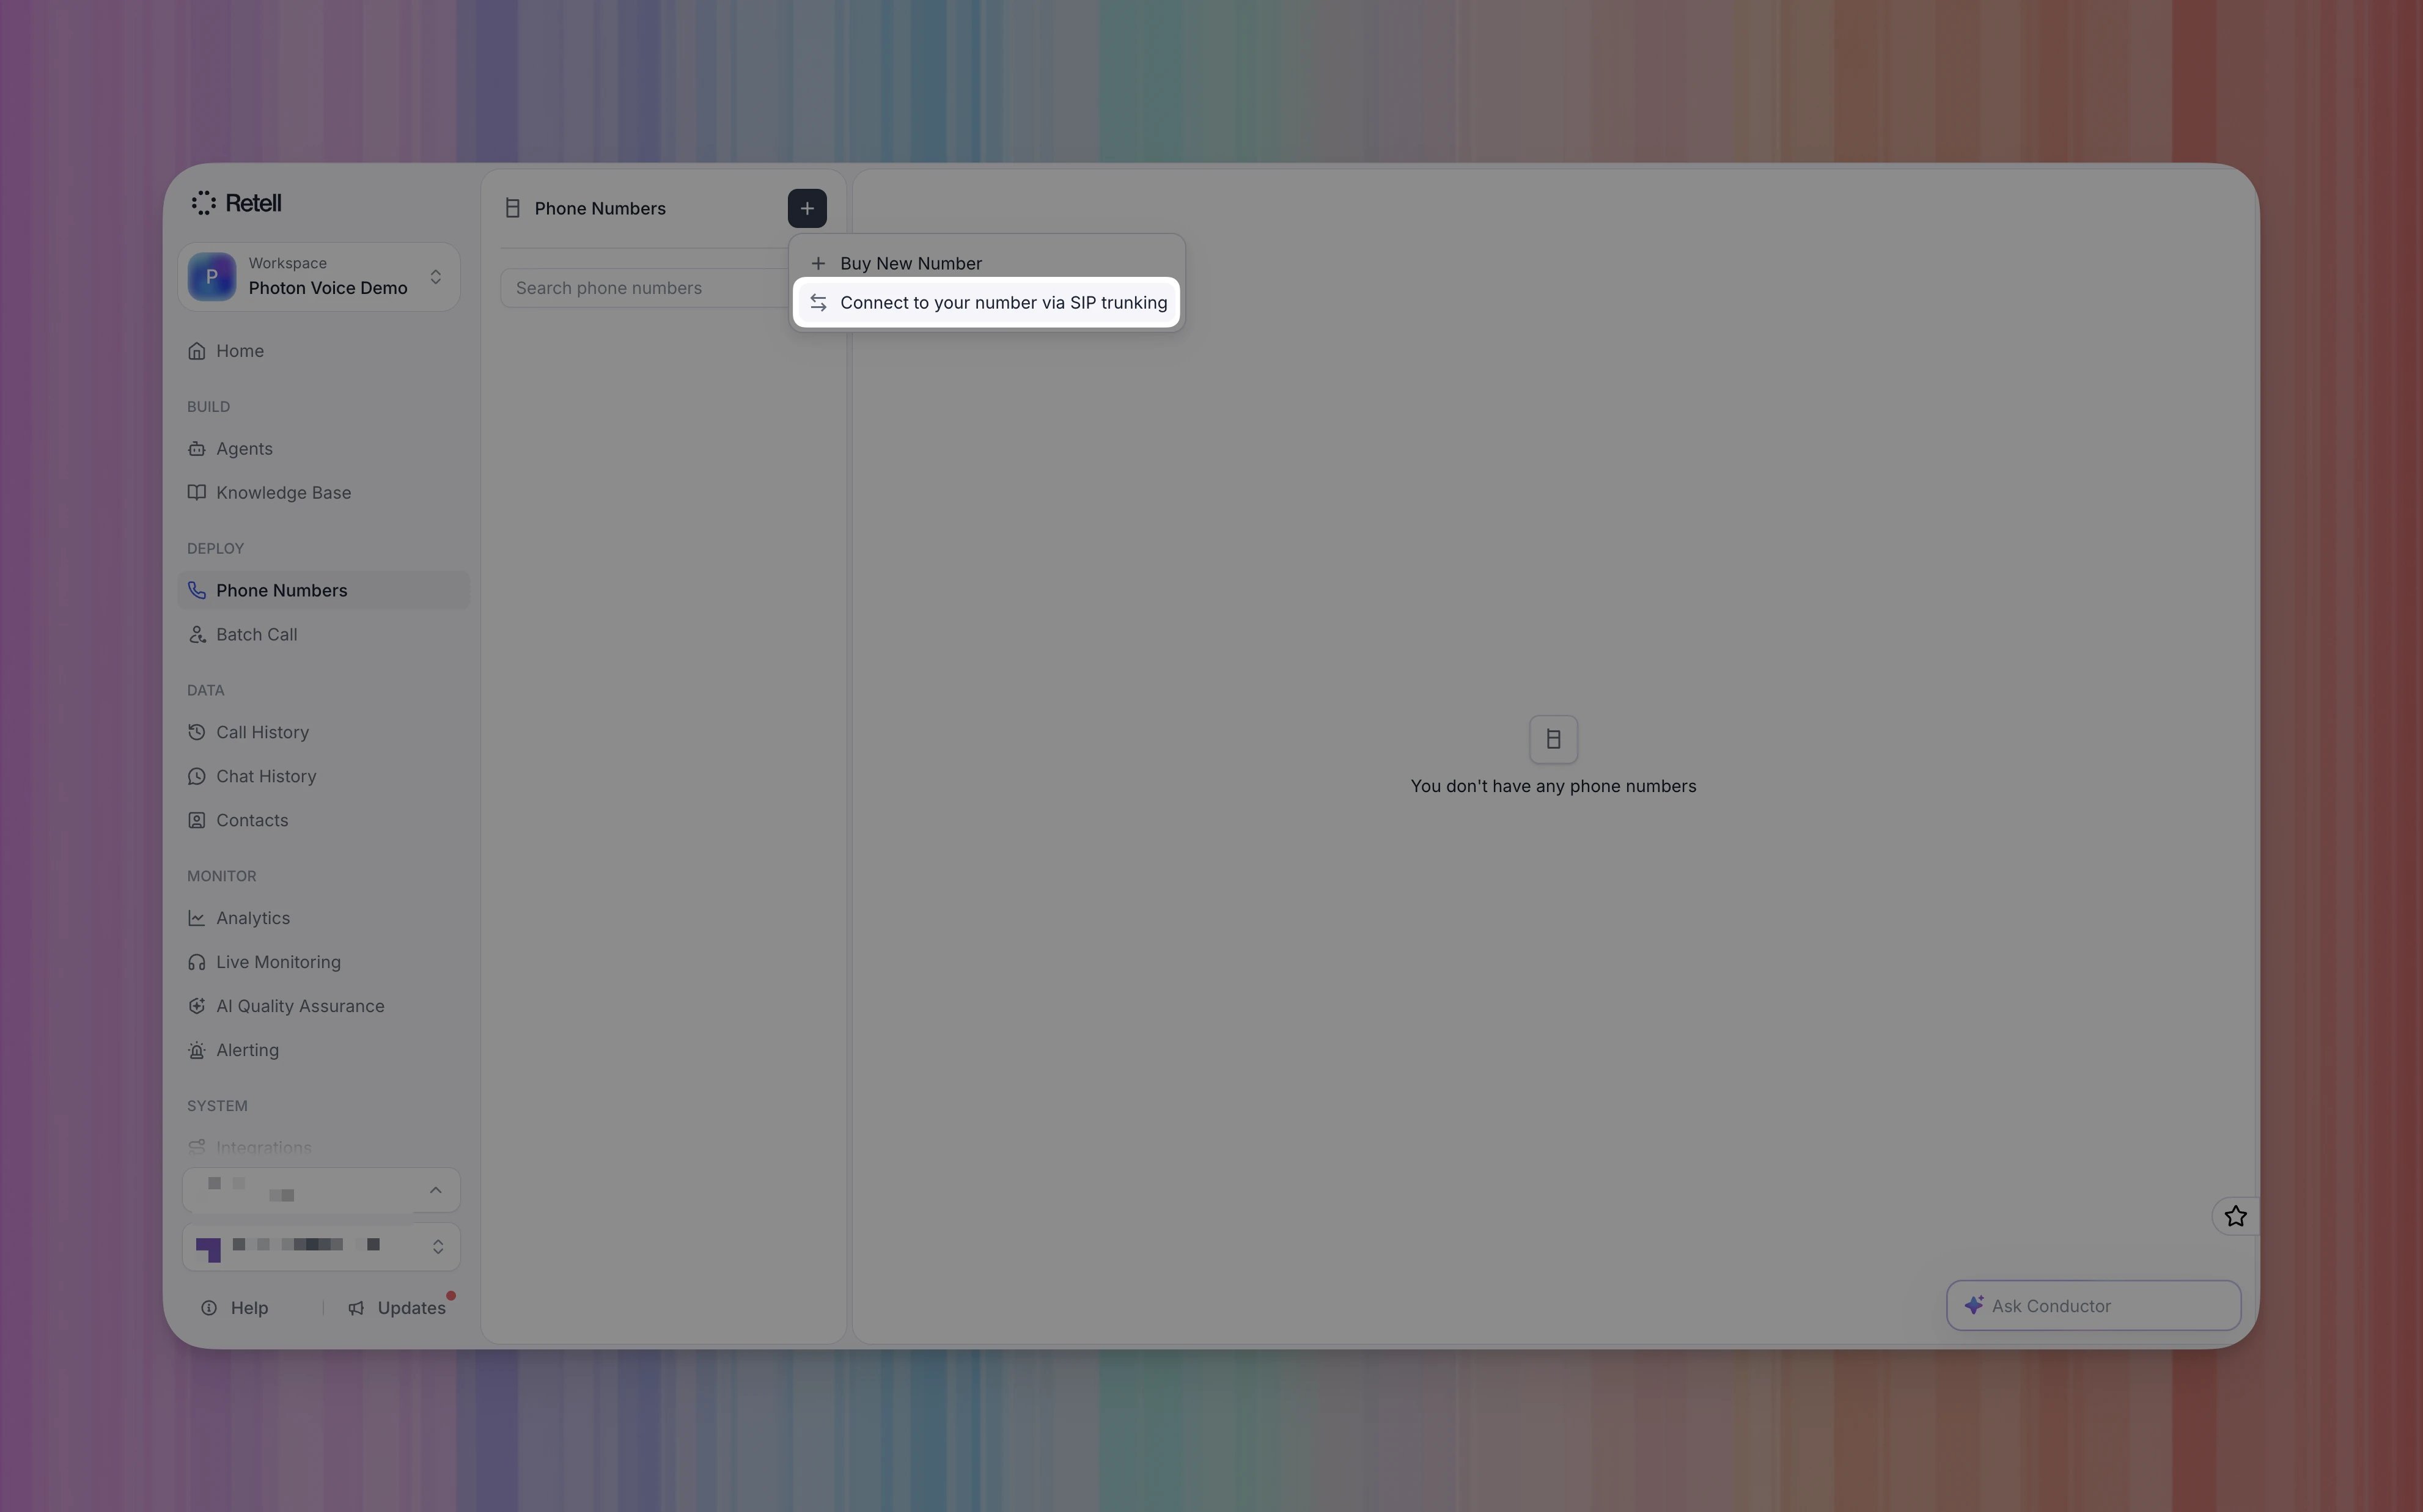
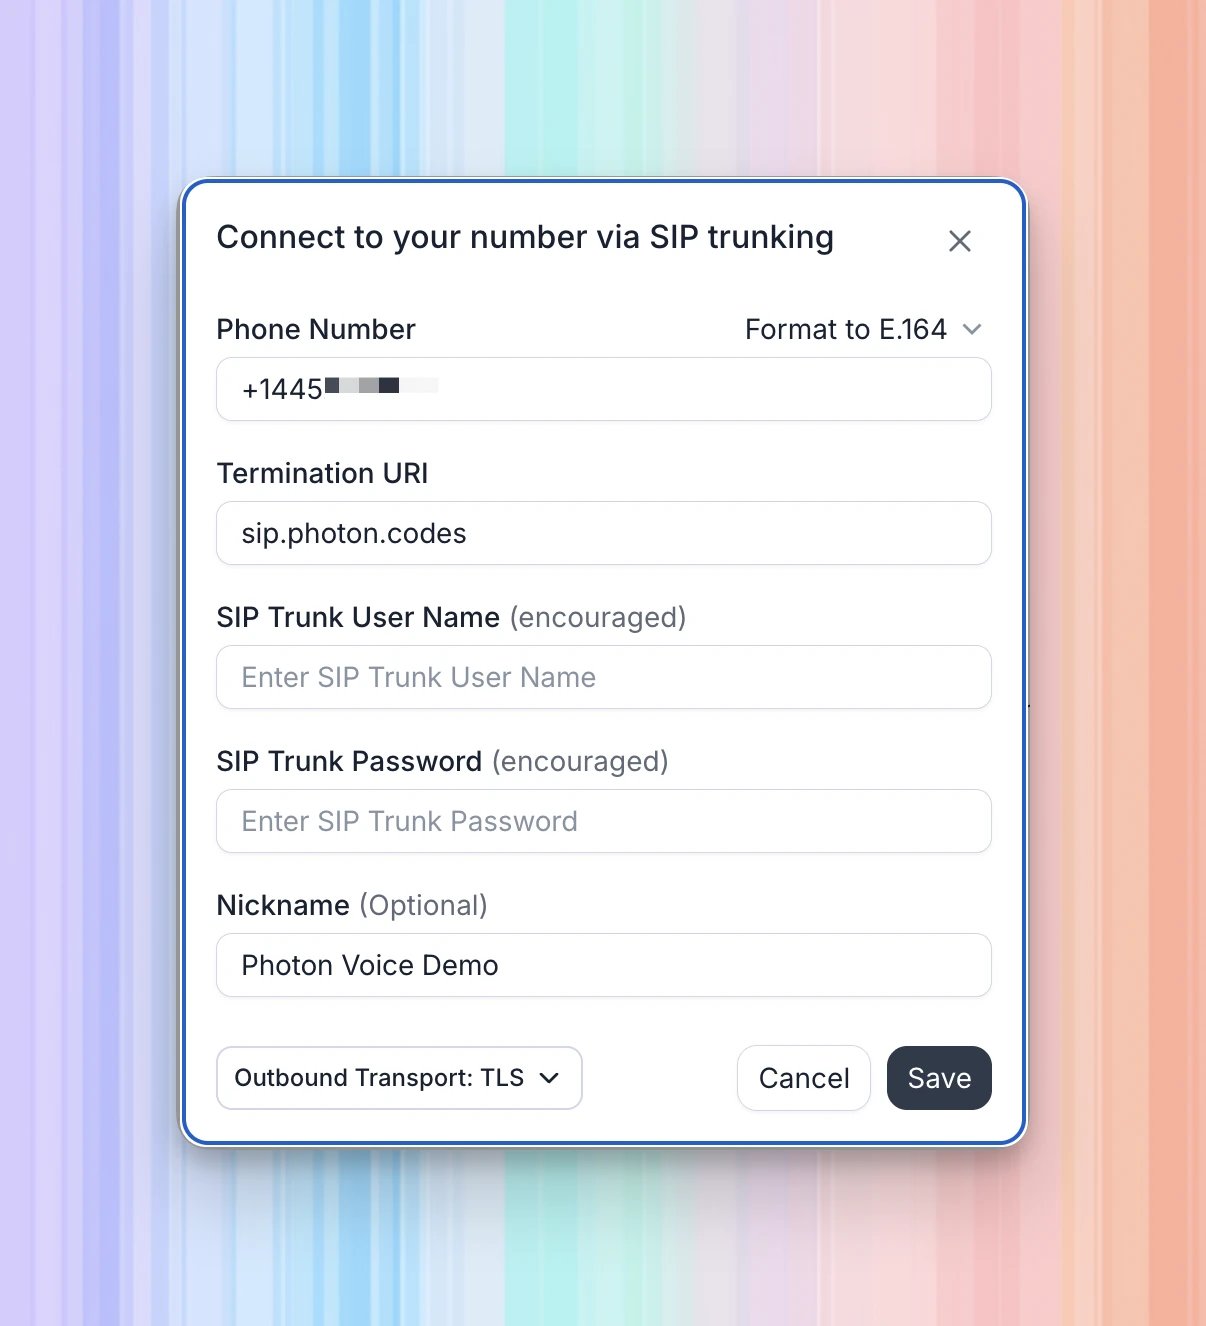
The Retell screenshot uses
sip.photon.codes, matching the Photon connection
shown above. Your termination address must match your profile’s SIP connection.
Retell labels the username and password as encouraged. Photon outbound
calling uses SIP credentials, so supply the Photon username and password when
configuring that direction, even though they are empty in the screenshot.
The nickname is a label inside Retell; it does not rename your Photon profile.
Retell requires a termination address when importing the number, even if you
only plan to receive calls. For incoming calls only, enter the Photon SIP
server address for your environment and leave the outbound credentials blank.
The screenshot shows this state. For outgoing calls, supply both credentials.
The termination address belongs to Photon. Retell’s receiving address is entered
in Photon’s inbound settings in the next section.
Retell import reference.
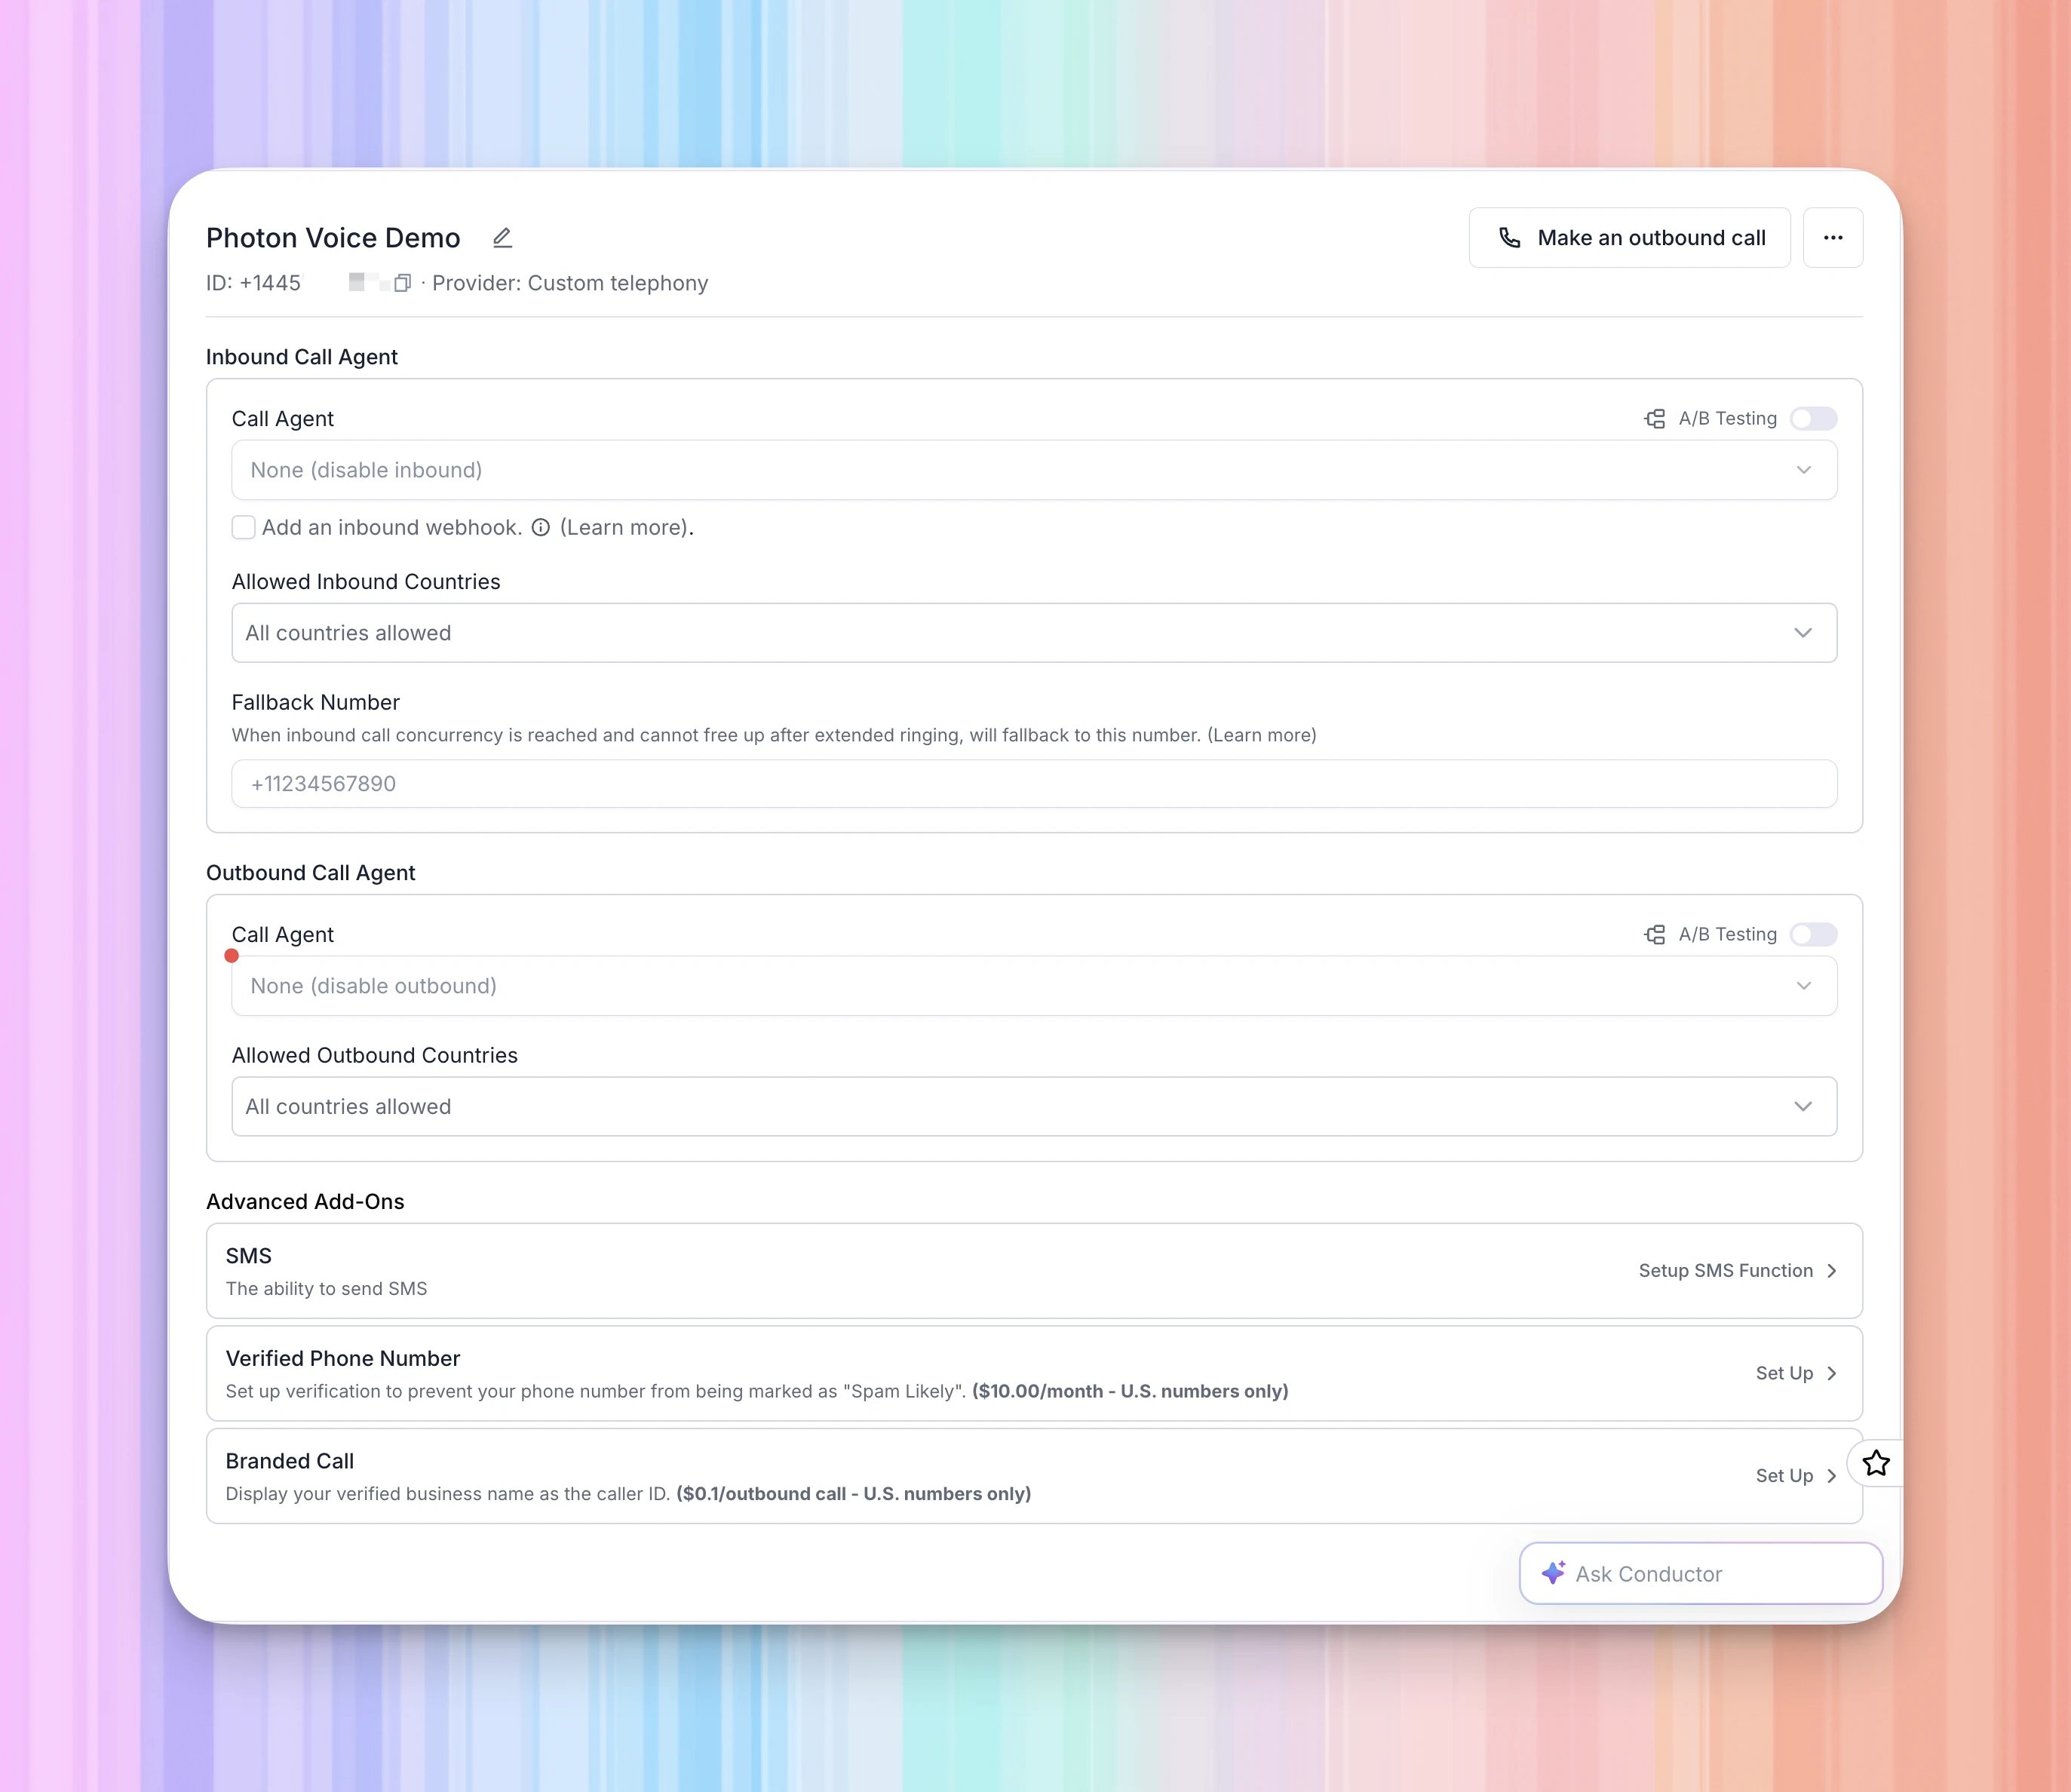
Select Save. On the imported number’s page, check the number and nickname.
The example shows Provider: Custom telephony and separate
Inbound Call Agent and Outbound Call Agent sections.
4. Receive calls with your Retell agent
For outgoing calls only, skip to Choose the outbound agent in Retell.Choose the inbound agent in Retell
Under Inbound Call Agent, open the Call Agent dropdown. Select your existing agent, then select the published version you want to answer calls. The example selects Photon Voice Demo Agent, version V0. Your agent name and version will differ. The menu also shows Latest Published and V1 (Draft); use the version intended for your callers.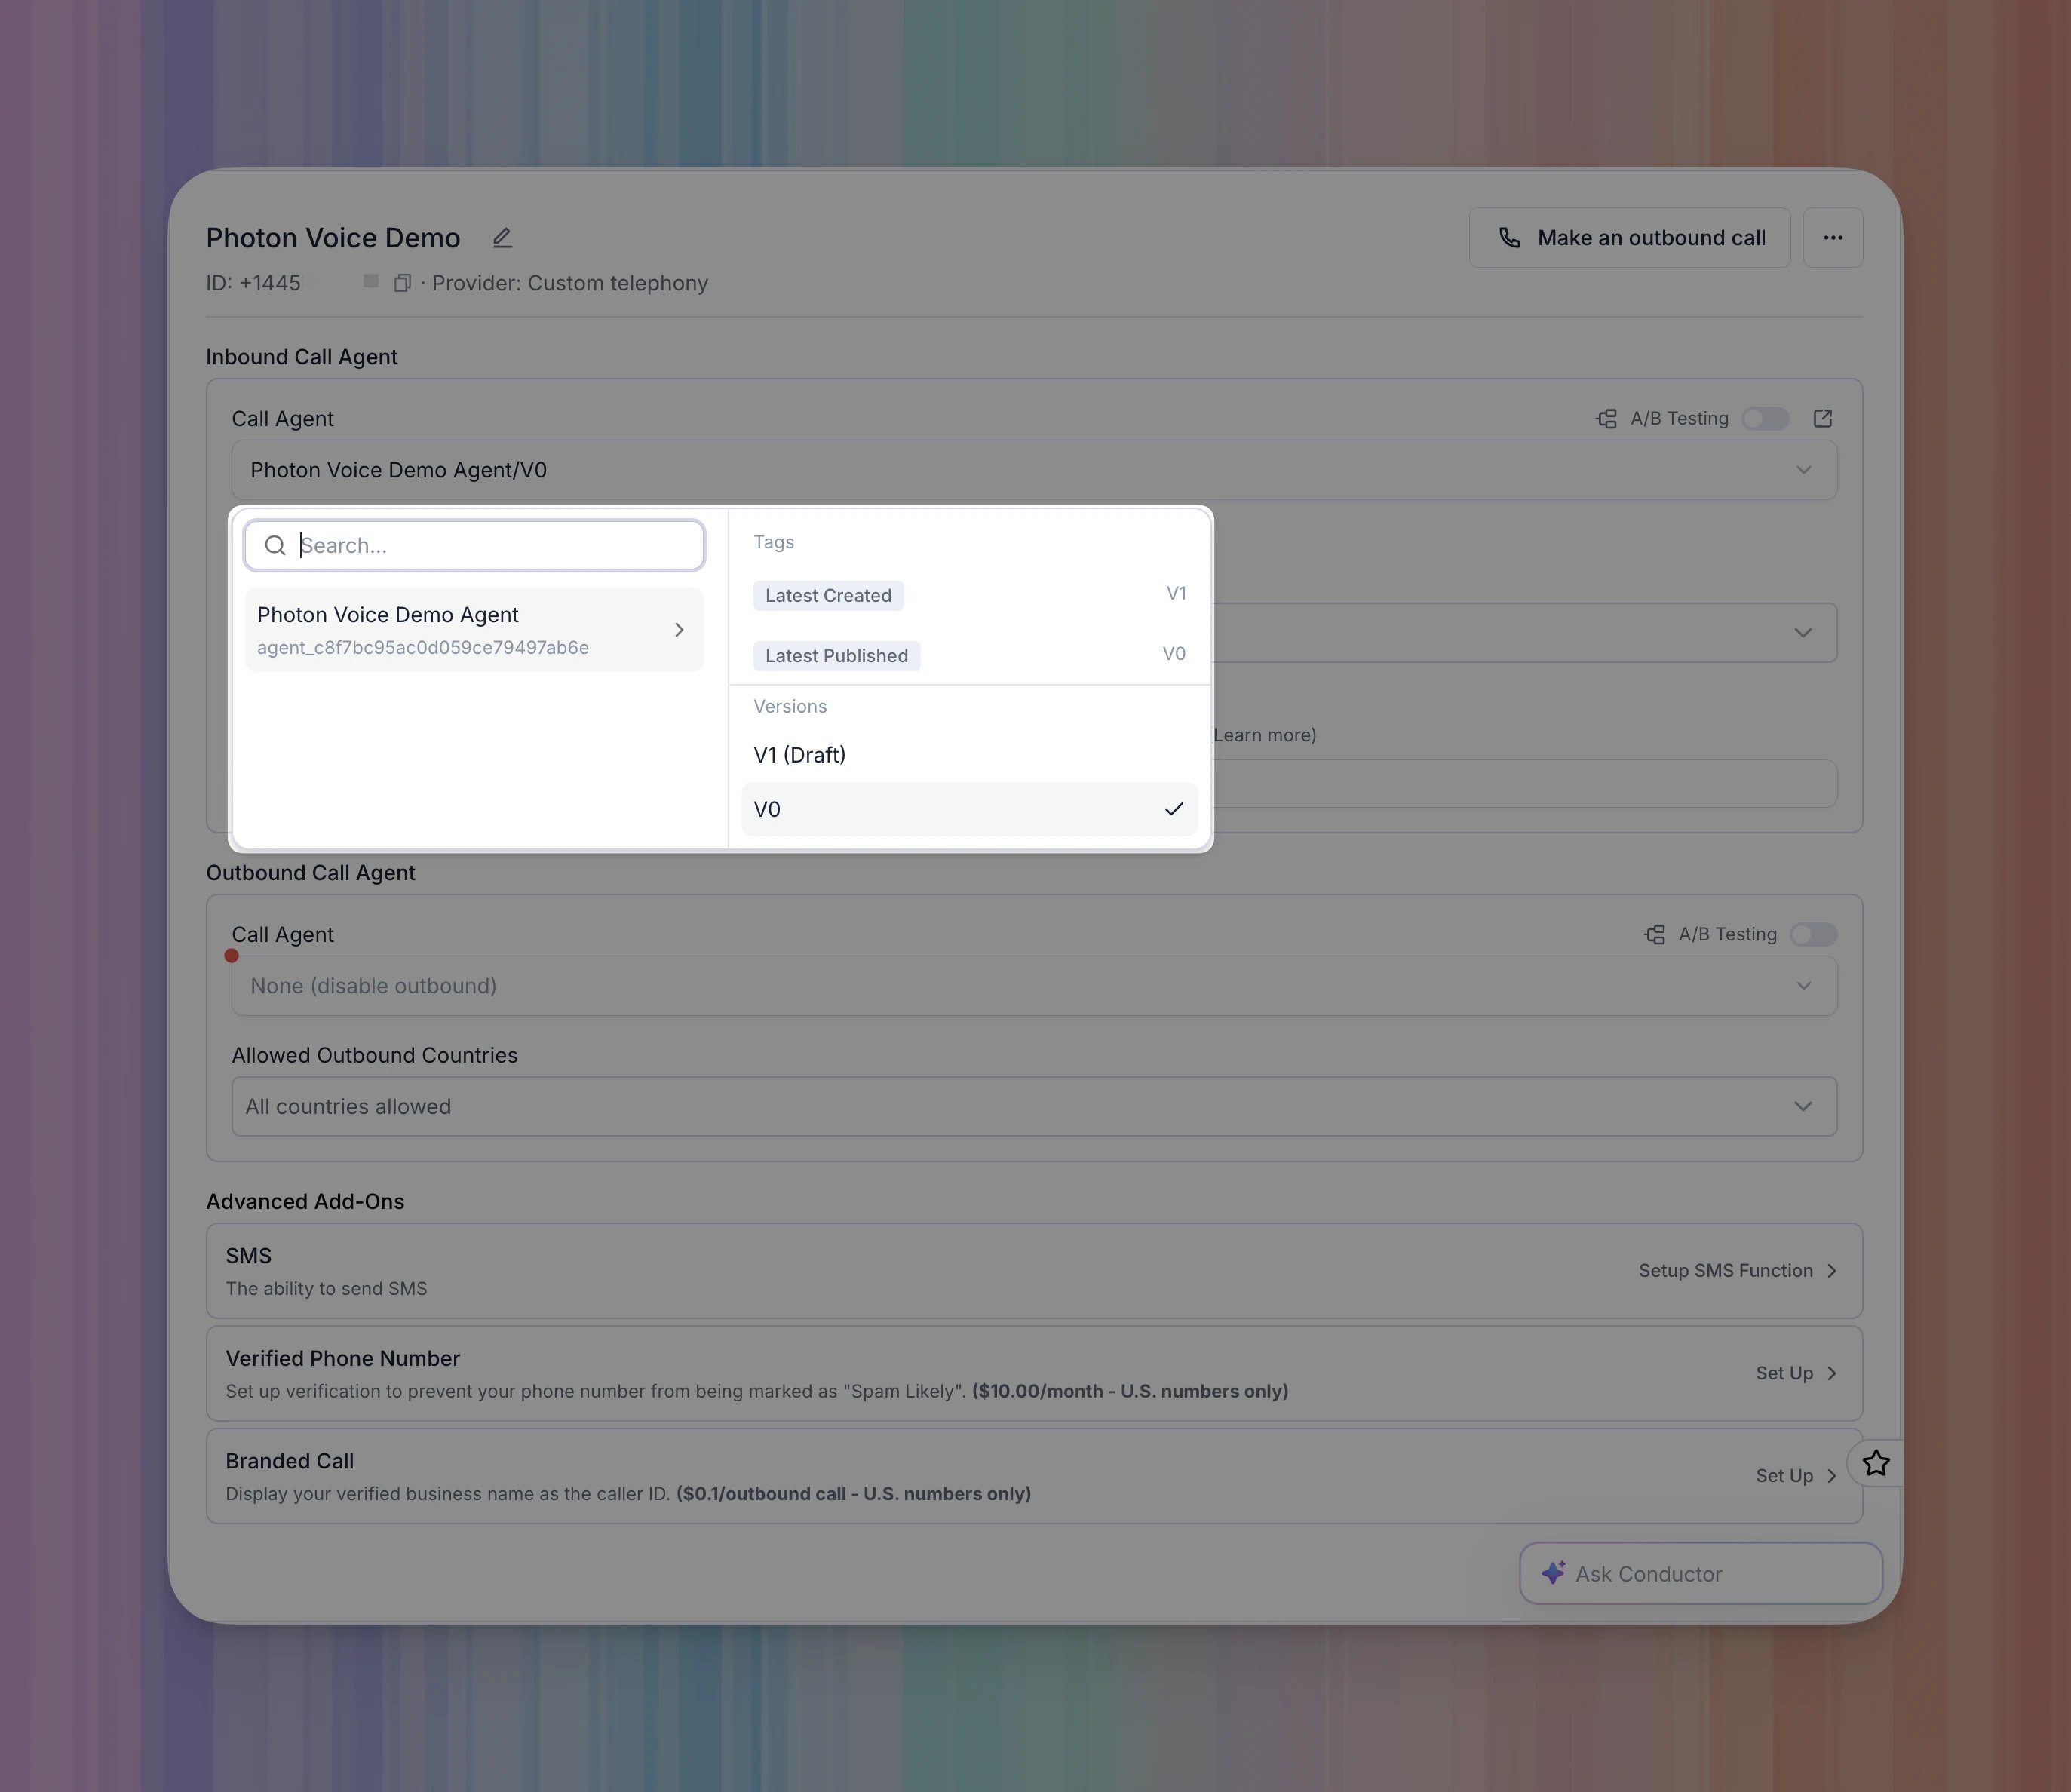
Set the inbound destination in Photon
Open the existing Photon Voice profile used by your number. Under Inbound calls, select Enable inbound.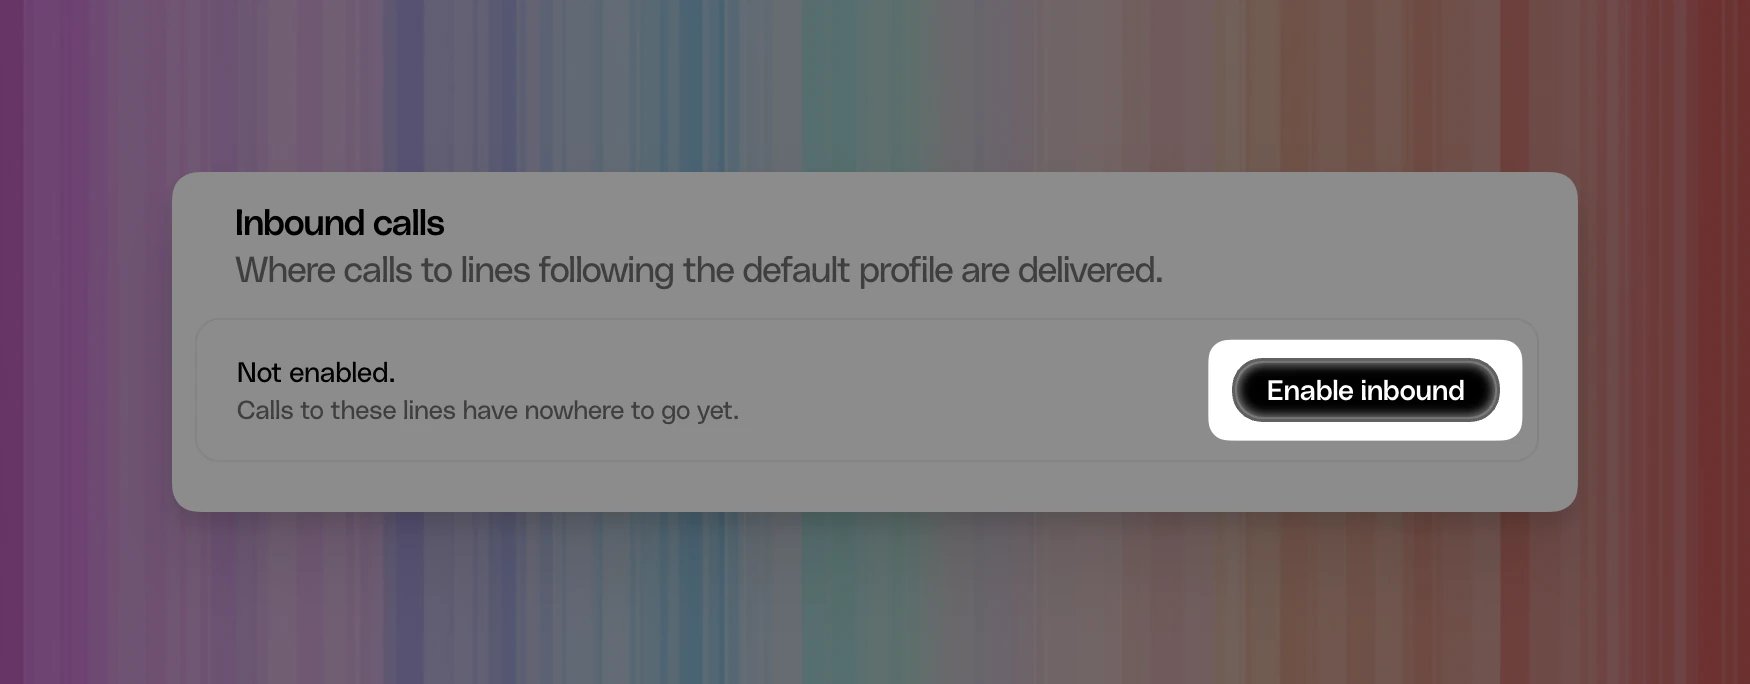
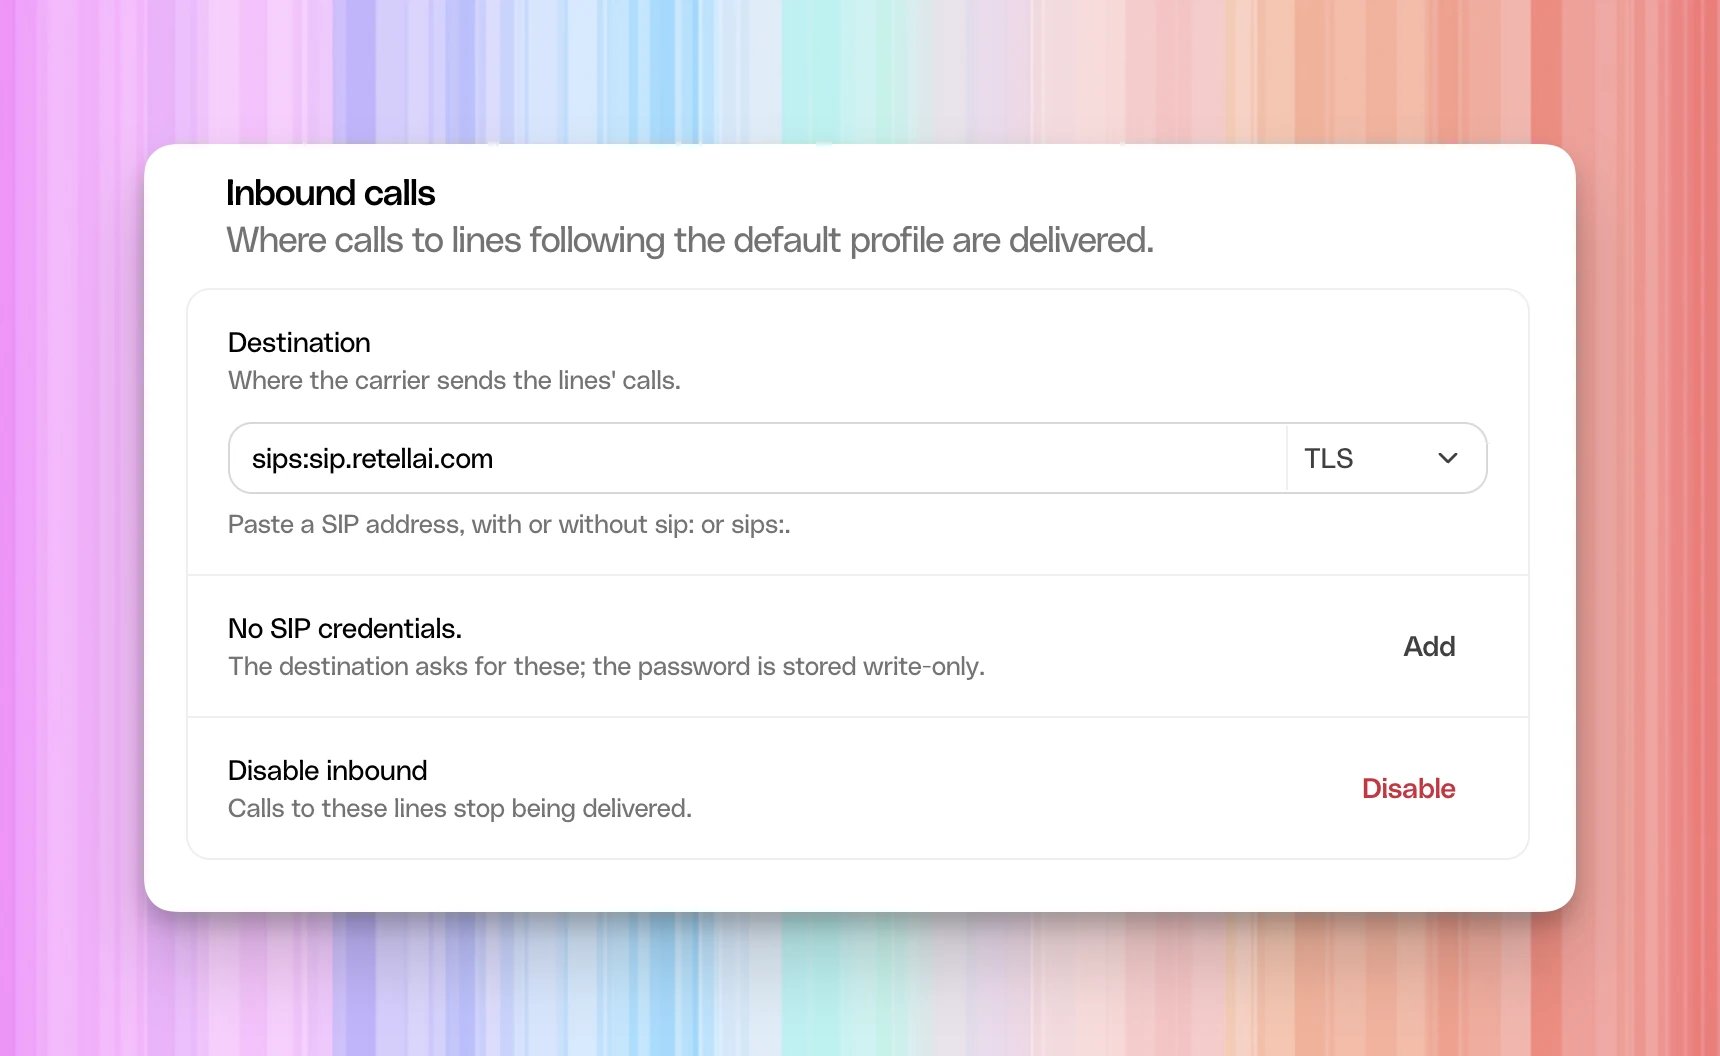
Retell publishes this receiving address for TLS.
Retell SIP settings.
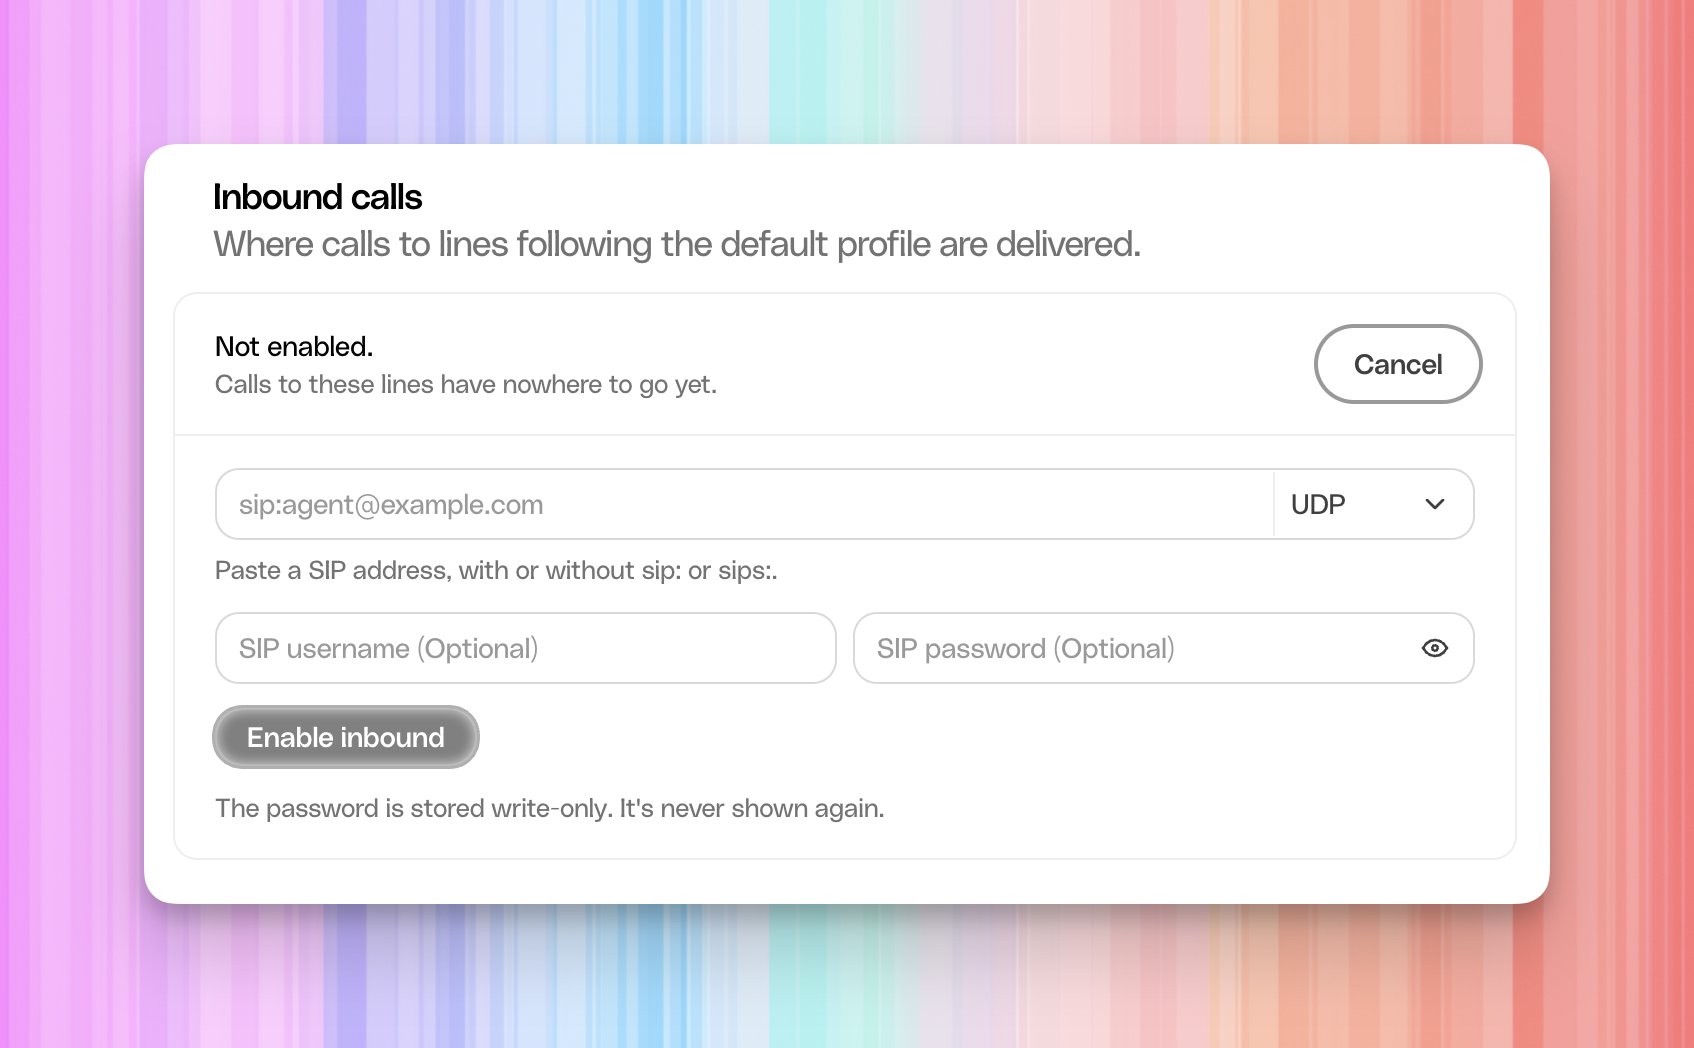
Photon automatically formats the address. When you leave the input field
or change the transport, Photon reformats the SIP address. With TLS selected,
sip:sip.retellai.com;transport=tls becomes sips:sip.retellai.com.
Both forms select TLS in Photon. You can continue with the reformatted address.sip.retellai.com using TLS, as shown below.
5. Choose the outbound agent in Retell
Skip this section if you only receive calls. On the imported number’s page, open Call Agent under Outbound Call Agent. Select your existing agent and the version you want to use for outgoing calls. This selection is independent of Inbound Call Agent; you can use the same agent or a different one. Retell agent binding. The screenshot in the next section shows Photon Voice Demo Agent/V0 selected for both directions.6. Place an outbound call when you need one
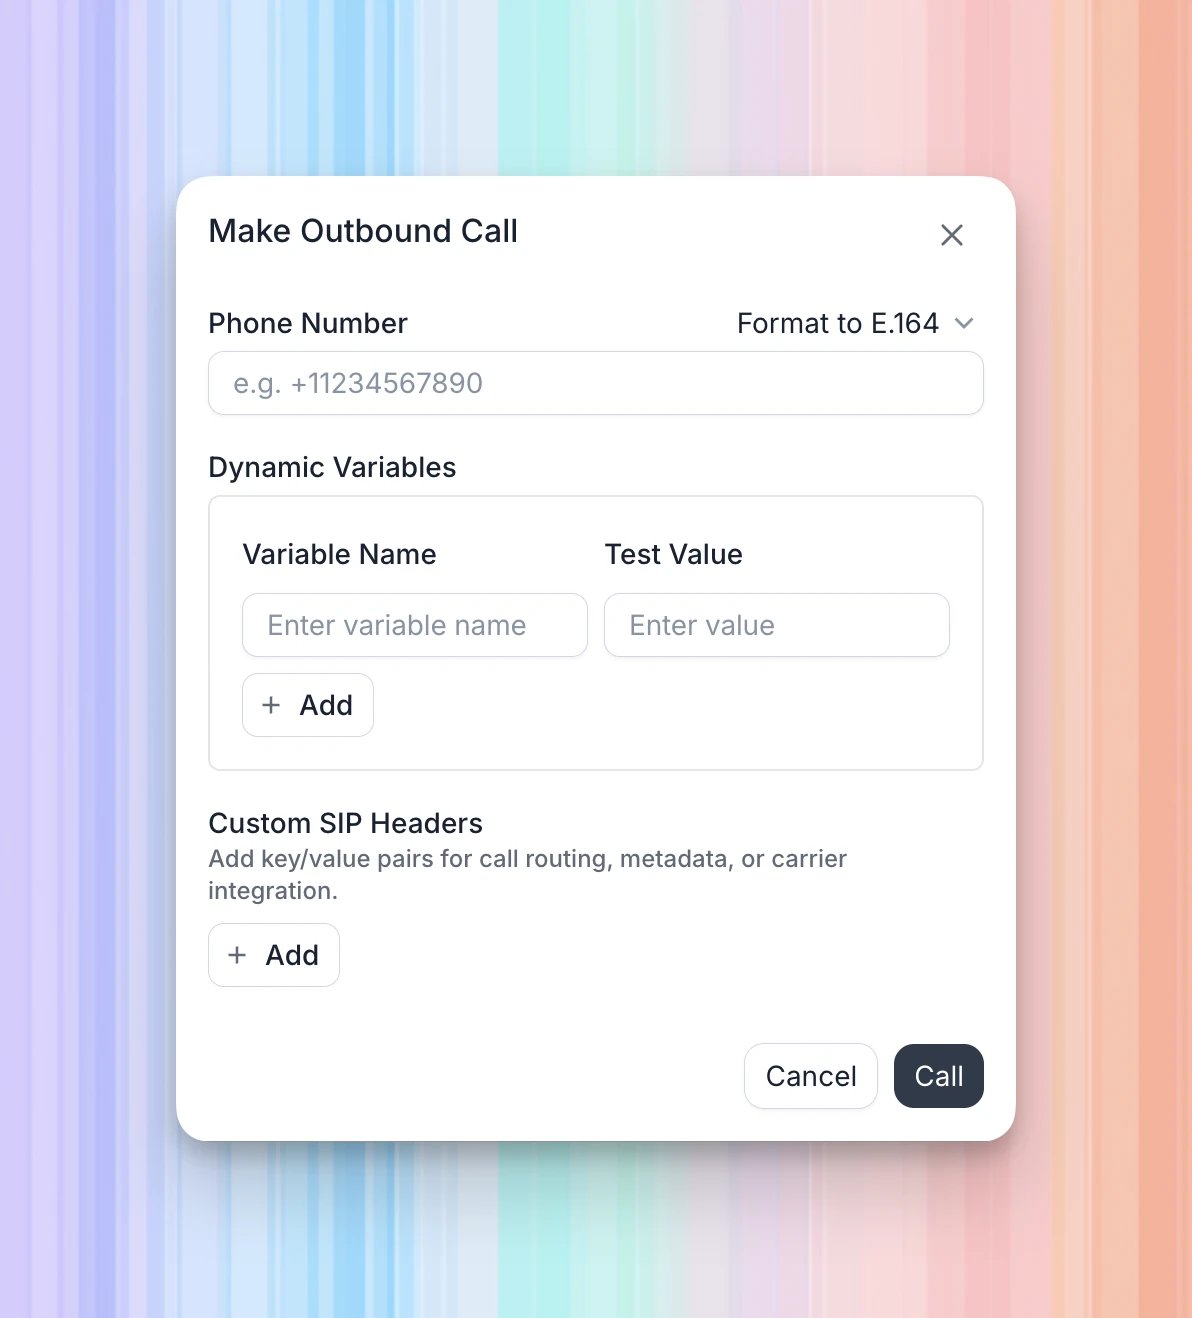
Once outbound configuration is complete, open your imported number in Retell and select Make an outbound call.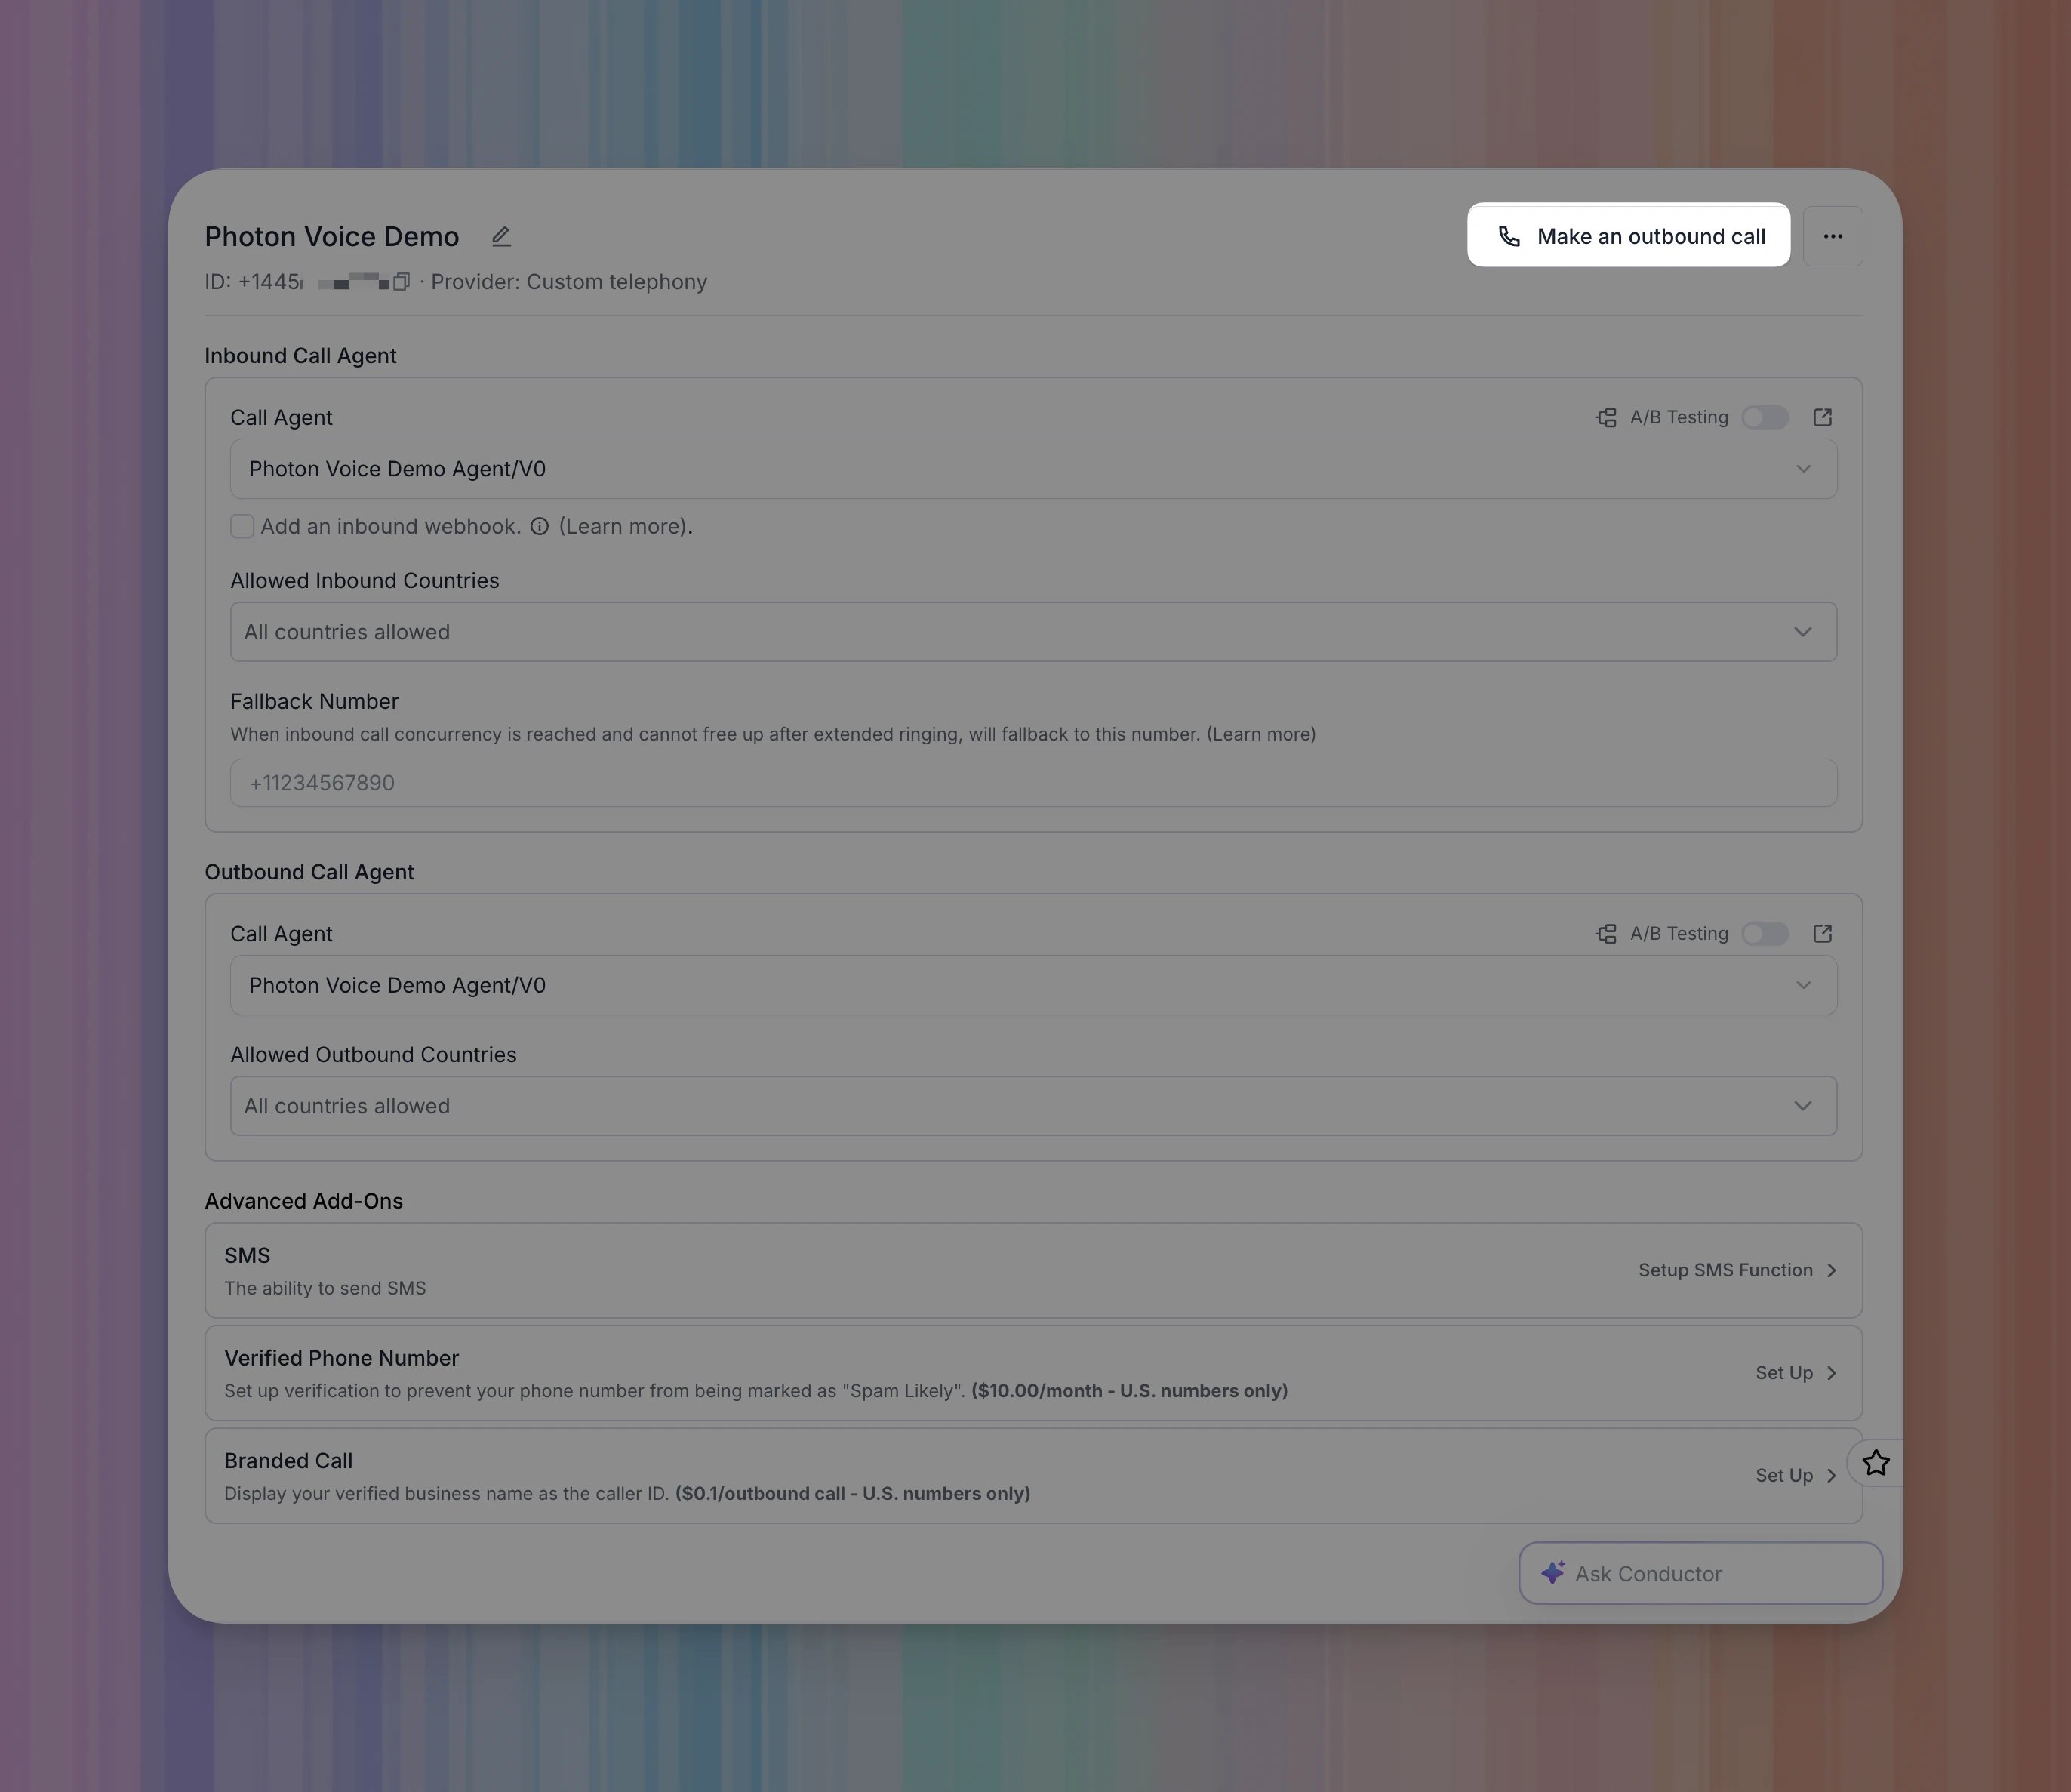
Review your configuration
Retell’s Save action records the connection settings. It does not verify
that calls can connect. You can leave an unused call direction disabled.
Troubleshooting
Retell reports reasons such as
invalid_destination,
telephony_provider_permission_denied, and sip_routing_error in its call
logs. Use the reported reason to narrow the problem.
Retell outbound troubleshooting.