Connect your existing ElevenLabs agent to a Photon number through SIP trunking. Your number stays with Photon. You configure the receiving destination in Photon and import the number into ElevenLabs. This walkthrough configures both incoming and outgoing calls. Incoming call: caller → Photon number → Voice profile → ElevenLabs agent. Outgoing call: ElevenLabs agent → Photon SIP connection → recipient’s phone. This walkthrough uses TLS for SIP signaling. Audio encryption is a separate setting on each platform. ElevenLabs provides a From SIP Trunk import option for this connection. ElevenLabs SIP trunking.

Before you start

  • A Photon project with an eligible SMS number, WhatsApp number, or dedicated iMessage line. Shared iMessage assignments do not support Voice.
  • Permission to manage the project’s Voice profiles.
  • An ElevenLabs account with a published voice agent ready to use.
  • A separate phone you can use to check incoming and outgoing calls.
Use your own agent, prompt, and voice. If you need an agent, follow the ElevenLabs quickstart. You can check its behavior with Preview in the agent editor before connecting your number. User-entered names in the screenshots are examples. Choose your own labels and use your own numbers. Copy generated credentials and assigned connection addresses from your account; the field instructions identify values that must match.

1. Prepare your Photon Voice profile

Choose a profile

A Voice profile stores the call settings for one or more numbers in your project. Create the default before creating an additional profile. Creating an additional profile does not move any numbers; assign the intended numbers to it afterward. The screenshots below show default-profile setup. If your number uses an additional profile, apply the connection settings to that profile instead. Changes affect new calls on every number using the edited profile. Check its Lines count to see how many numbers share the settings.

Open or create your profile

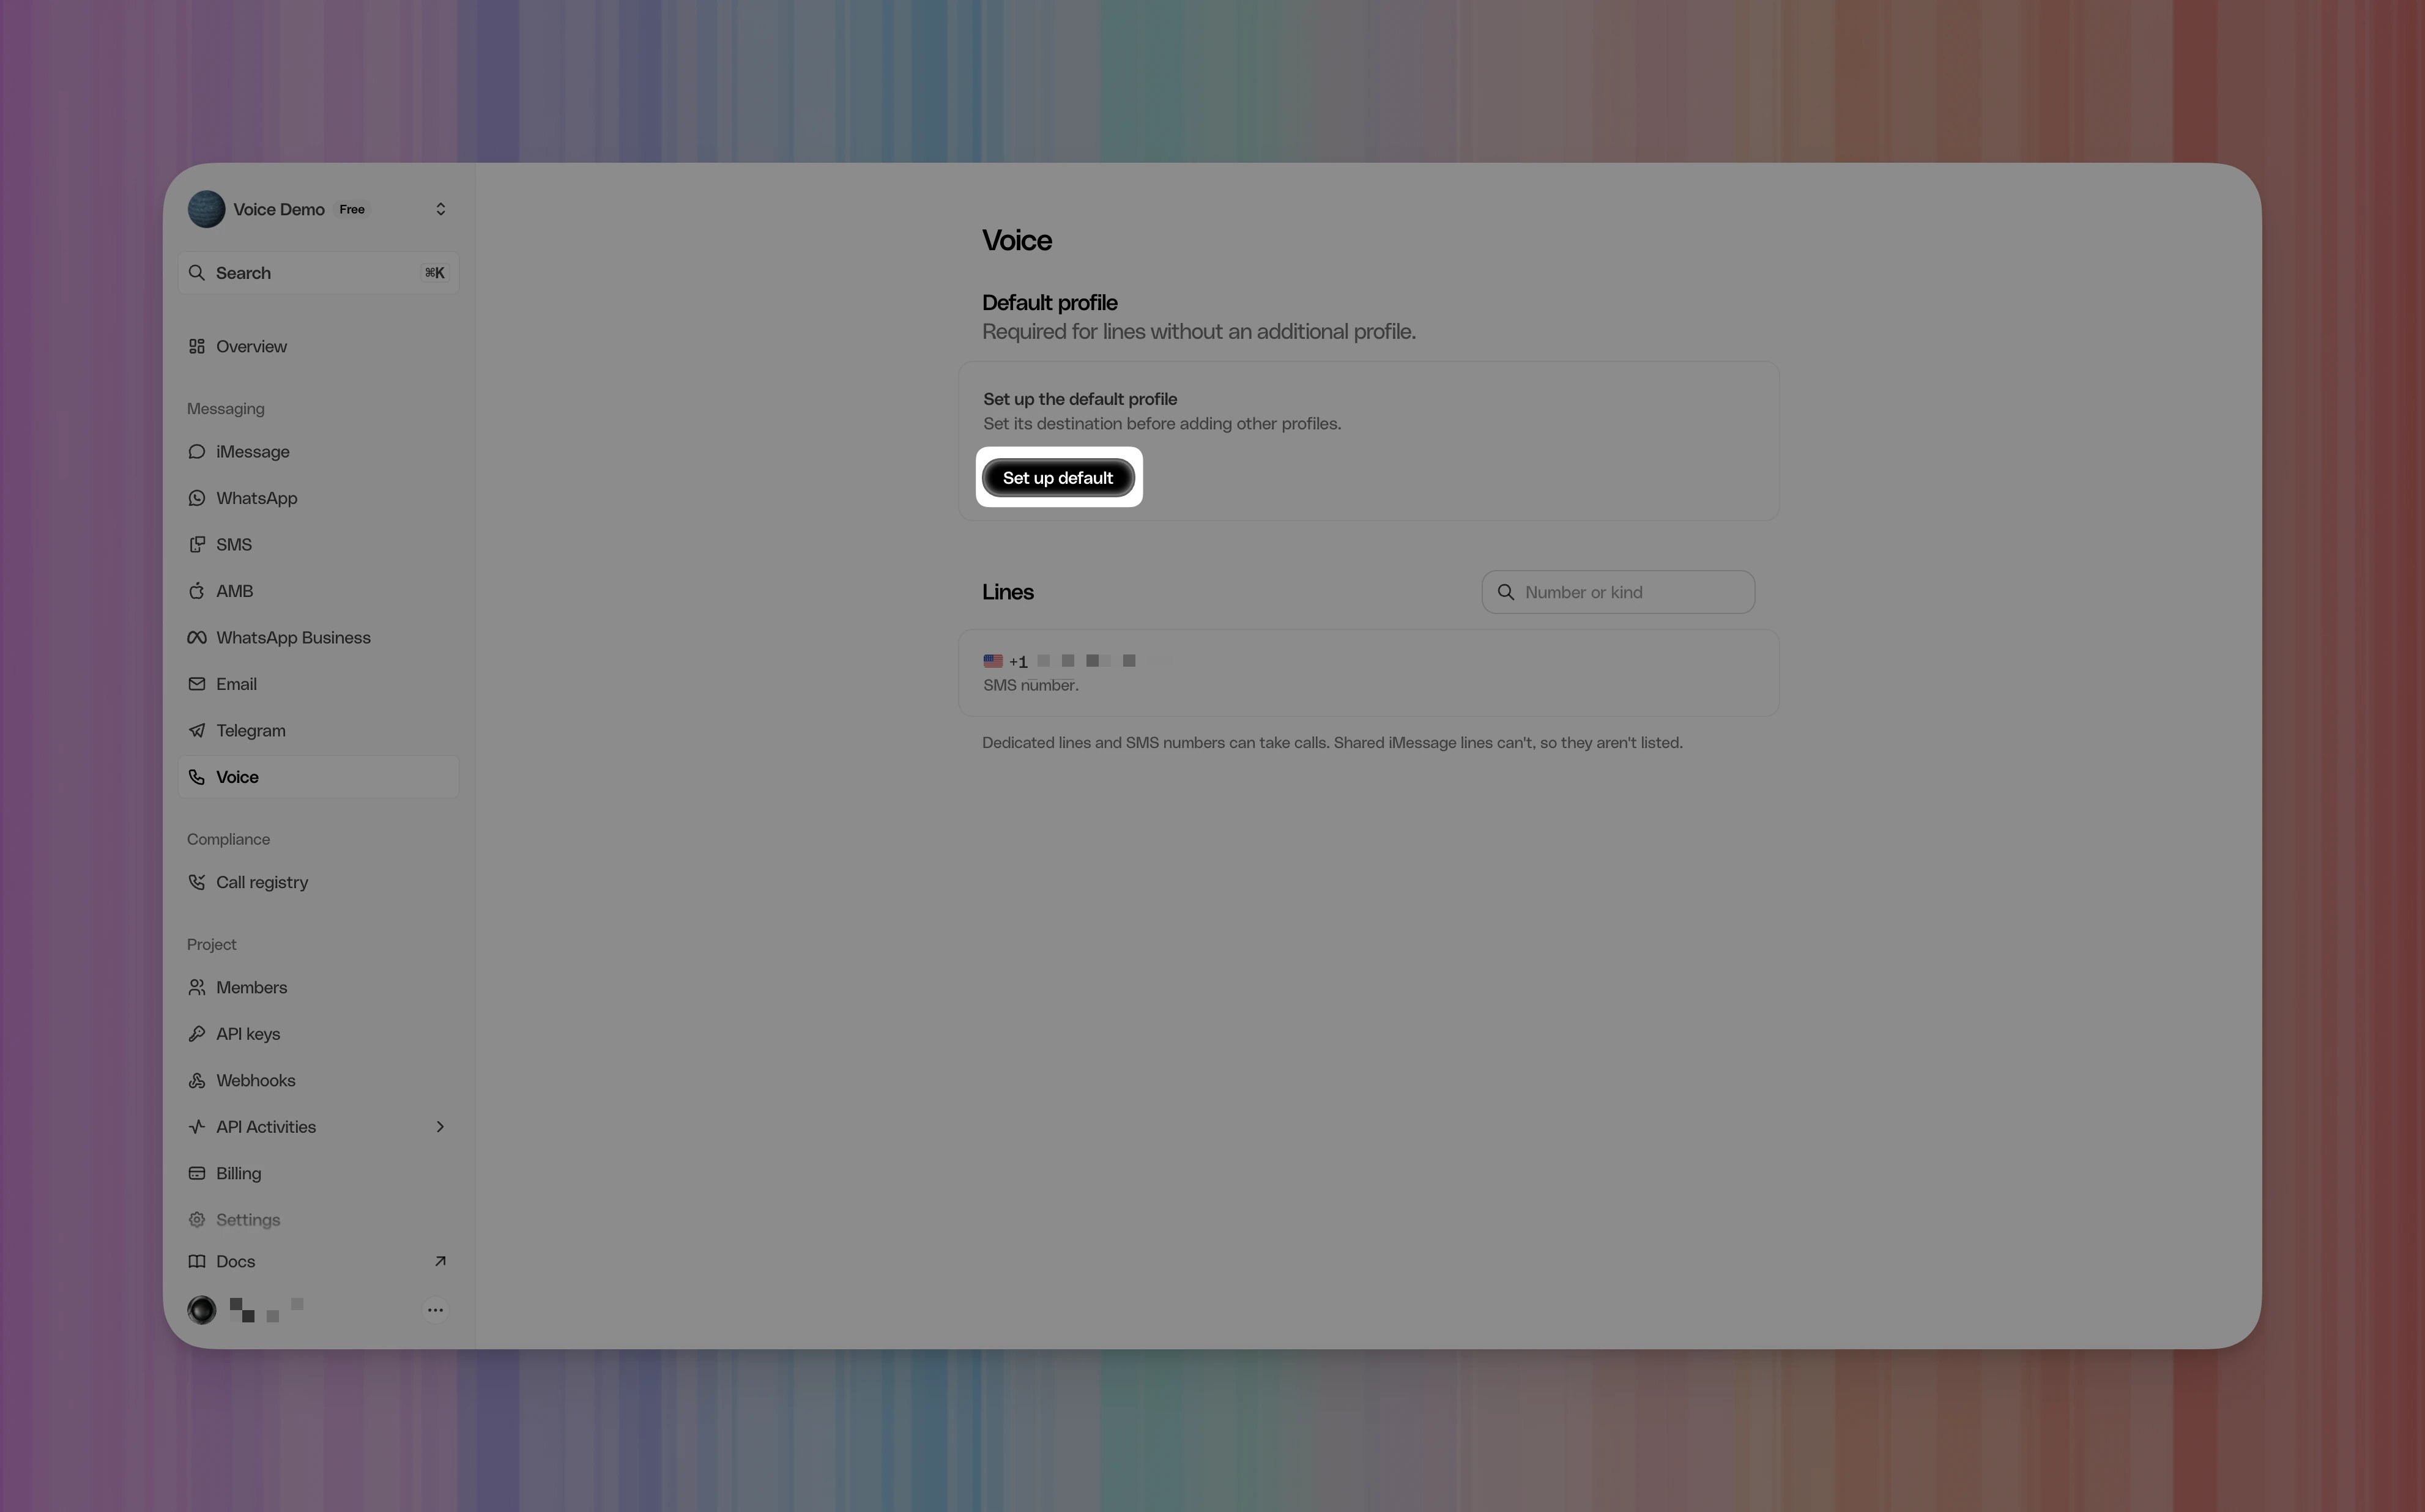
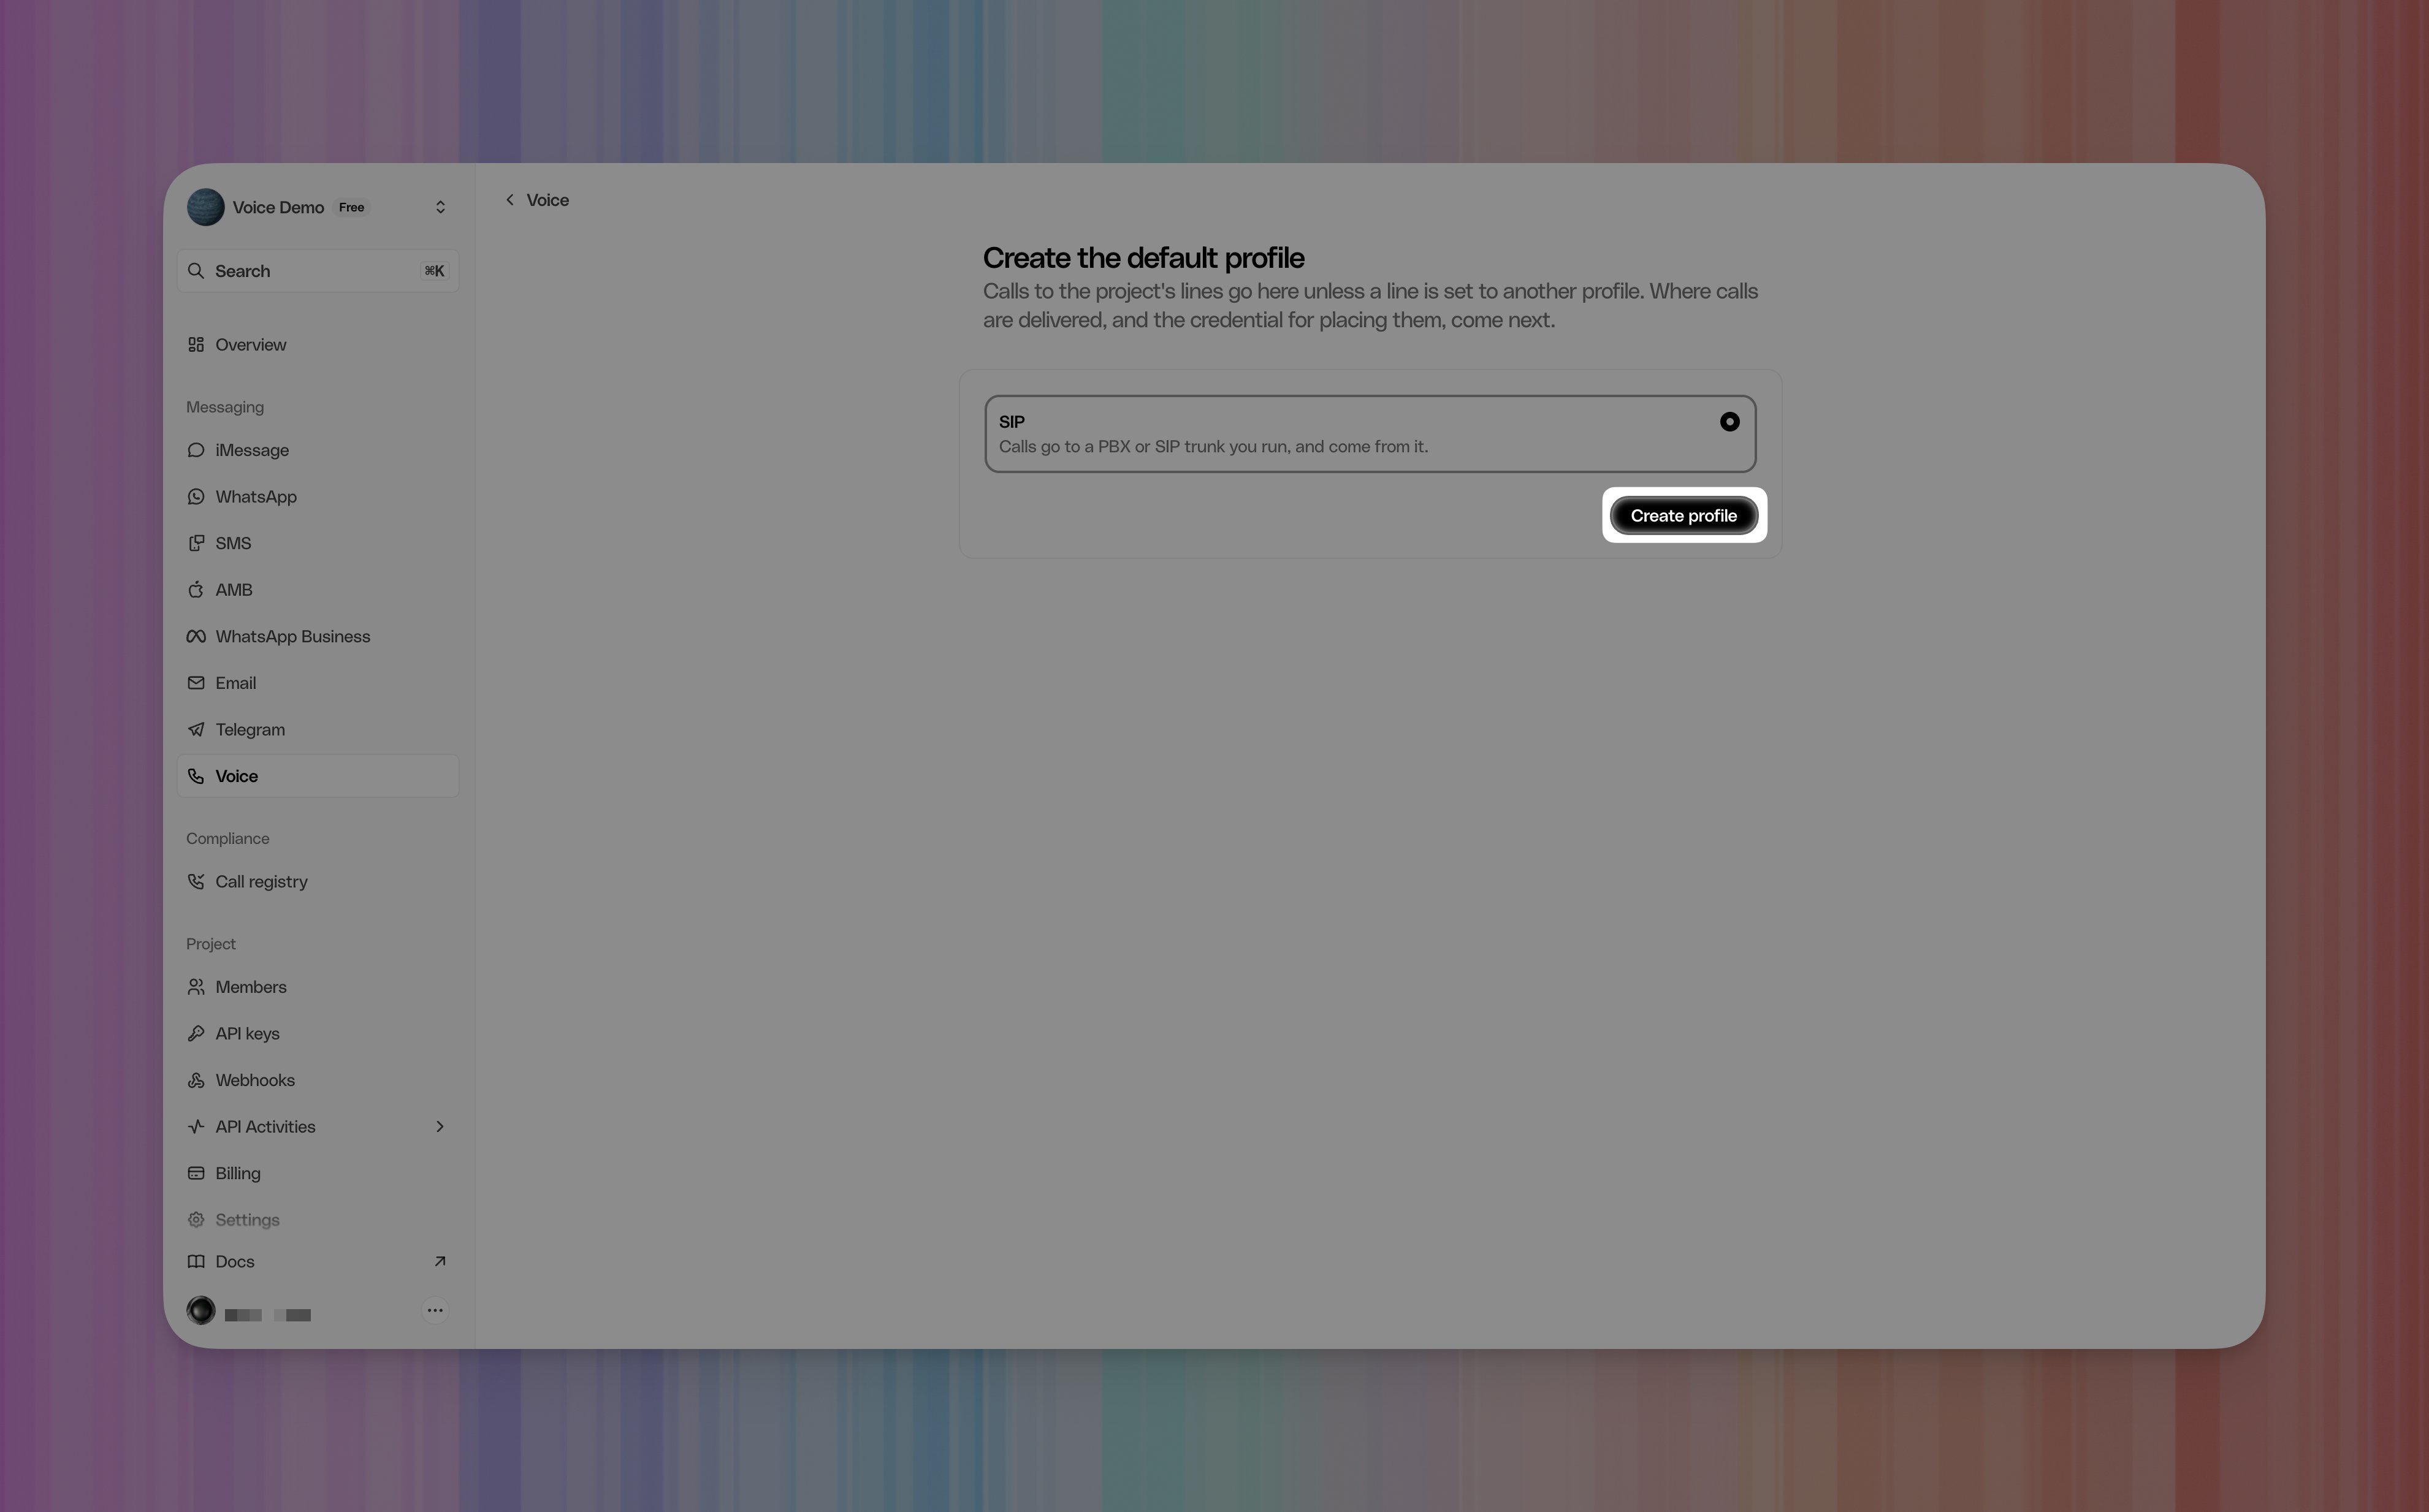
Select your Photon project and open Voice. Under Lines, find the number you want to connect. If your number already uses a SIP Voice profile, open it and continue to Understand your profile below. If your project has no default profile, select Set up default. Photon Voice page with an eligible number under Lines and Set up default highlighted. Select SIP, then select Create profile. Create the default profile with SIP selected.
Understand your profile

The profile has two independent sections:

Check media encryption

For this walkthrough, use Auto in Photon and Allowed in ElevenLabs. These settings allow audio encryption to be negotiated. They do not require every call to use encrypted audio. If you require encrypted audio, use Change beside Photon’s Media encryption, enable Require encrypted calls, and select Save. Use Required in the corresponding ElevenLabs media settings. Both directions must support encrypted audio, and this walkthrough uses TLS for both.

2. Prepare Photon outbound credentials

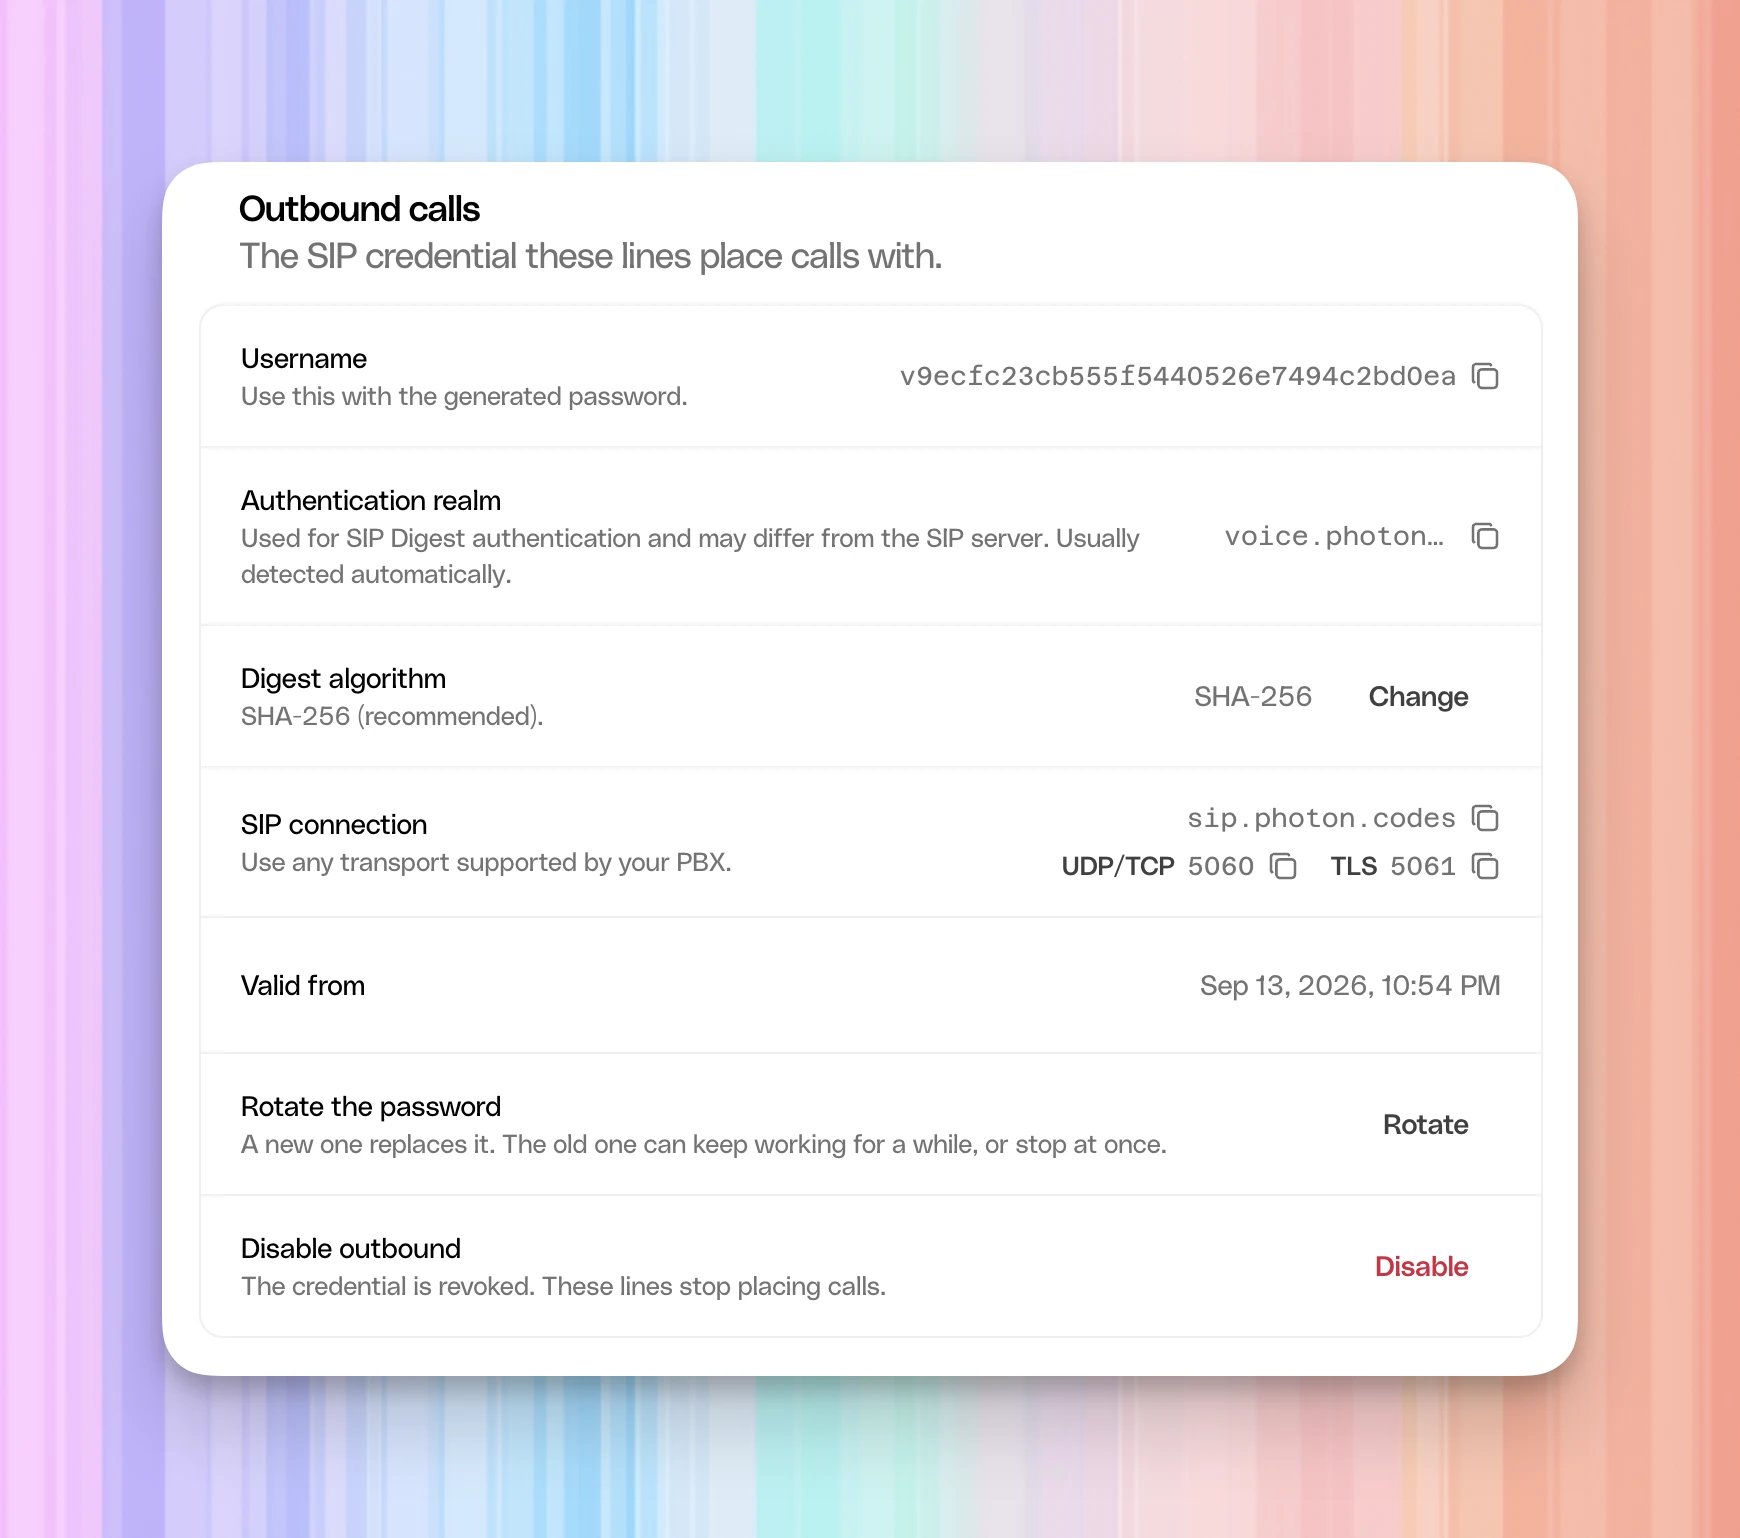
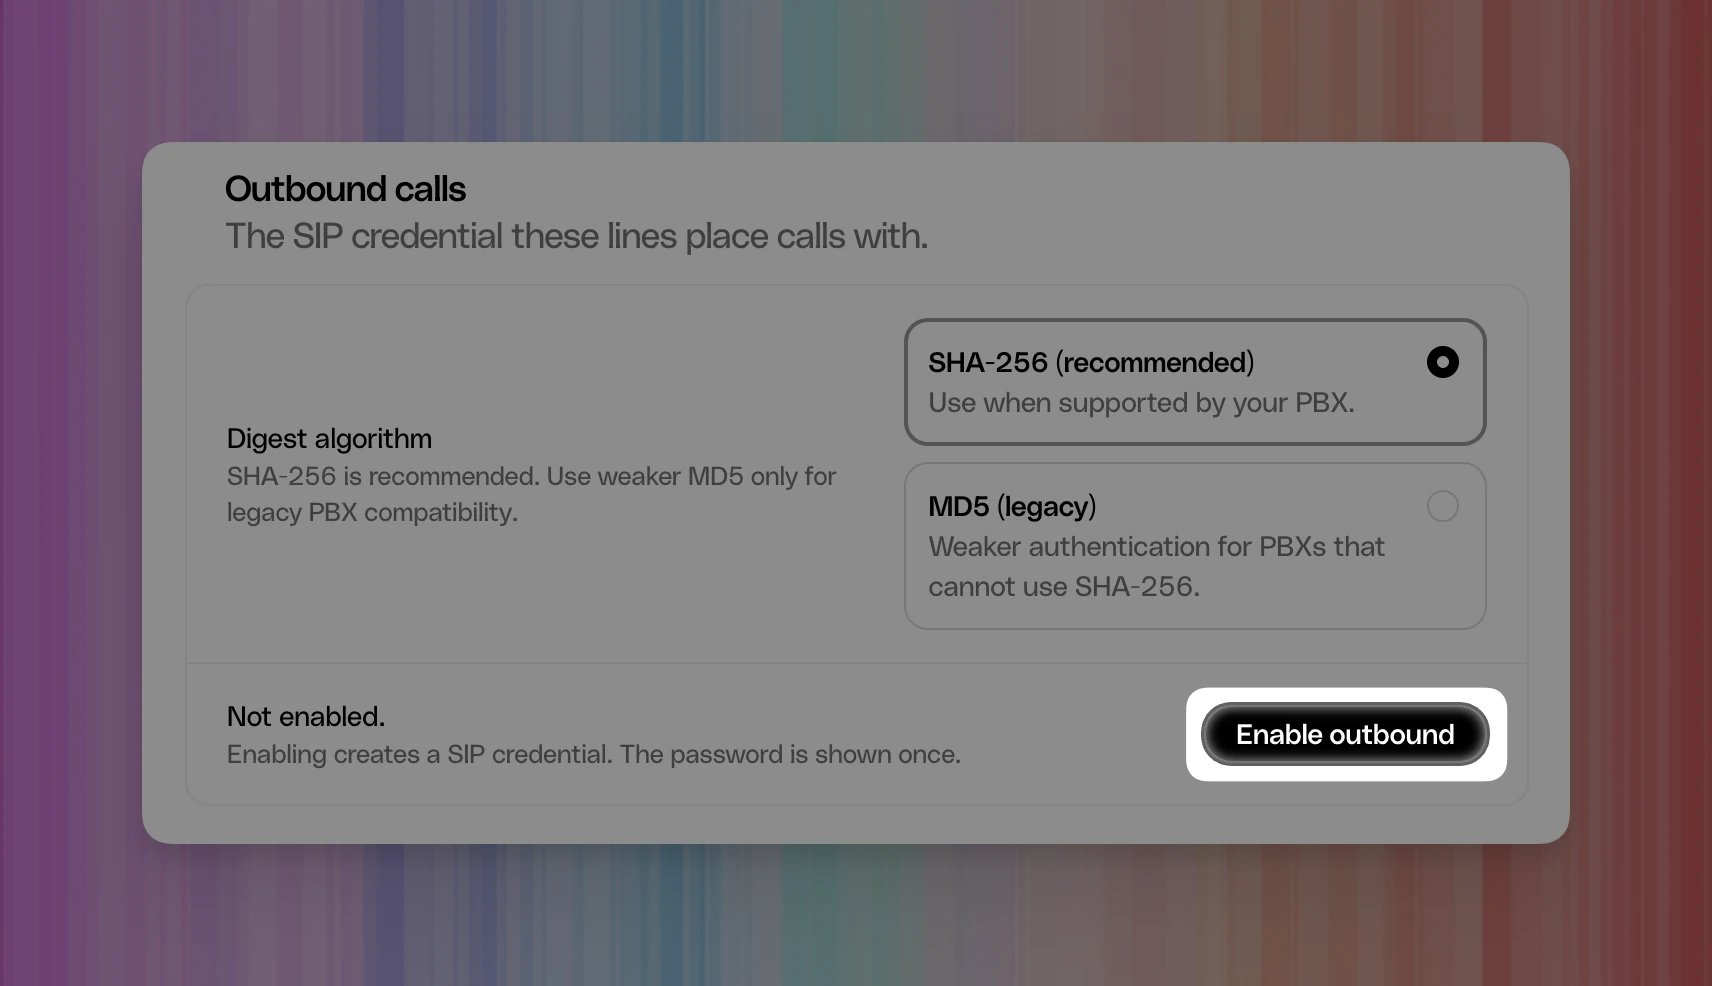
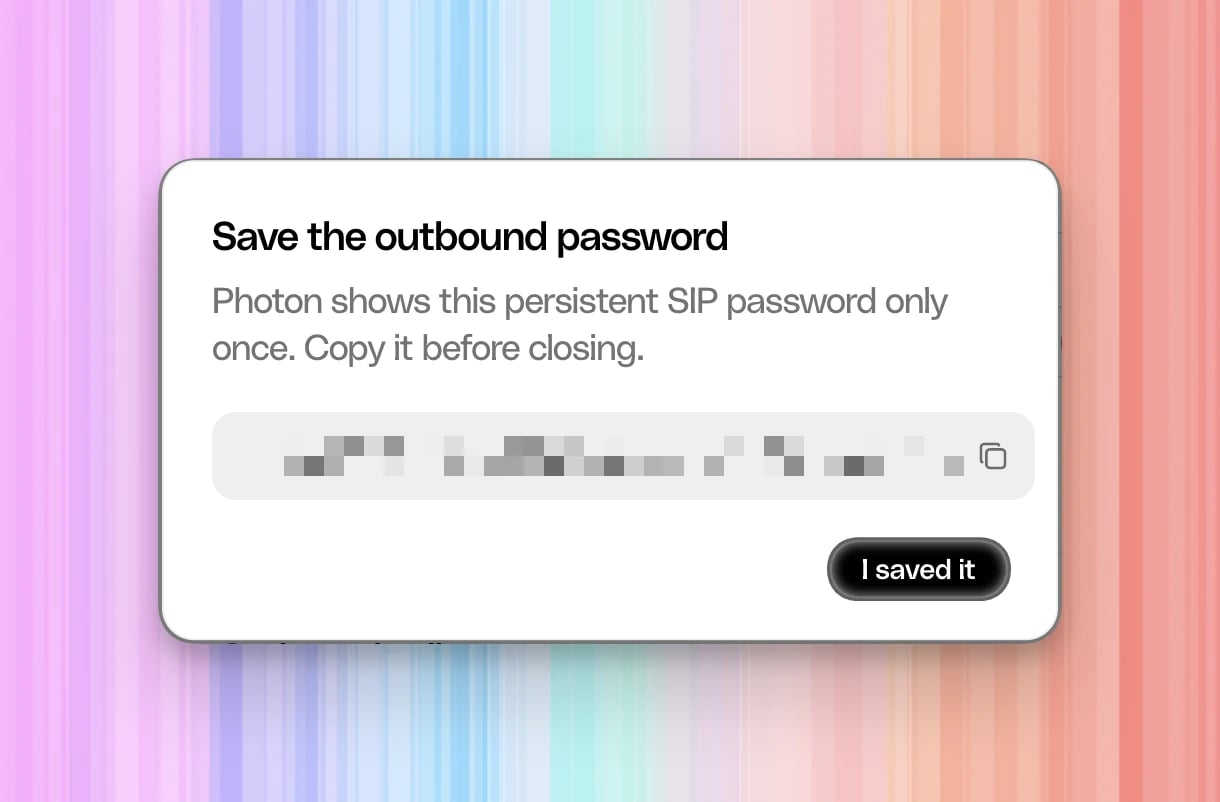
For outgoing calls, ElevenLabs needs the outbound credential from the Photon profile used by your number. If outbound is already enabled, use its current connection details and the password you saved. To enable it, open Outbound calls. For a new credential, select SHA-256 (recommended) under Digest algorithm, then select Enable outbound. Photon Outbound calls with SHA-256 selected and Enable outbound highlighted. Photon opens Save the outbound password. Copy the password to a secure location, then select I saved it. Photon displays this password once. Photon one-time password dialog with the password concealed. Keep these values available for the ElevenLabs form: Photon outbound settings with SHA-256 selected and sip.photon.codes shown as the SIP connection, with TLS on port 5061. Copy the connection details from the same environment and profile as the credential. Authentication realm can differ from the SIP server; use the server under SIP connection for Address. The ElevenLabs form shown here has no separate realm or port field. These are SIP credentials, separate from your Photon API key. If you lose the password, use Rotate in Photon and update every service using that credential.
3. Import your Photon number into ElevenLabs

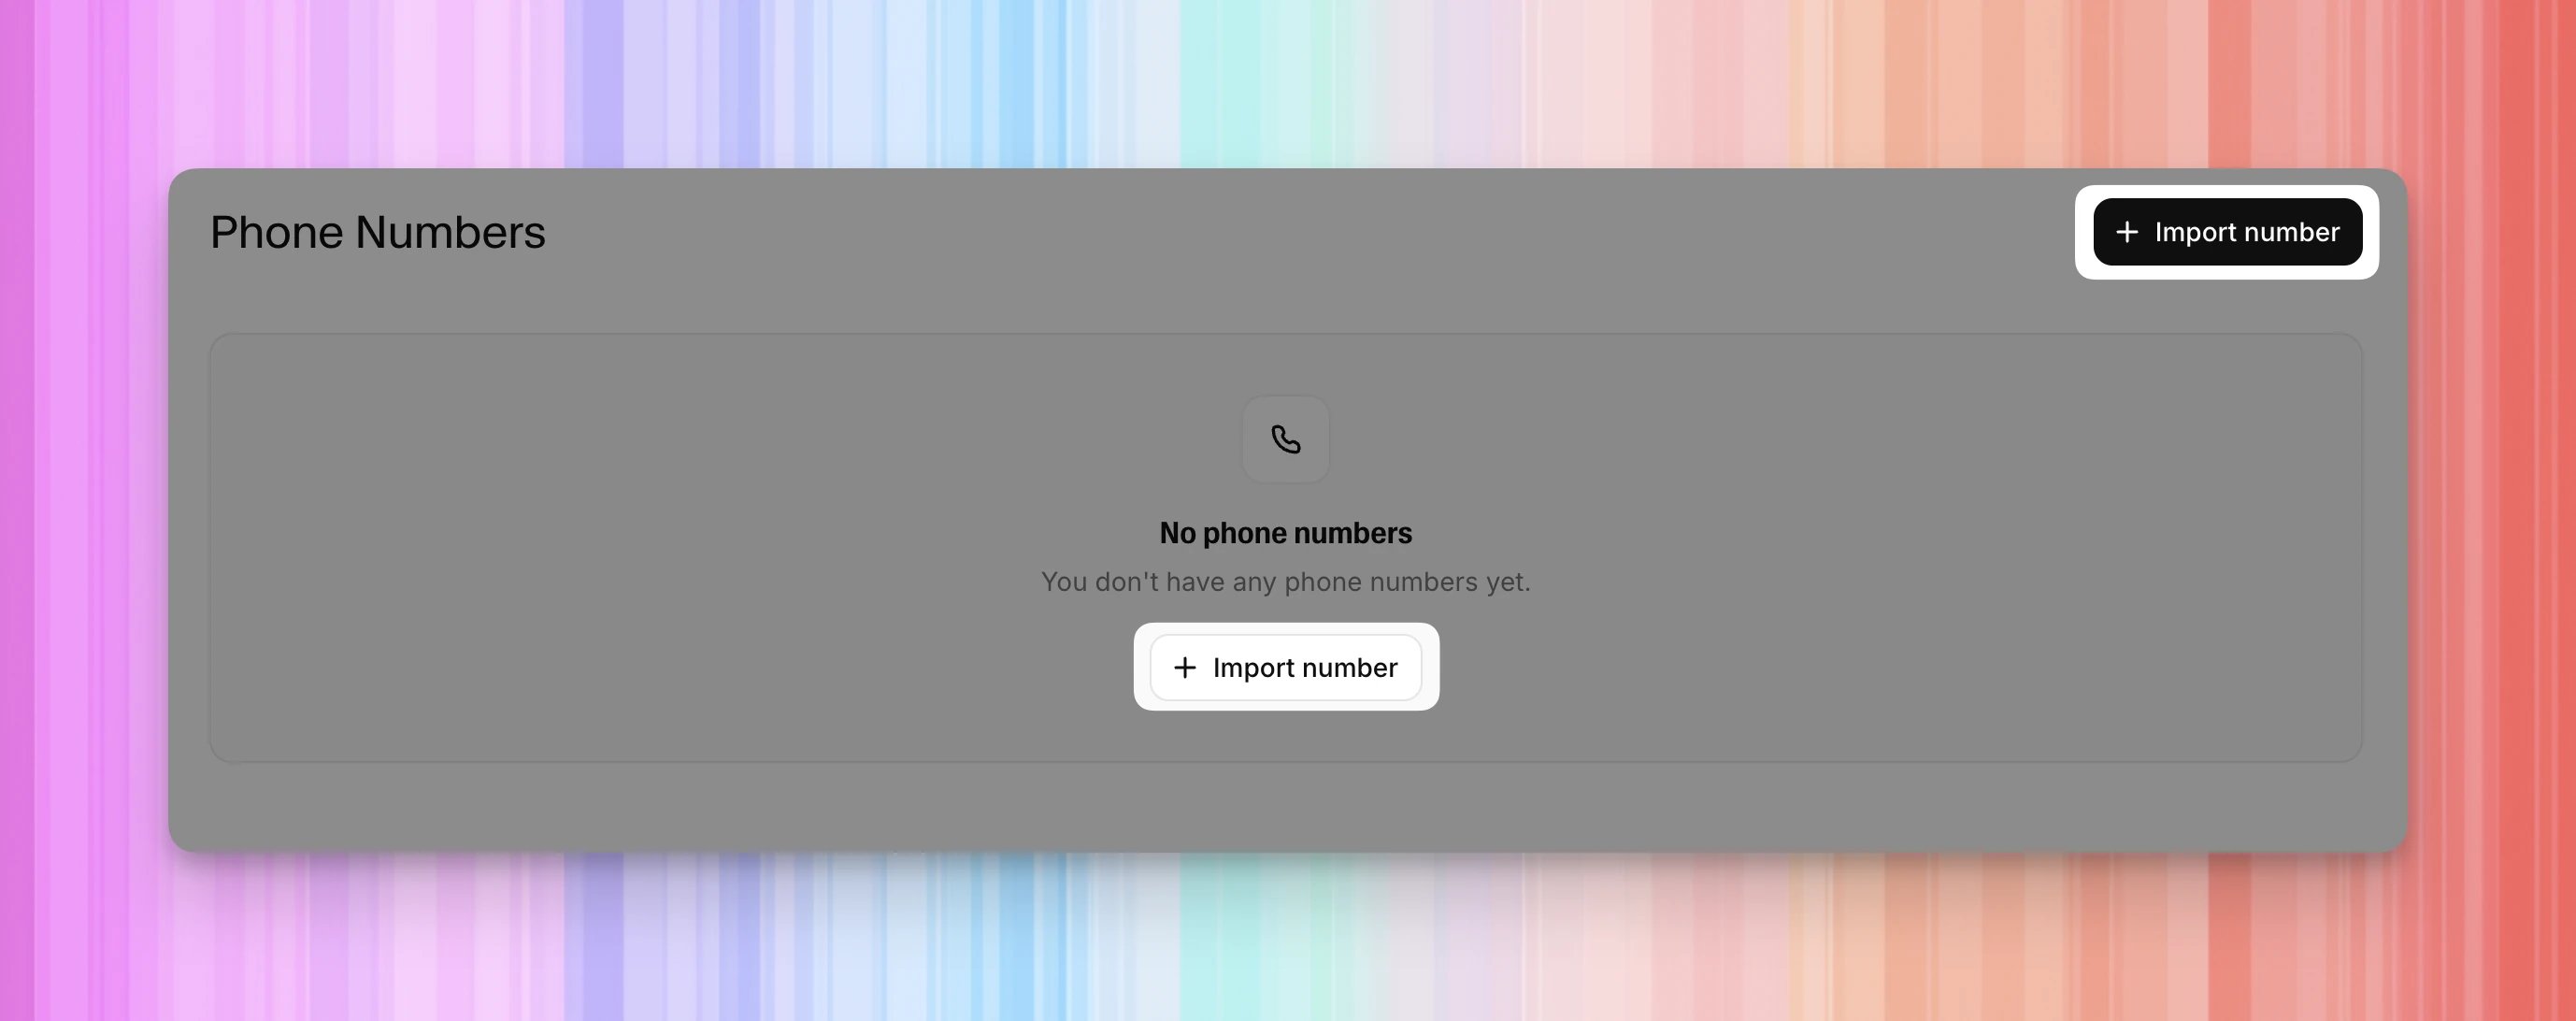
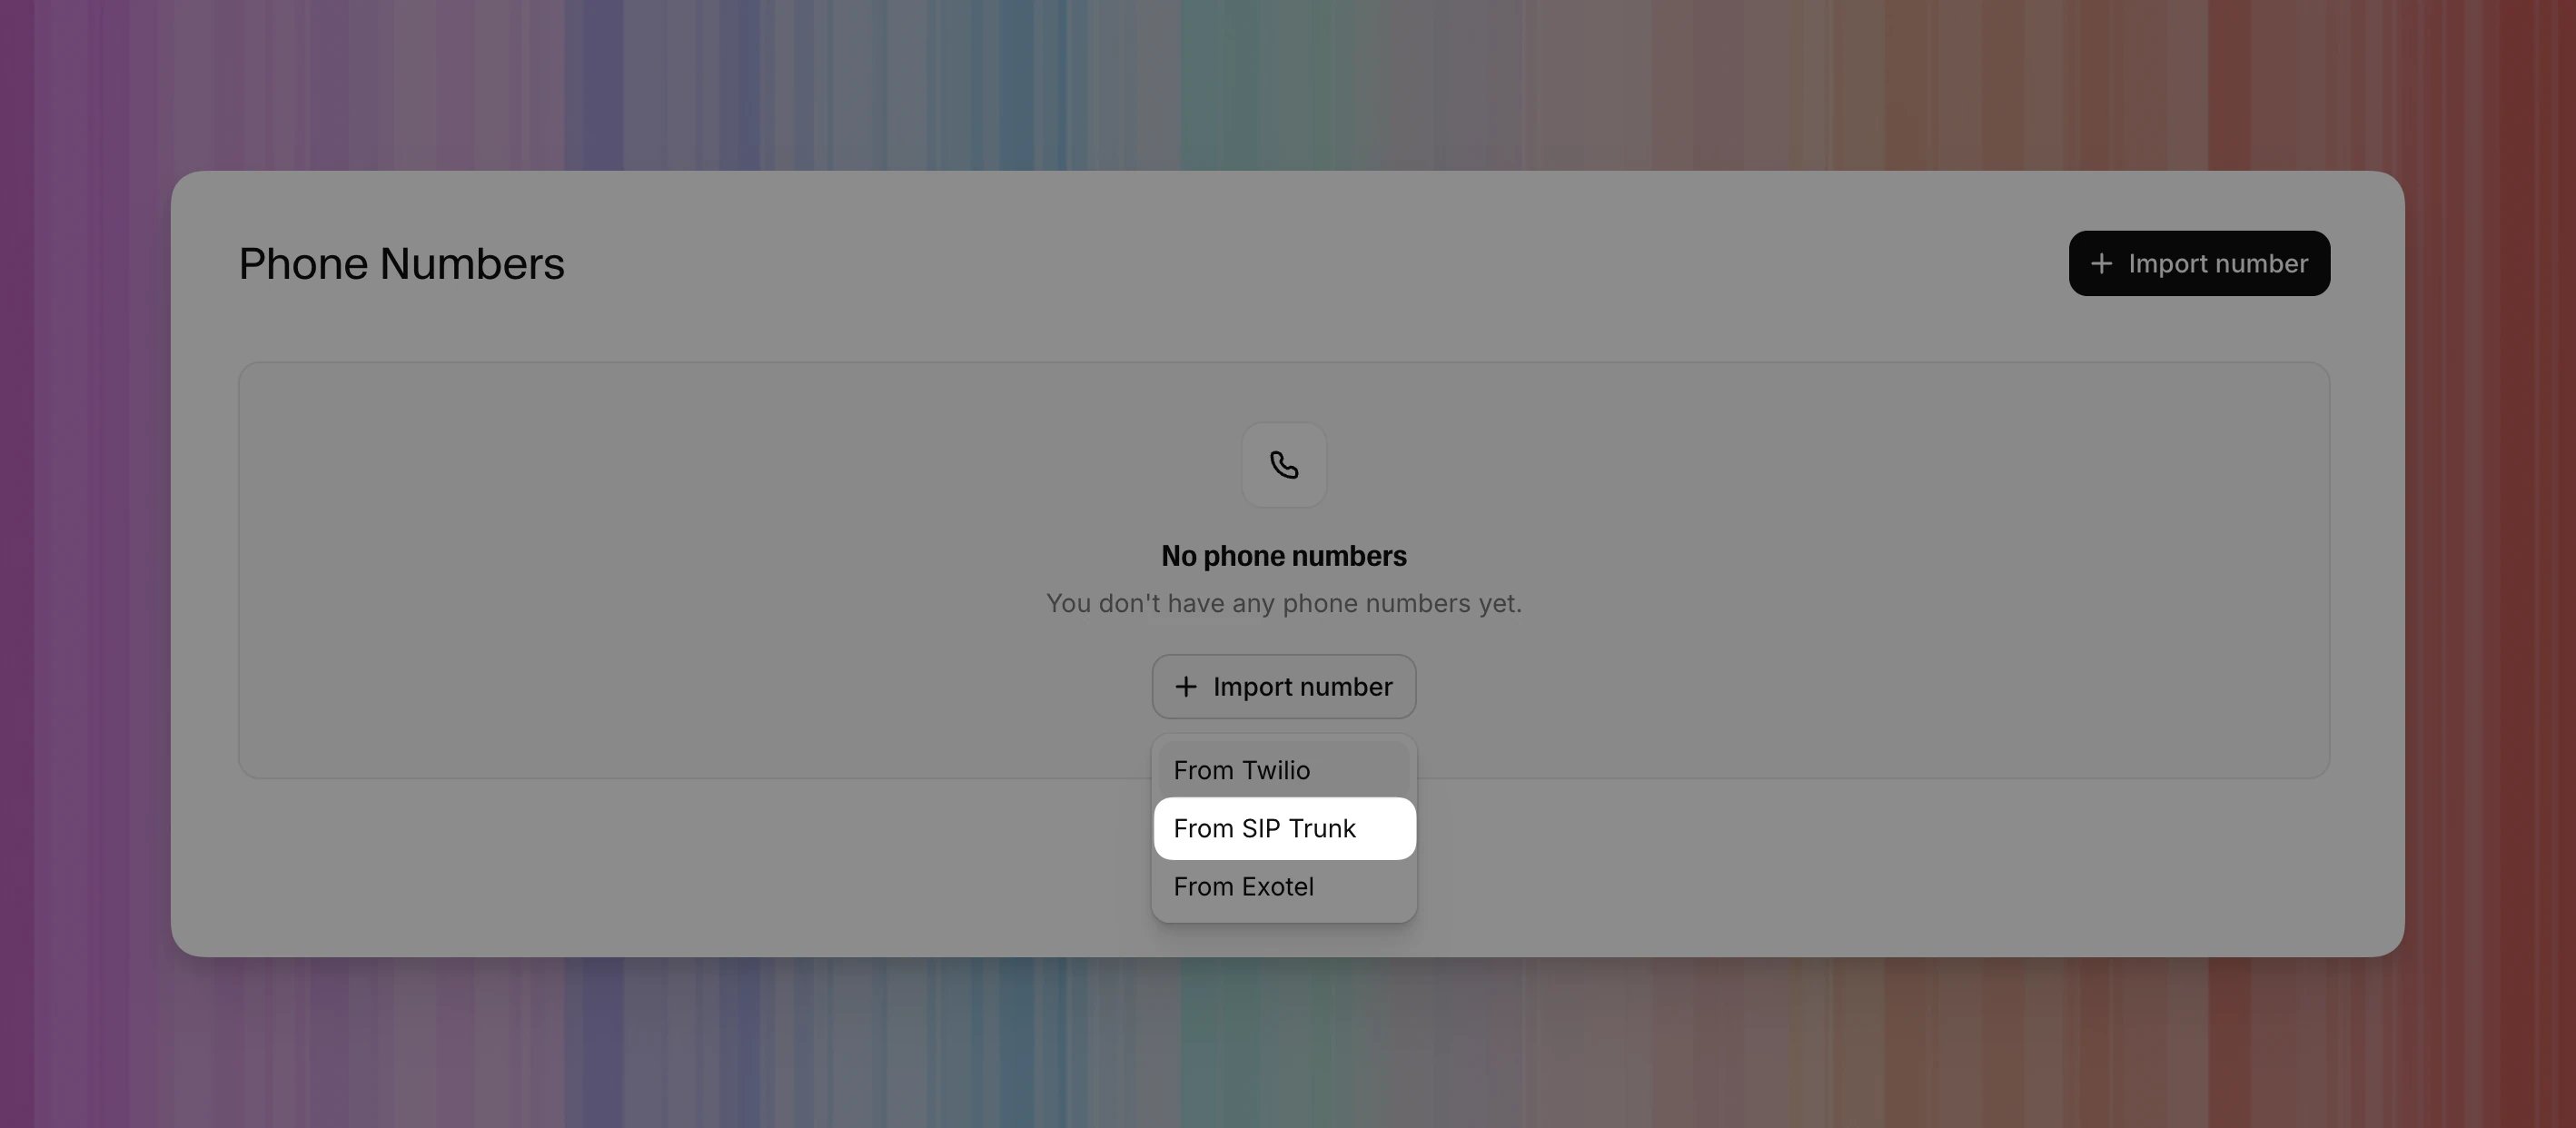
In ElevenLabs, open Phone Numbers under Deploy. Select Import number. ElevenLabs Phone Numbers page with Import number highlighted. Choose From SIP Trunk. Import number menu with From SIP Trunk highlighted. In Import SIP Trunk, enter:
Configure incoming calls

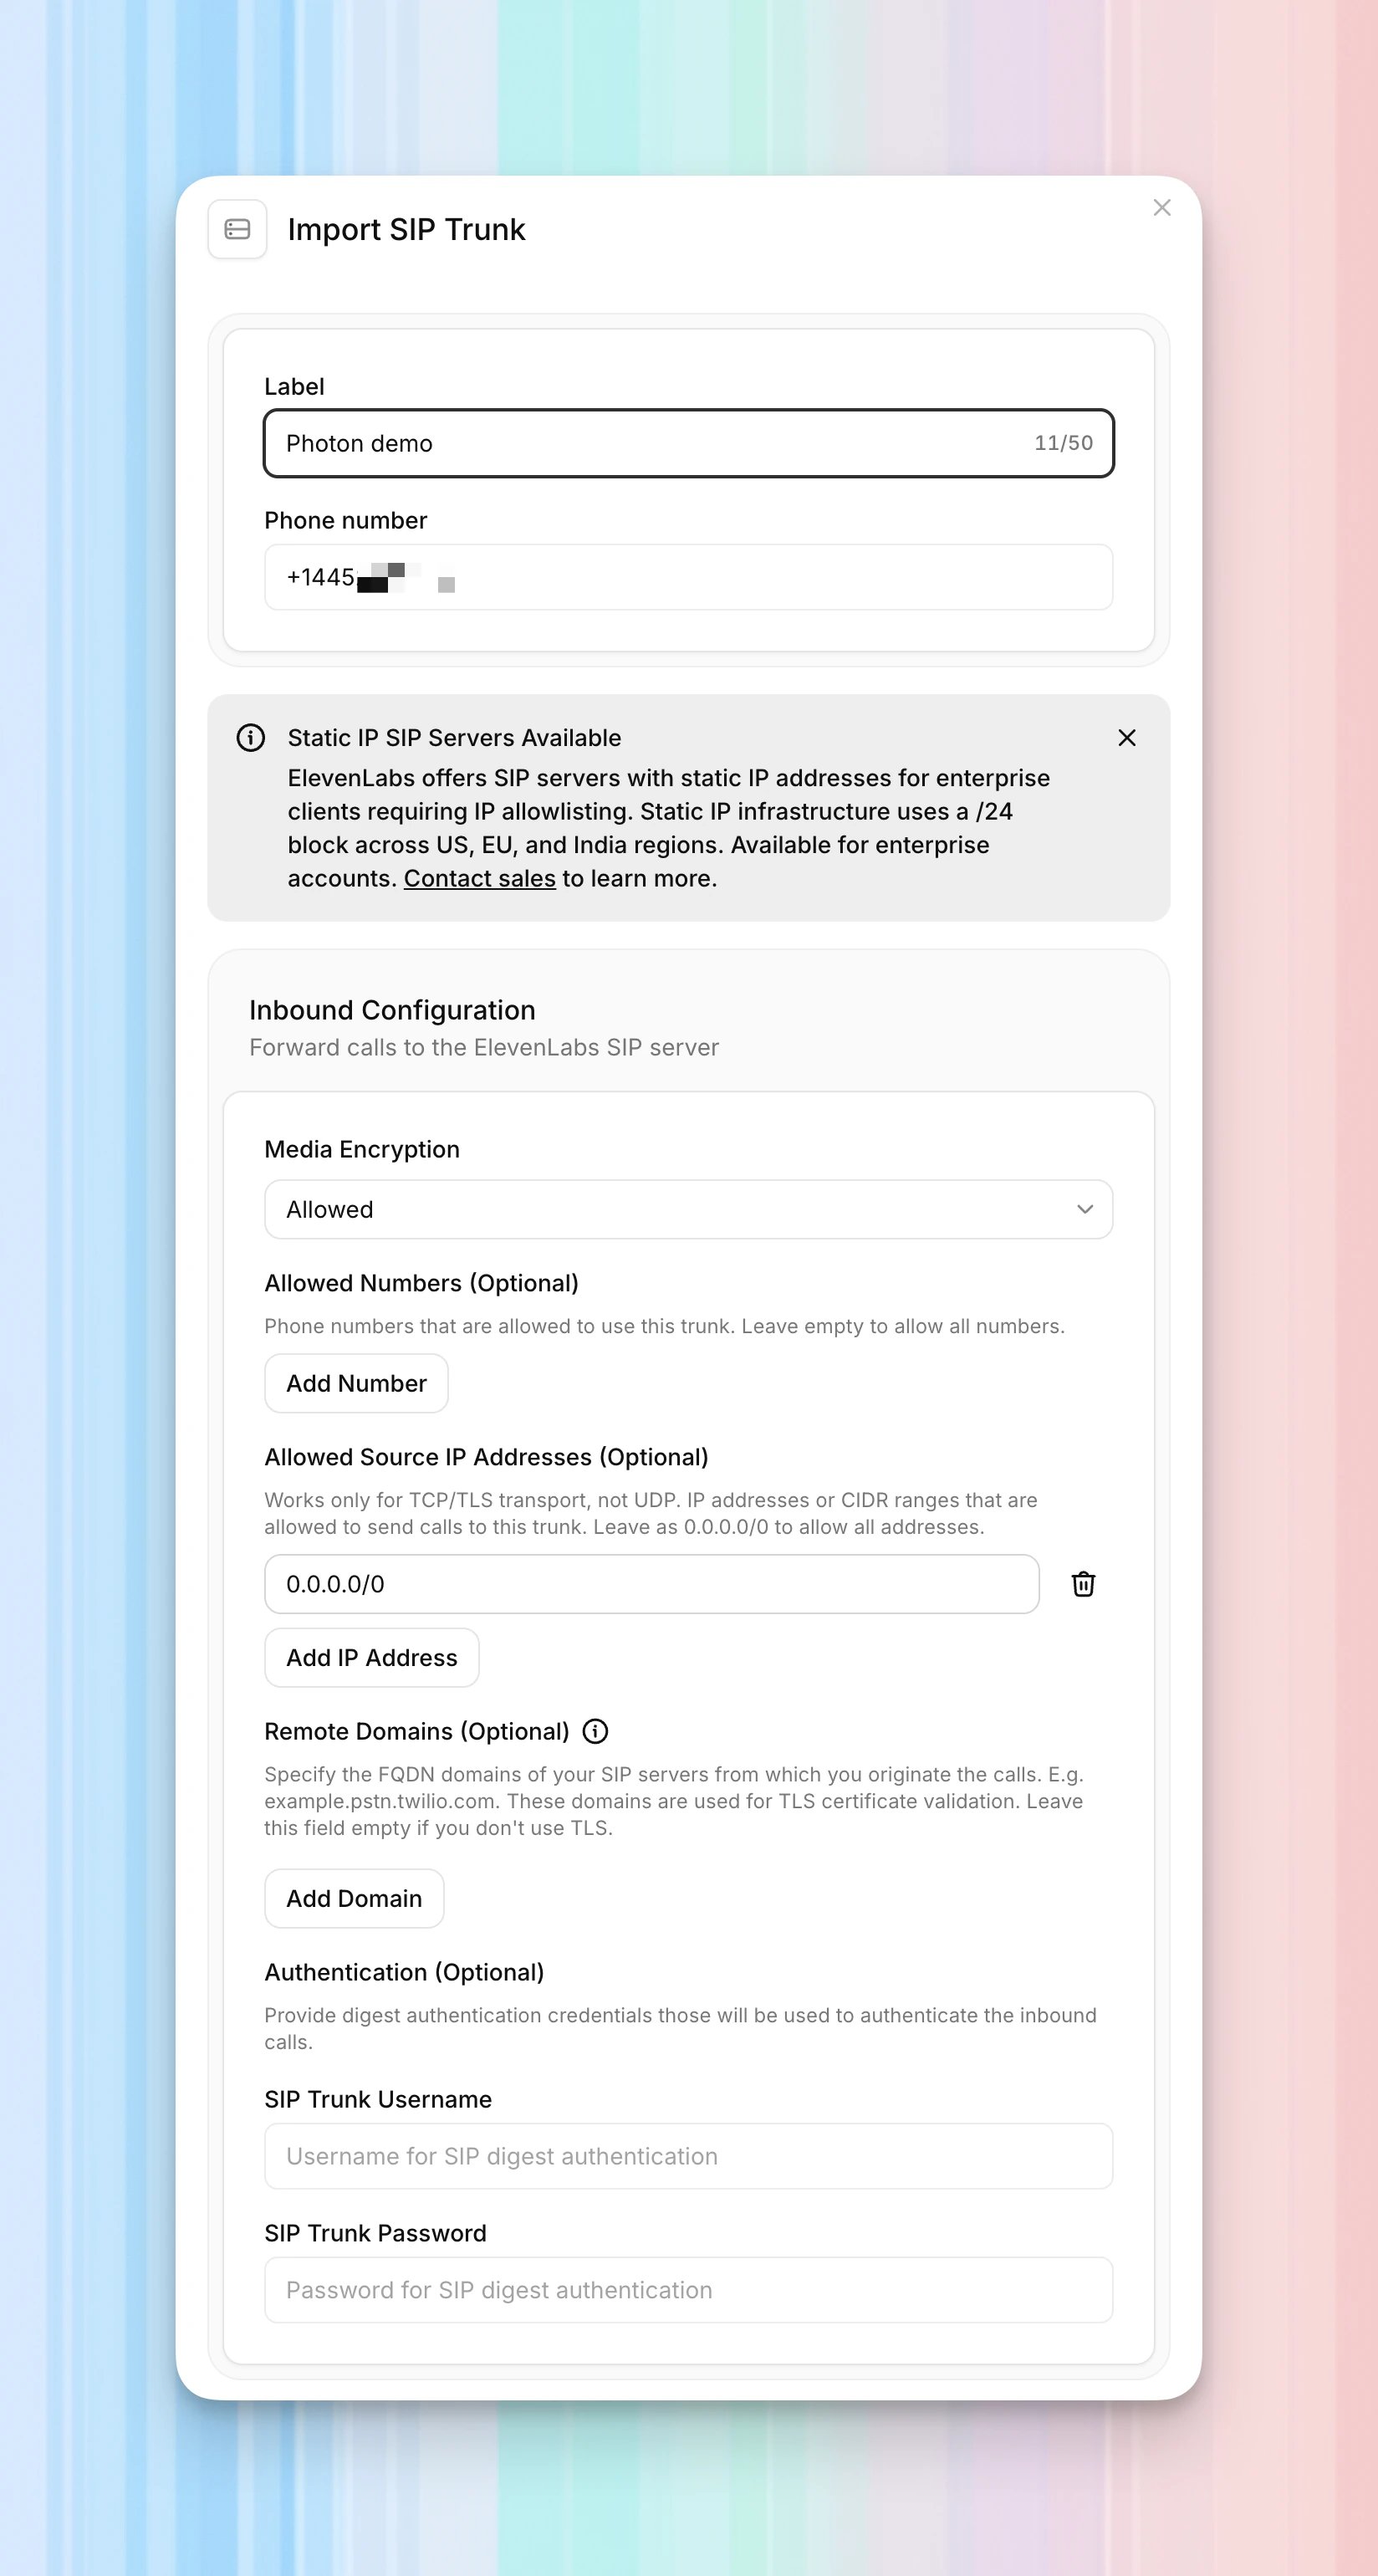
Inbound Configuration controls calls that Photon sends to ElevenLabs. Use these settings for this walkthrough: ElevenLabs import form showing the Photon label and number, Allowed media encryption, and optional inbound controls. This configuration has no source-IP restriction or inbound SIP password. If your deployment requires authenticated incoming calls, define credentials in ElevenLabs’ Inbound Configuration and enter the same pair in Photon’s Inbound calls settings. That is a separate pair from Photon’s generated outbound credential.
Configure outgoing calls

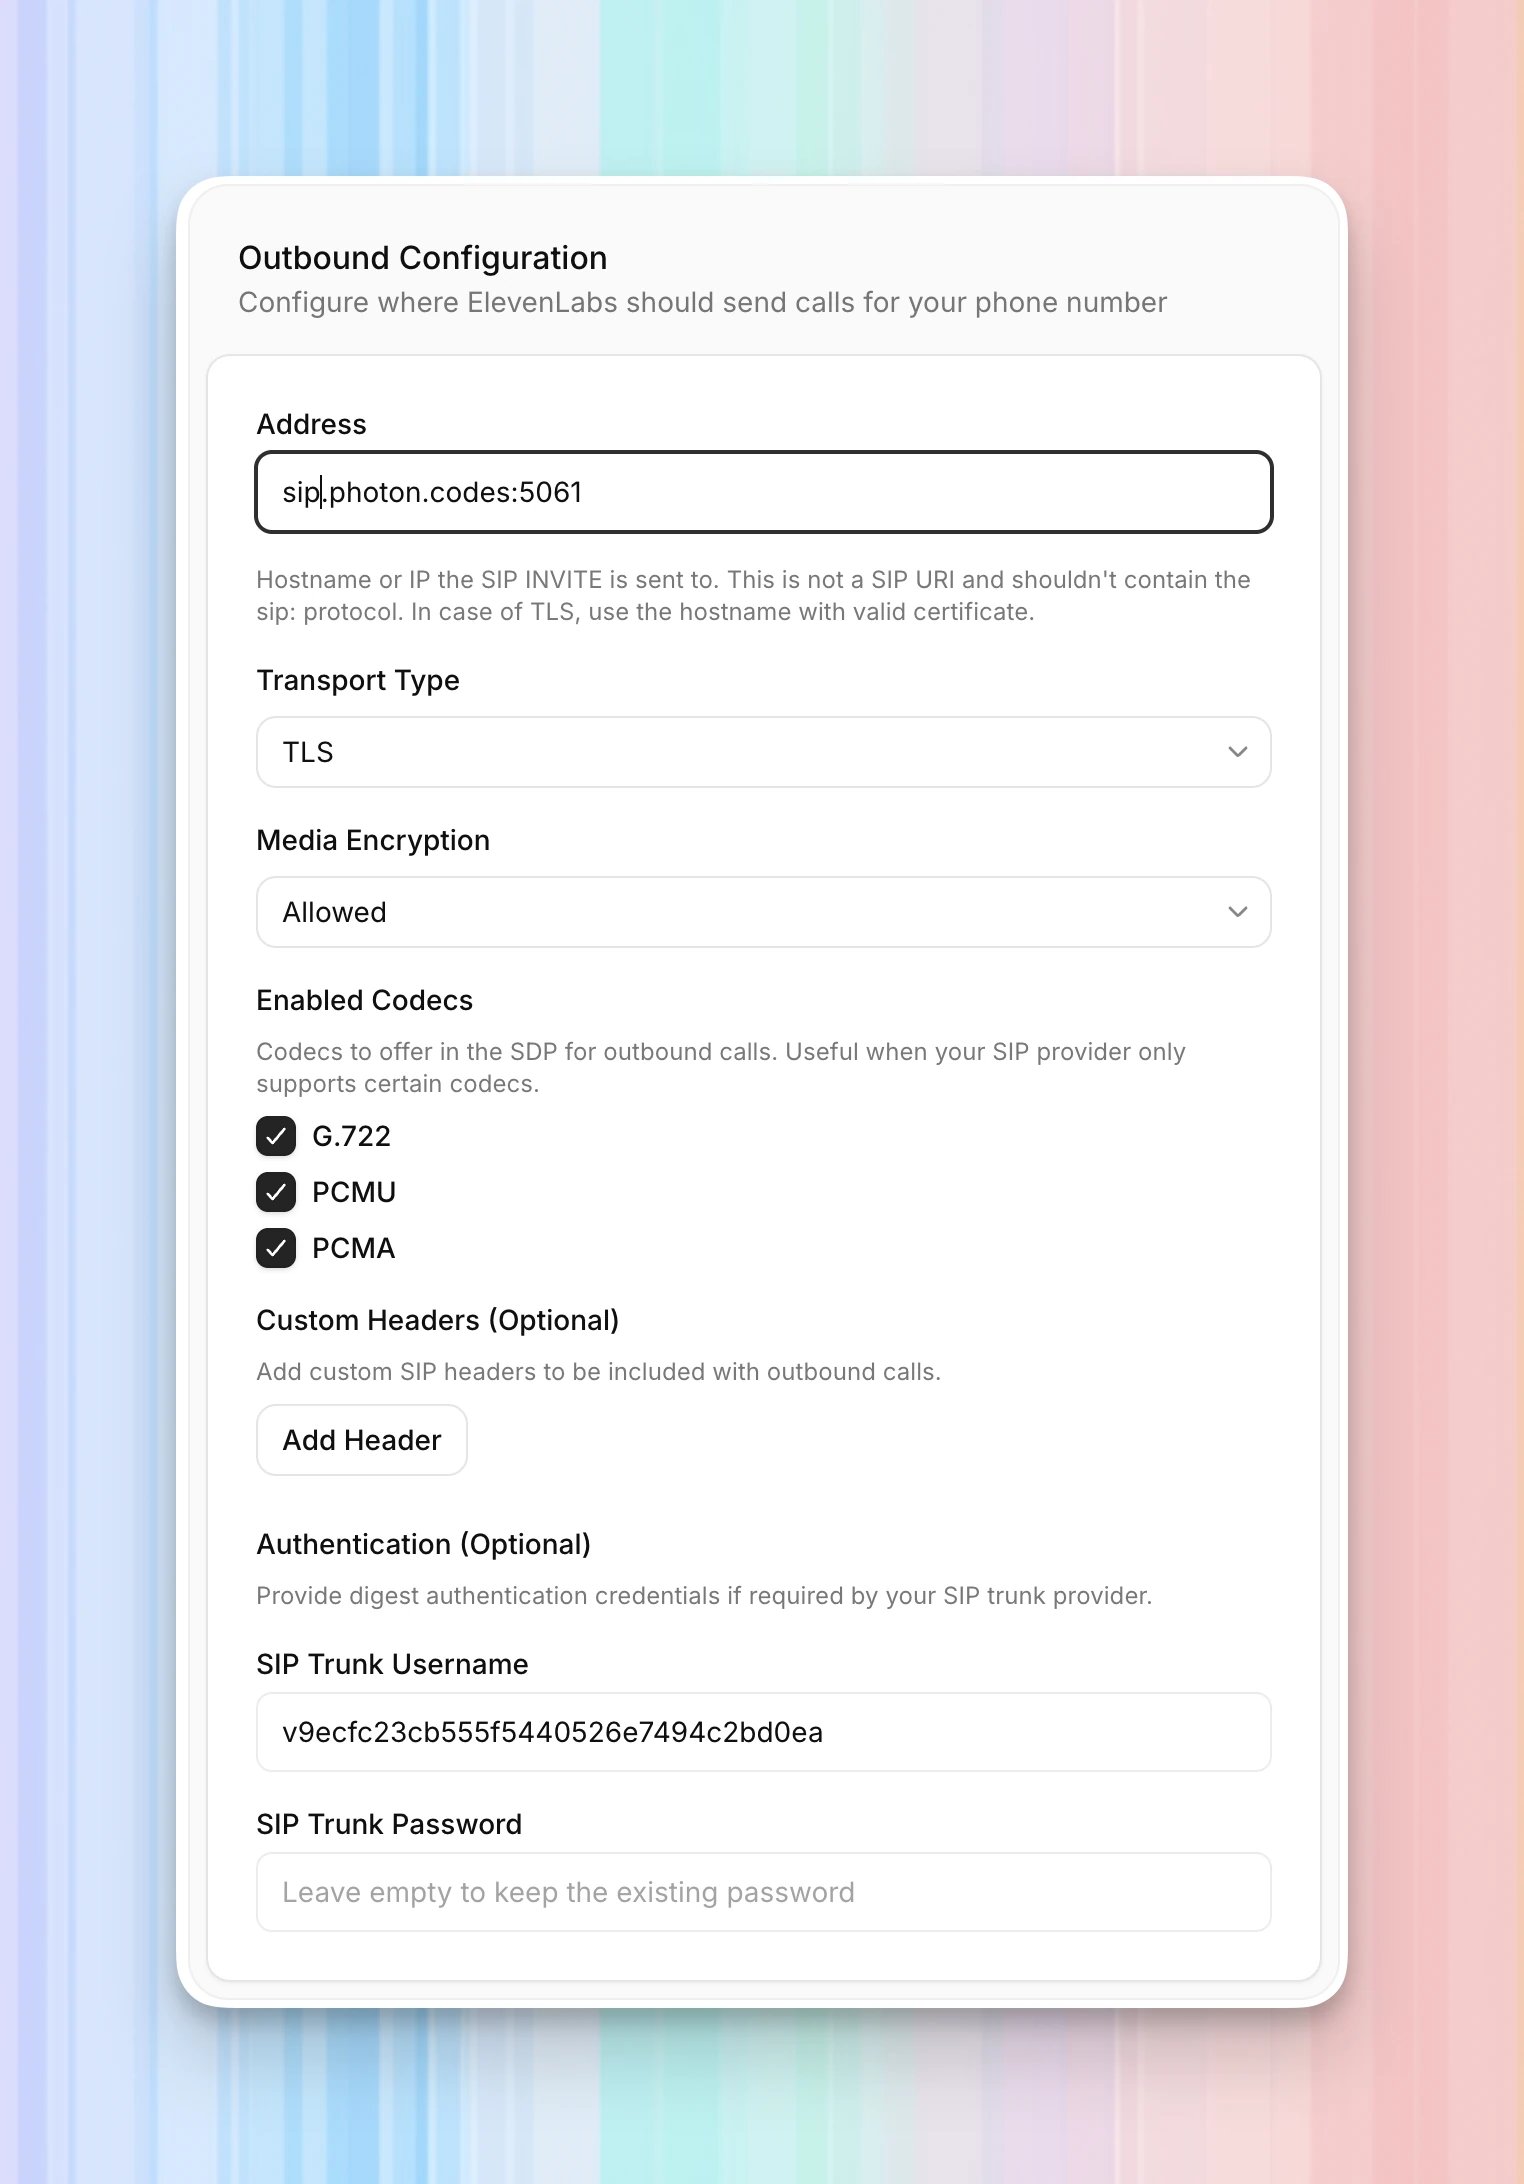
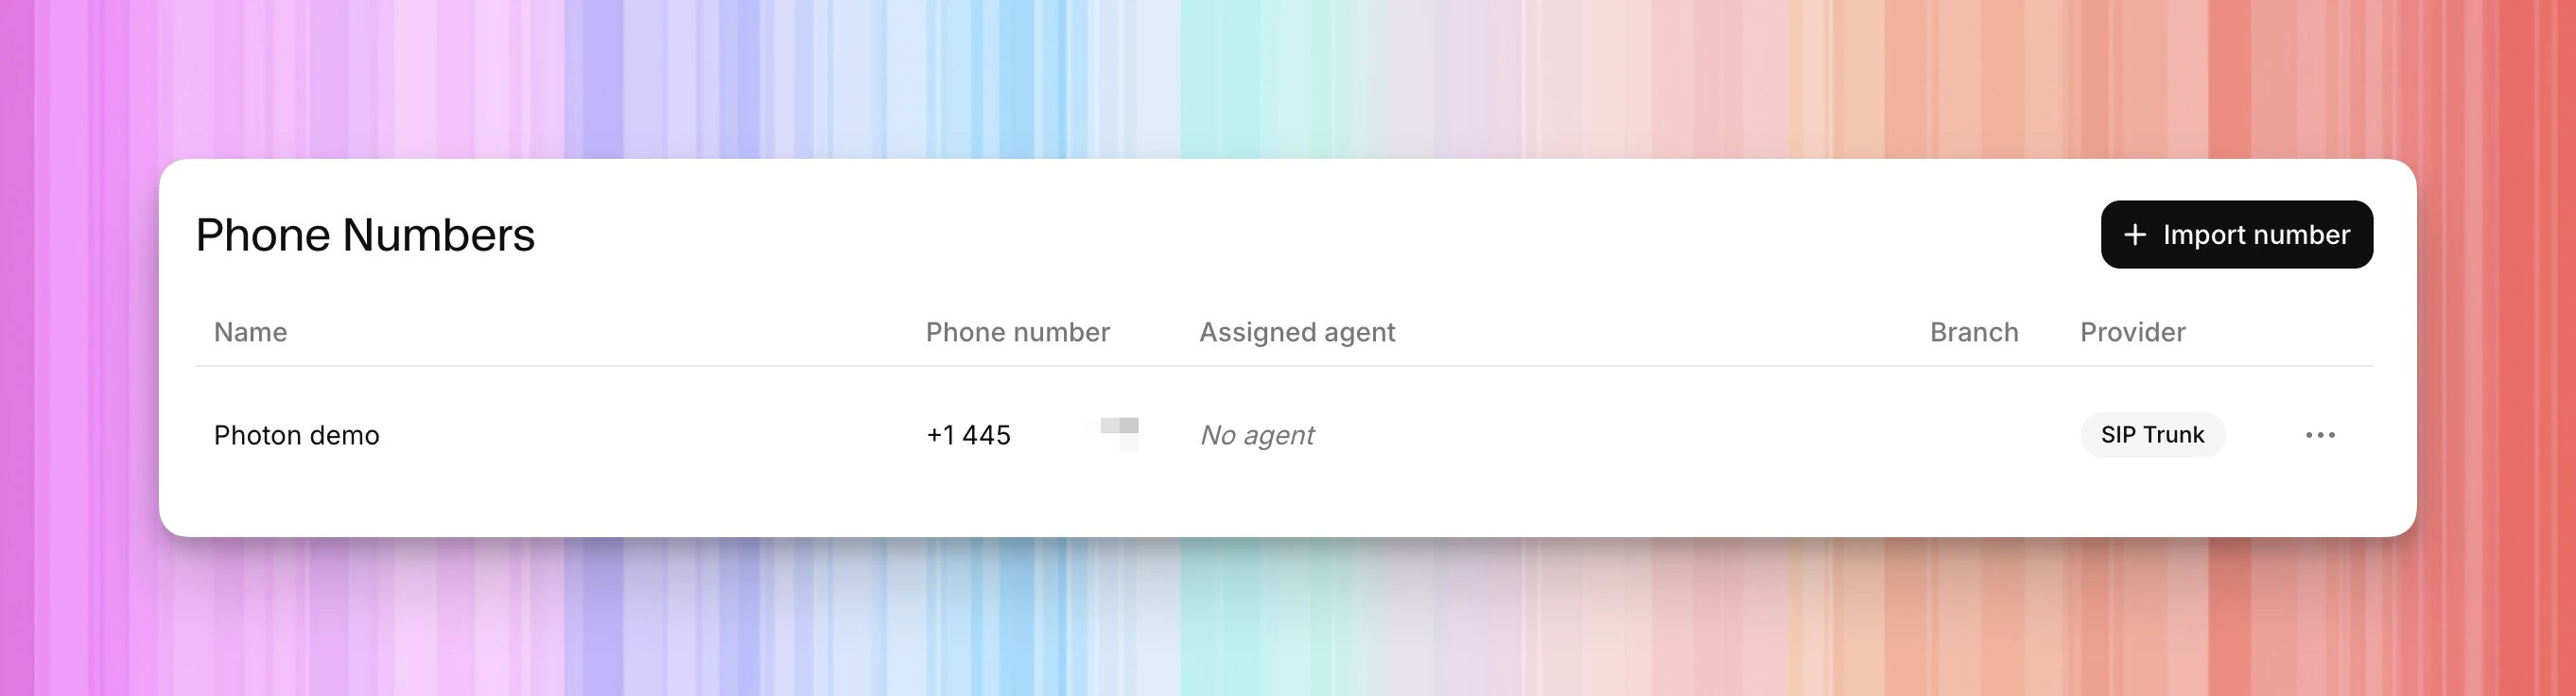
Scroll to Outbound Configuration. This is where ElevenLabs sends calls through Photon. ElevenLabs outbound settings with sip.photon.codes:5061, TLS, Allowed media encryption, the three codecs selected, and the existing SIP credential. Although ElevenLabs labels authentication optional, supply both Photon SIP credential fields when importing the number. The screenshot shows an existing number being edited, where leaving SIP Trunk Password empty keeps the saved password. On first import, enter the password you saved from Photon. Select Import. The number appears in Phone Numbers with Provider: SIP Trunk. Open it to configure the agent. Imported Photon demo number with SIP Trunk as the provider and no agent assigned yet.
4. Assign your incoming-call agent

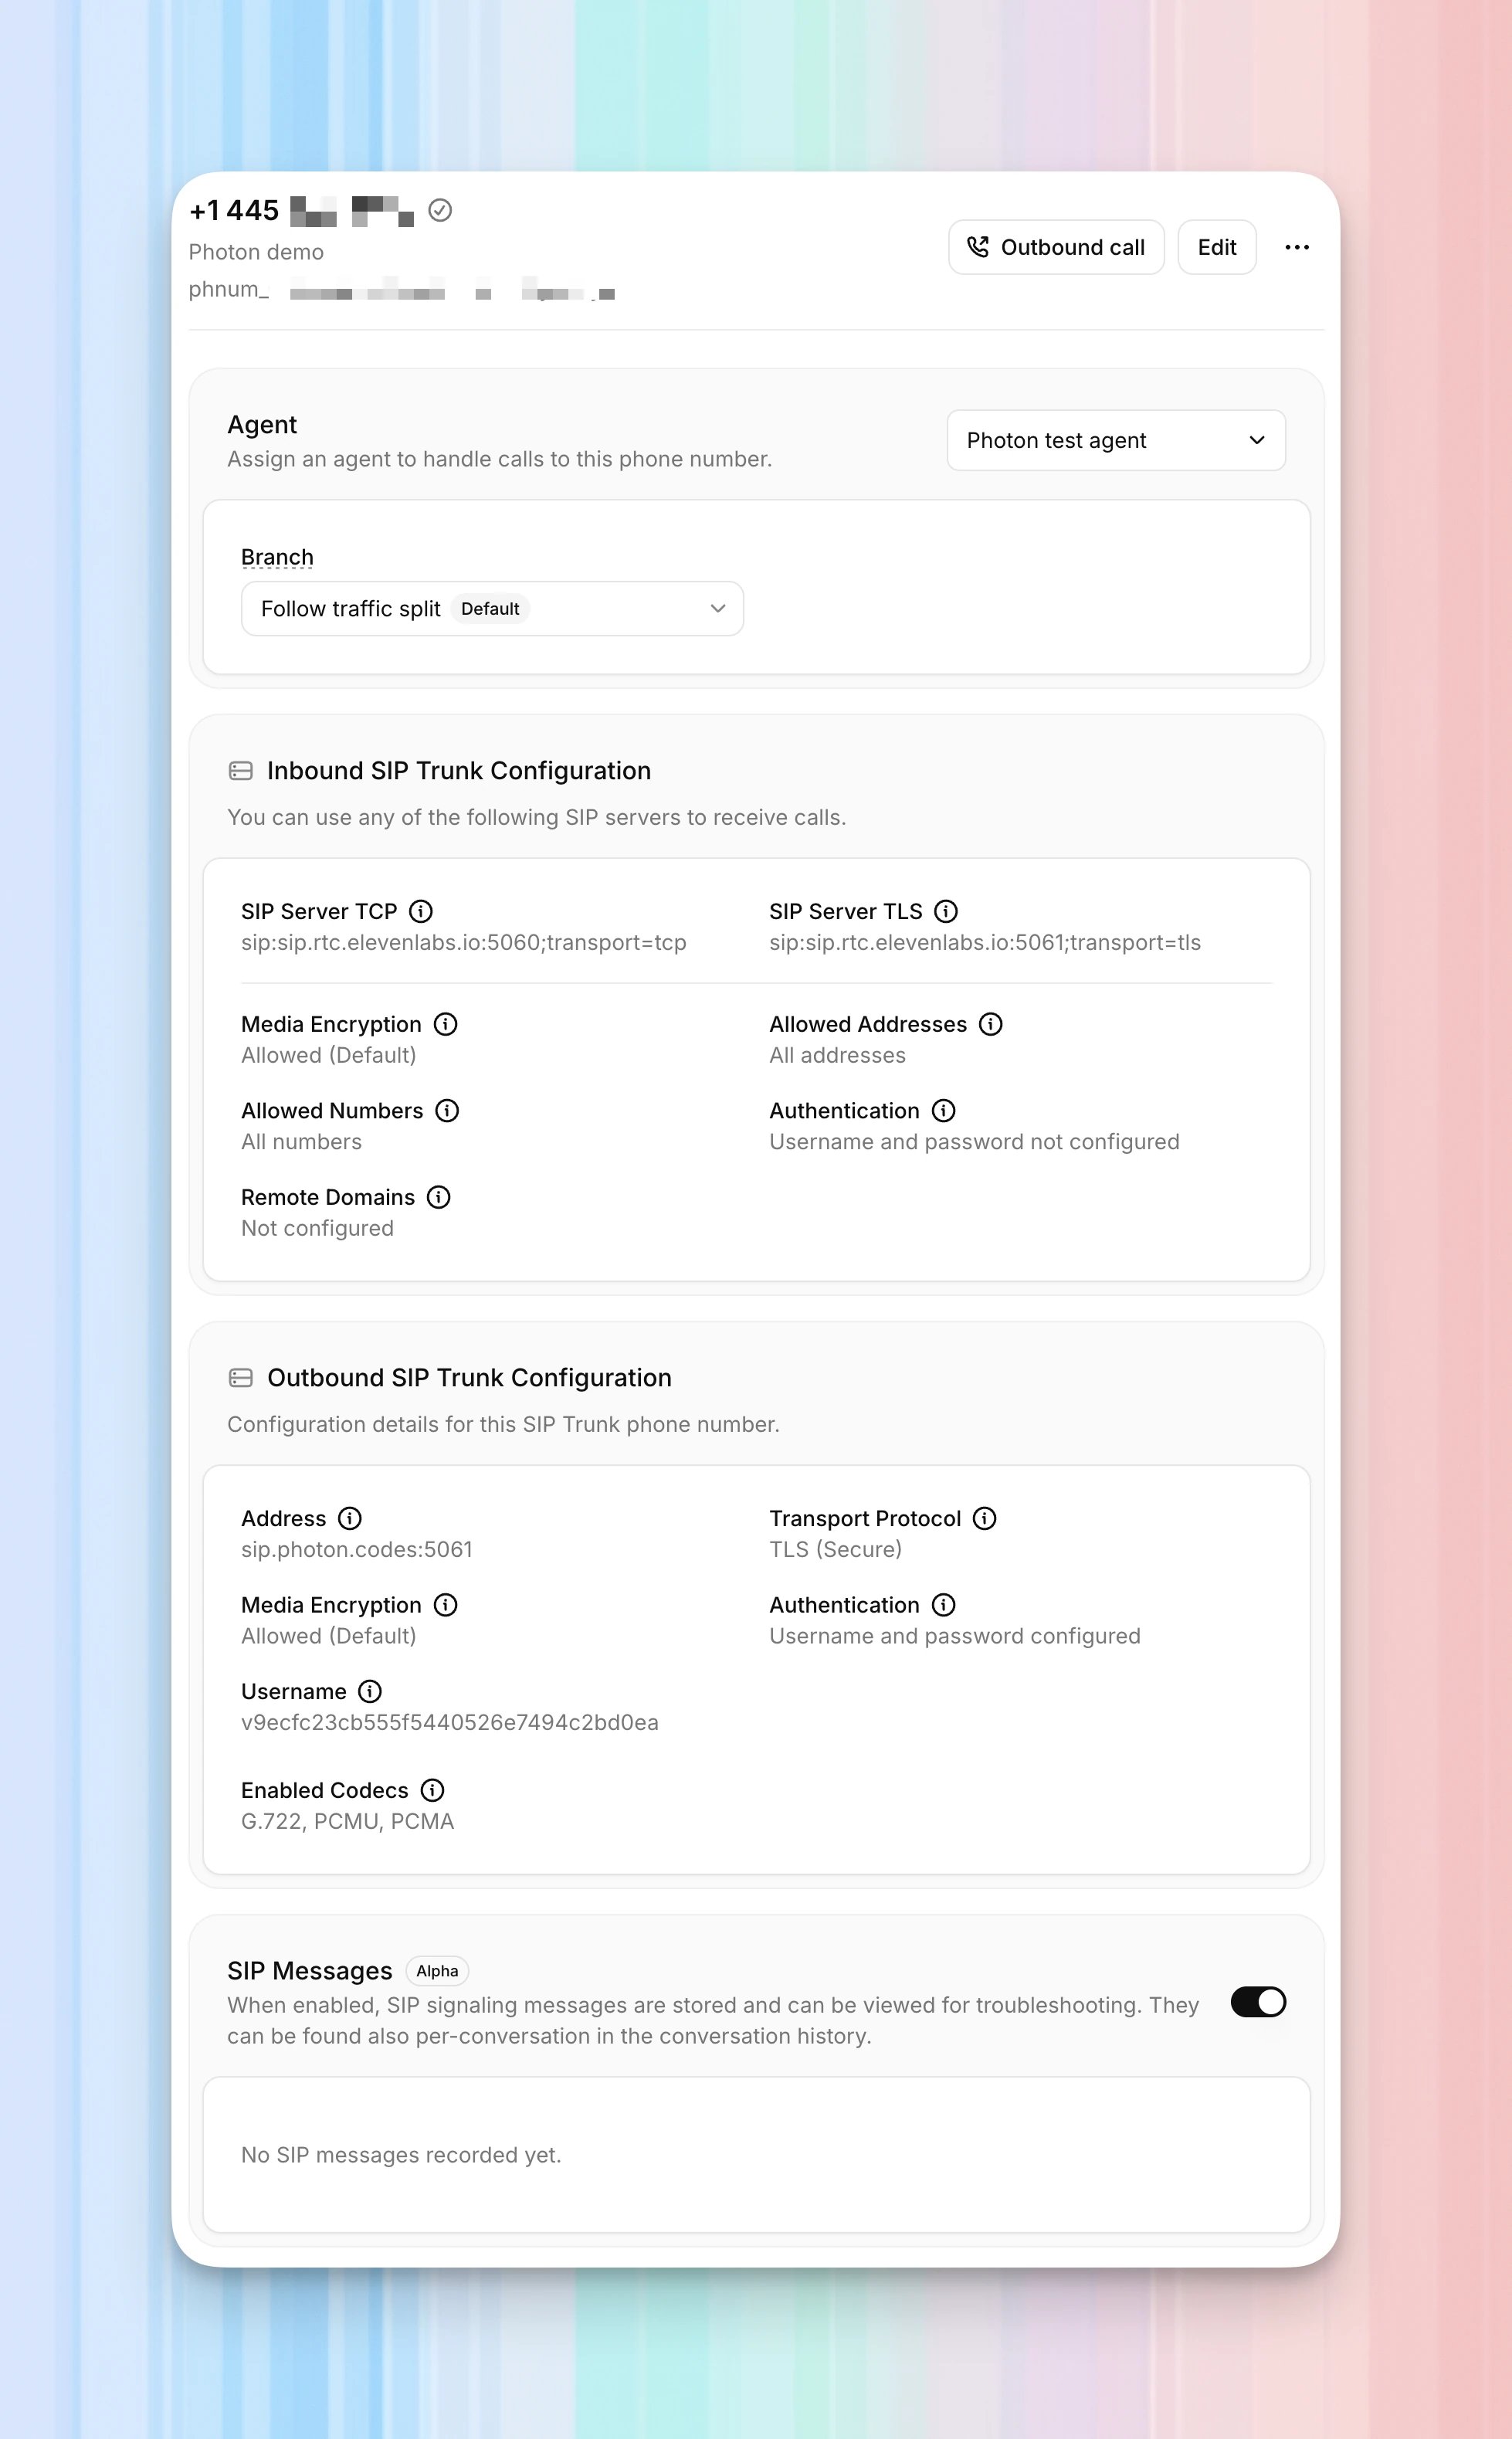
On the imported number’s page, open the Agent dropdown, initially set to No agent, and select the agent that should answer incoming calls. Saved Photon number with Photon test agent assigned and Follow traffic split selected. The example uses Photon test agent. Your agent can have any name or prompt. If Branch appears, Follow traffic split uses your agent’s configured traffic distribution. Select a specific branch if your setup calls for one. ElevenLabs agent versioning. Check that the intended agent appears in the saved number settings. The agent you choose for an outgoing call is selected separately in its call dialog.
5. Set the receiving destination in Photon

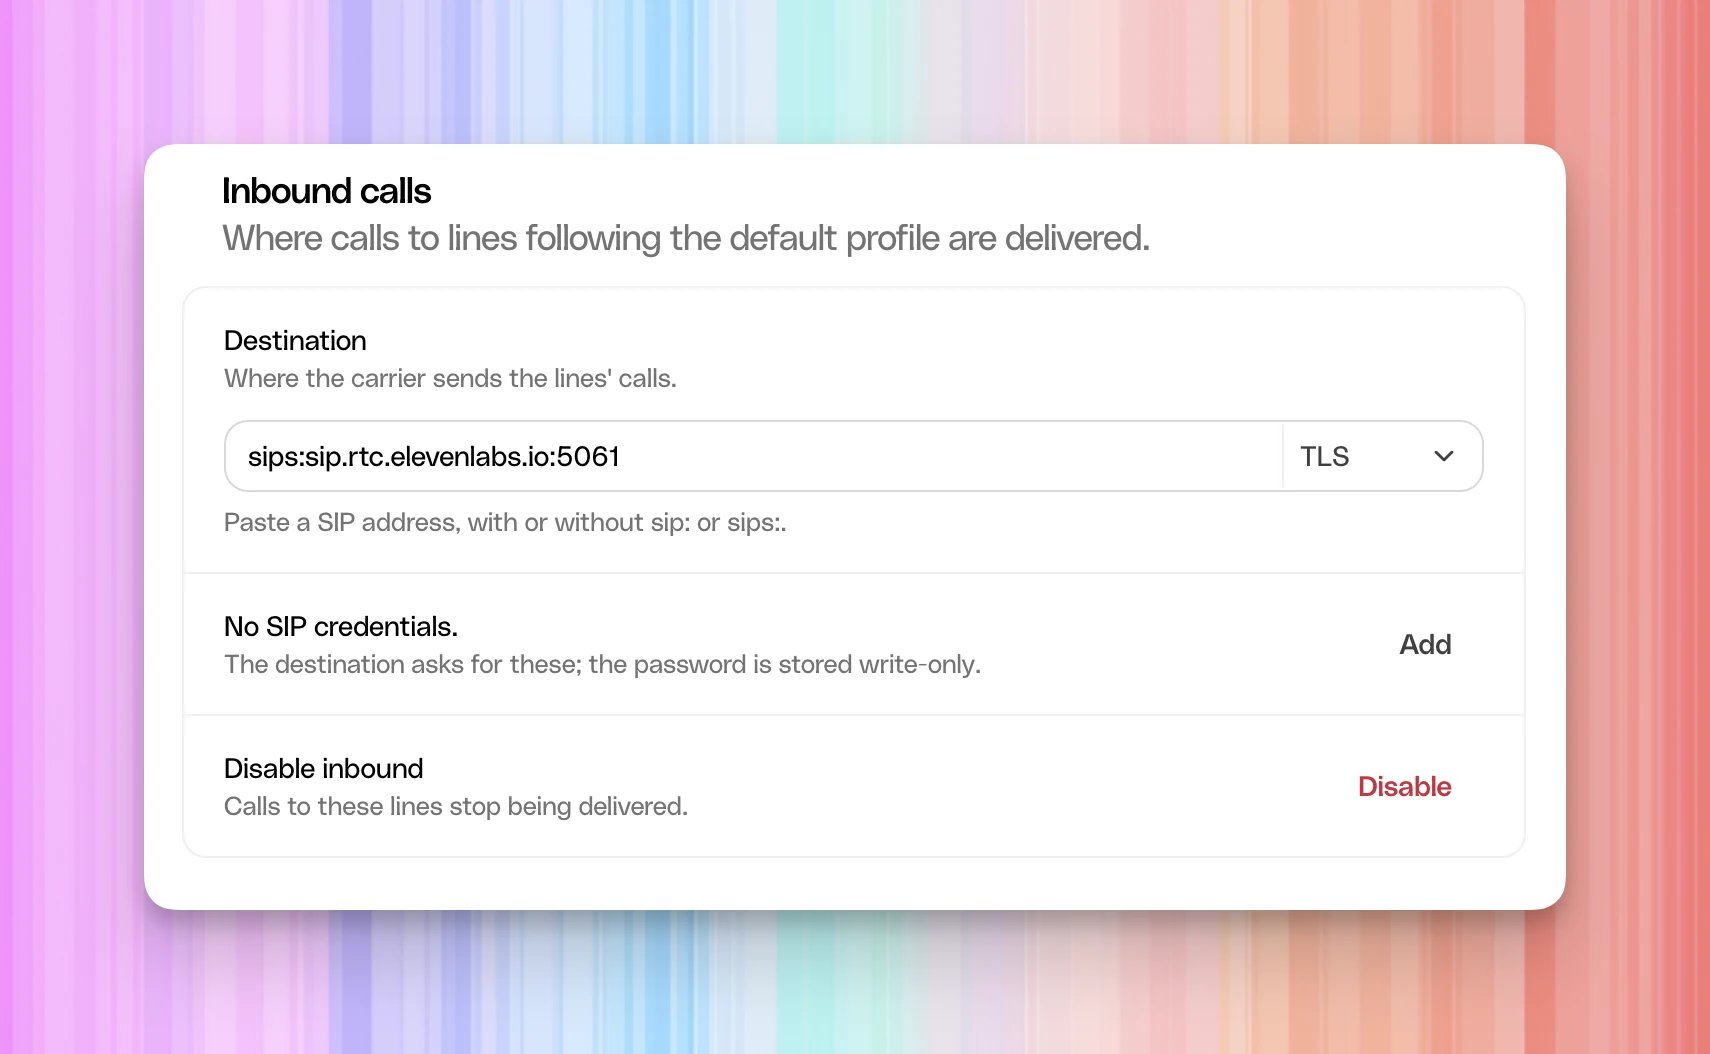
Return to the Photon Voice profile used by your number. Under Inbound calls, select Enable inbound if it is not already enabled. If you configured inbound authentication in ElevenLabs, enter that same username and password here instead. On an enabled Photon profile, use Add beside No SIP credentials to enter them. Complete Enable inbound when creating the destination. For an existing destination, edit the field and move focus out of it to save. Check that the saved value and TLS remain visible. Photon inbound destination set to sips:sip.rtc.elevenlabs.io:5061, with TLS selected and no SIP credentials. Call your Photon number from another phone. Check that your selected ElevenLabs agent answers, hears you, and responds audibly. End the call and check that it finishes in ElevenLabs.
6. Place an outgoing call

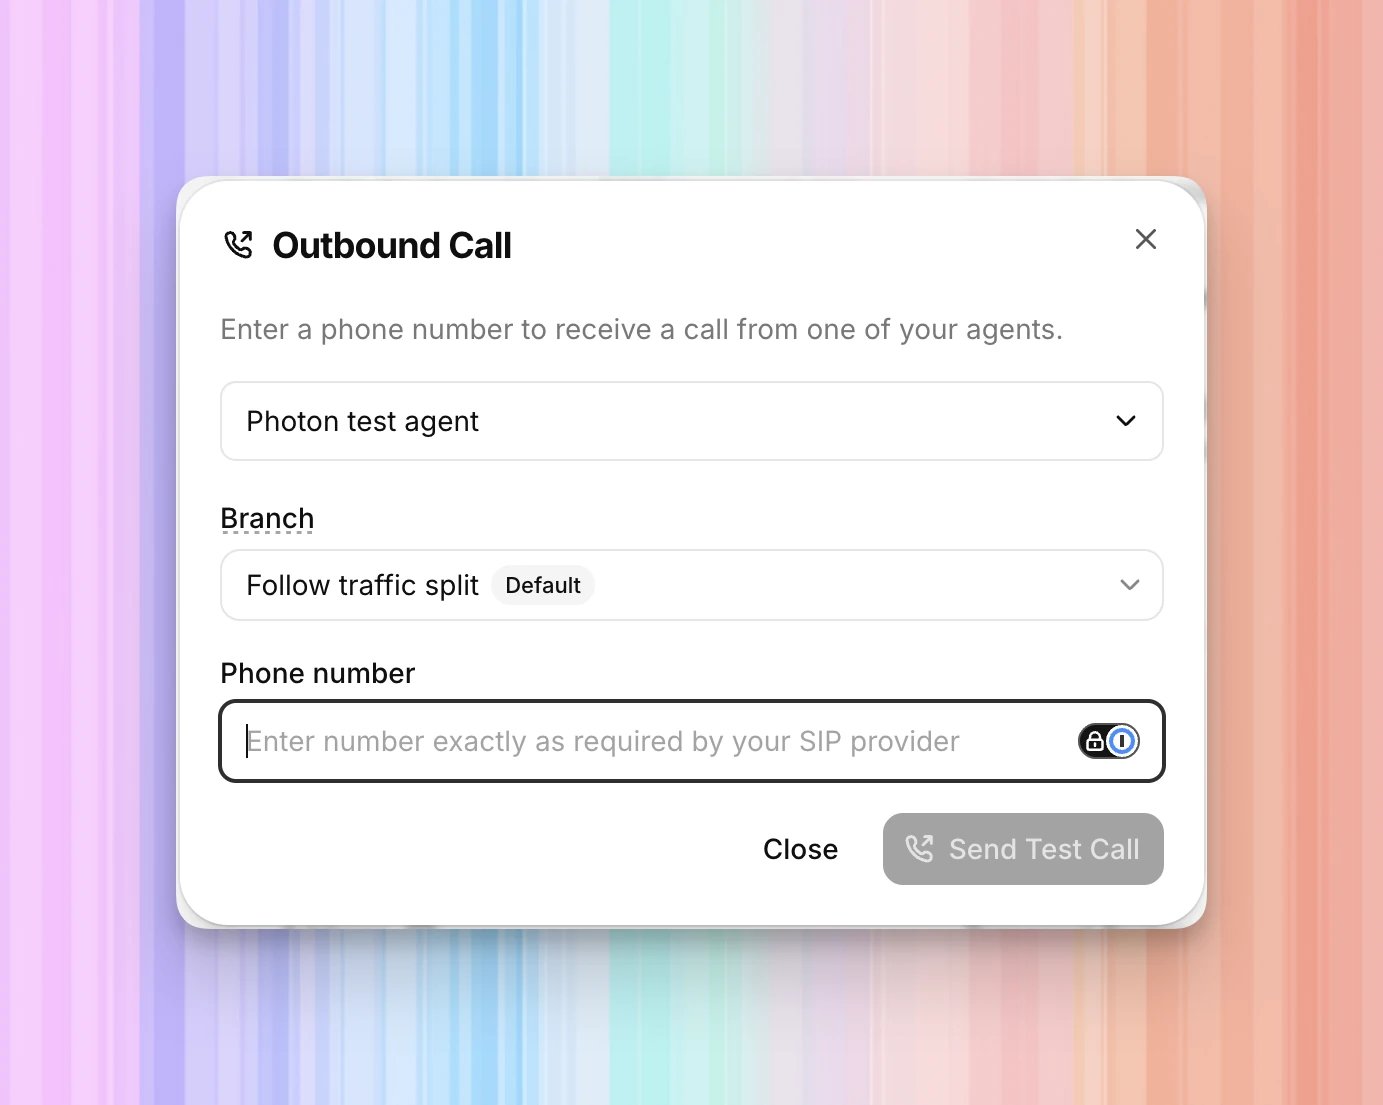
In ElevenLabs, open the imported Photon number and select Outbound call. In Outbound Call:
  1. Select the agent you want to use for this call.
  2. Leave Branch at Follow traffic split, or choose the intended branch.
  3. Enter the recipient’s number in Phone number, including + and the country code. This is the phone that will receive the call.
  4. Select Send Test Call.
Outbound Call dialog with Photon test agent selected, the default branch option, and the recipient number field. Answer the recipient phone and check its caller ID, the agent’s greeting, audio in both directions, and call termination. A saved trunk or a request acceptance message alone does not establish that the recipient received a call.

Review your configuration

Confirm that both directions use the same Photon number and Voice profile.

Troubleshooting

Remote Domains is used for TLS certificate validation. If later requests such as hangup fail certificate validation, add the domain covered by your Photon SIP server’s certificate. See ElevenLabs’ TLS guidance. The imported number page includes SIP Messages. When enabled, it records SIP signaling for troubleshooting; the page also points to messages in the conversation history. Capture the attempt time, conversation ID when one exists, and the reported SIP response before changing connection settings. See ElevenLabs SIP troubleshooting.